

Every great pizza you have ever loved started as four humble ingredients: flour, water, salt, and yeast. Learning how to make pizza dough from scratch is the single highest-leverage skill in home pizza making — it costs pennies, takes about 15 minutes of active work, and produces a crust with chew, char, and flavor that no store-bought dough ball or pre-made crust can touch.
This guide walks you through the entire process with the precision it deserves: exact ingredient weights in grams and cups, water temperature targets, kneading technique with visual and tactile cues, fermentation timing for same-day and overnight options, and shaping without tearing. It also includes a troubleshooting section for the problems every beginner hits — sticky dough, dough that springs back, pale crusts — so you can fix issues instead of guessing.
By the end, you will have two 12-inch pizza doughs ready to bake, plus the understanding to adapt the recipe to your flour, your oven, and your schedule. This is the foundation recipe our entire dough and crust guide collection builds on.
🍕 Key Takeaways
- Use a kitchen scale: 500 g flour, 325 g water (65% hydration), 10 g salt, 7 g yeast is a foolproof baseline for two 12-inch pizzas.
- Keep water at 100–110°F (38–43°C) — warm enough to wake yeast, cool enough not to kill it.
- Knead 8–12 minutes until the dough passes the windowpane test: stretch a small piece thin enough to see light through without tearing.
- Ferment until doubled (1–2 hours at room temp), or refrigerate overnight for deeper flavor.
- Shape from the center outward, leaving a puffy rim — never roll with a rolling pin, which crushes the air bubbles.
- Bake on a fully preheated stone or steel at your oven’s maximum temperature for a crisp, blistered crust.
The Ingredients: What Each One Does
Great dough is simple, but every ingredient has a job. Understanding the roles helps you troubleshoot later.
Flour (500 g / about 4 cups)
Flour provides the protein (glutenin and gliadin) that forms gluten — the elastic network that traps fermentation gases and gives crust its chew. Bread flour (12–13% protein) is the best all-around choice: it builds strong gluten for a chewy, structured crust that still stretches easily. All-purpose flour (10–11% protein) works and produces a slightly more tender crust. “00” flour, the finely milled Italian standard, shines in very hot ovens but can taste underdone in a standard home oven — our flour guide compares all three in depth.
Measure by weight, not cups. A “cup” of flour can vary by 30% depending on how you scoop, and pizza dough is sensitive to that swing. A basic digital kitchen scale is the best $15 a pizza maker can spend.
Water (325 g / 325 ml / about 1⅓ cups)
Water hydrates the flour and activates the yeast. This recipe uses 65% hydration (325 g water ÷ 500 g flour) — the sweet spot for home ovens: wet enough for an open, airy crumb, dry enough to handle without a bench full of sticky mess. Use water at 100–110°F (38–43°C). Too cold and fermentation crawls; above 130°F (54°C) and you start killing yeast.
Salt (10 g / 2 teaspoons fine sea salt)
Salt does three jobs: it flavors the dough (unsalted dough tastes flat no matter what you put on it), it tightens the gluten network for better structure, and it regulates yeast activity so fermentation does not run away. Add it with the flour rather than directly onto the yeast — direct contact with concentrated salt can damage yeast cells.
Yeast (7 g / 2¼ teaspoons instant dry yeast)
Instant dry yeast is the beginner’s best friend: it needs no proofing, mixes straight into the flour, and behaves predictably. Active dry yeast works too but should be dissolved in the warm water first with a pinch of sugar. Fresh yeast is lovely but perishable. Whatever you use, check the expiration date — dead yeast is the number one cause of dough that won’t rise.
Olive oil (15 ml / 1 tablespoon) and sugar (5 g / 1 teaspoon) — optional but recommended
Oil tenderizes the crumb, adds flavor, and helps browning. Sugar (or honey) gives the yeast an easy first meal for a faster start and promotes crust color through caramelization. Neither is traditional in strict Neapolitan dough, but for home ovens they measurably improve the result.
How to Make Pizza Dough: Mixing and Kneading
Step 1 — Combine (5 minutes)
Whisk the flour, instant yeast, salt, and sugar together in a large mixing bowl — whisking distributes the yeast and salt evenly so no pocket of dough is left unleavened or unsalted. Add the 100–110°F water and olive oil. Stir with a wooden spoon or Danish dough whisk until no dry flour remains and a shaggy, rough mass forms. It will look messy. That is correct.
Step 2 — Rest (autolyse-style, 15–20 minutes, optional but helpful)
Cover the bowl and let the shaggy mass rest 15–20 minutes. During this rest, the flour fully hydrates and gluten begins forming on its own — you will find the dough noticeably smoother and easier to knead afterward. This is a simplified autolyse, and it is the closest thing to a free lunch in bread making.
Step 3 — Knead (8–12 minutes)
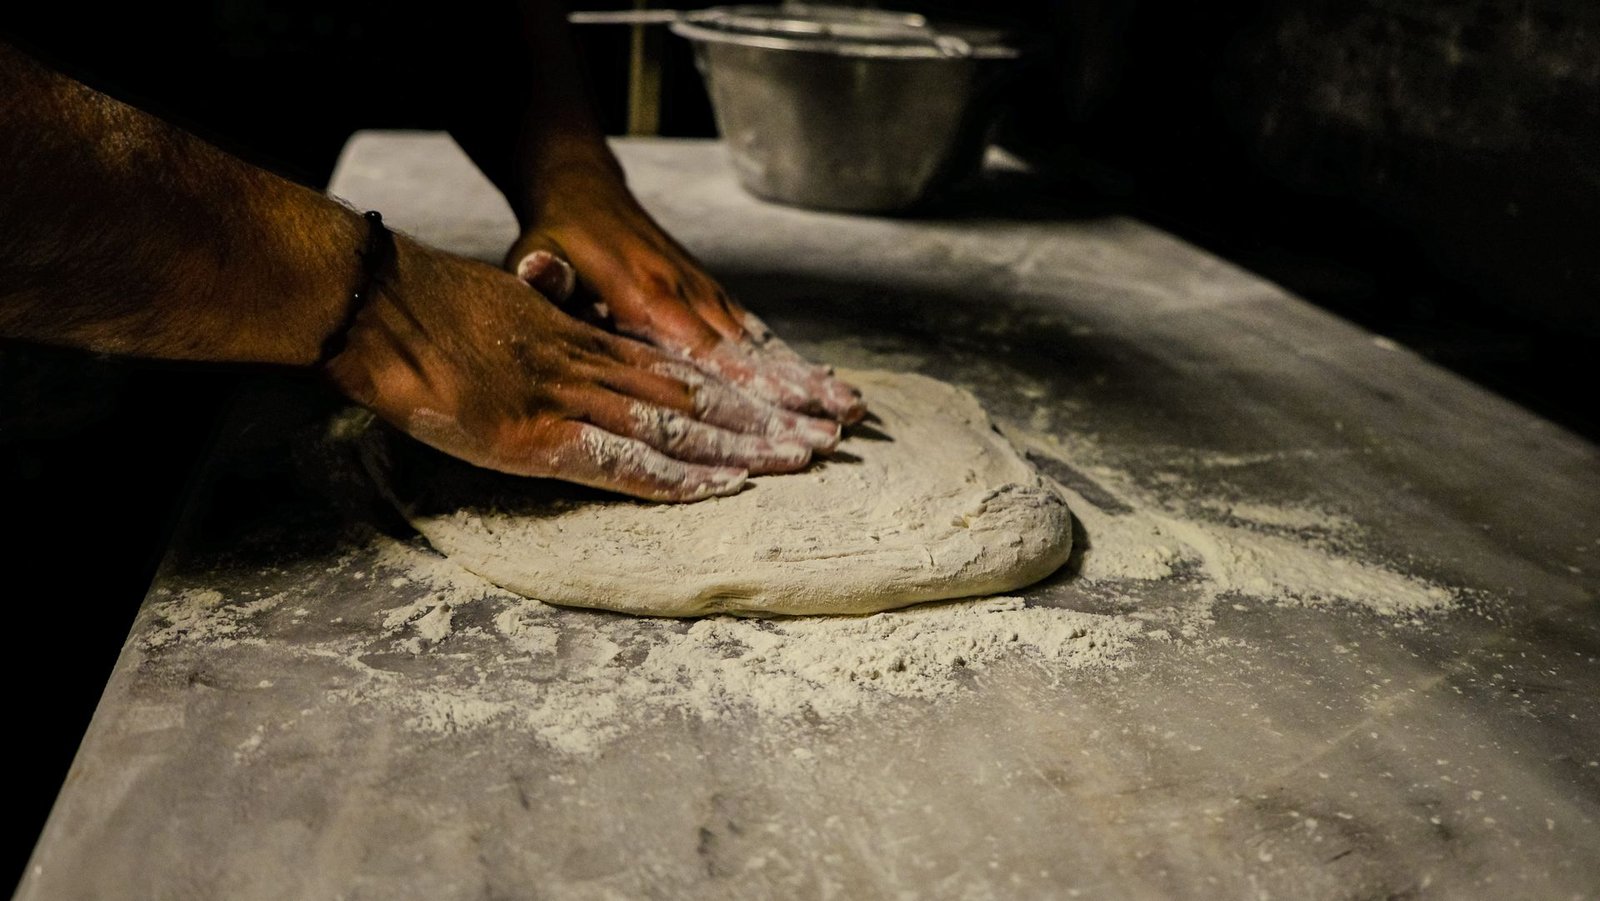
Turn the dough onto a lightly floured counter. Knead using the push-fold-turn rhythm: push the dough away with the heel of your hand, fold it back over itself, give it a quarter turn, repeat. For the first few minutes it will be sticky and ragged — resist the urge to add lots of flour; a light dusting on your hands is enough. Around minute 6–8 it will transform: suddenly smooth, elastic, and satiny, pulling cleanly away from the counter. If your dough never makes this transformation and stays rough and tears easily after 12 minutes, the flour may be old or very low protein — try a longer rest (20 minutes) followed by a few more minutes of kneading, which often rescues a stubborn dough. Conversely, if the dough becomes slack and sticky the more you knead, stop — you may be working in a very warm kitchen where the dough is fermenting as you knead, and continuing will only break down the gluten you are trying to build.
The windowpane test: Pinch off a golf-ball-sized piece and stretch it gently between your fingers. If you can stretch it thin enough to see light through — like a windowpane — without it tearing, the gluten is developed and you are done. If it tears immediately, knead 2–3 more minutes and test again.
Stand mixer method: Knead with the dough hook on speed 2 (never higher — it overheats the motor and the dough) for 6–8 minutes, until the dough pulls away from the bowl sides and passes the windowpane test.
Step 4 — First fermentation / bulk rise (1–2 hours at room temperature)
Shape the kneaded dough into a smooth ball: tuck the edges underneath, rotating, until the top is taut. Place seam-side down in a lightly oiled bowl, cover with plastic wrap or a damp towel, and set somewhere warm (75–80°F / 24–27°C is ideal — the top of the fridge or inside a turned-off oven with the light on). Let rise until doubled in size, 1–2 hours depending on room temperature. The poke test: press a floured finger ½ inch in; if the indent springs back slowly and partially, it is ready. If it springs back instantly, give it more time. If it collapsides and does not spring at all, it is over-proofed (still usable — see troubleshooting).
Overnight option: For noticeably deeper flavor, refrigerate the dough right after kneading for 24–72 hours instead of the room-temperature rise. Cold fermentation is a whole discipline of its own — our 72-hour cold ferment guide walks through it — but even a single overnight rest transforms the taste.
Step-by-Step: Dividing, Shaping, and Baking
Step 5 — Divide and pre-shape (5 minutes + 20-minute rest)
Turn the risen dough onto a lightly floured counter and divide into two equal pieces (about 415 g each for 12-inch pizzas — weigh them for even baking). Shape each into a tight ball using the tuck-and-rotate method. Cover and rest 20 minutes. This bench rest relaxes the gluten so the dough stretches instead of snapping back — skipping it is why dough “fights” you.
Step 6 — Shape the pizza (3 minutes per pizza)
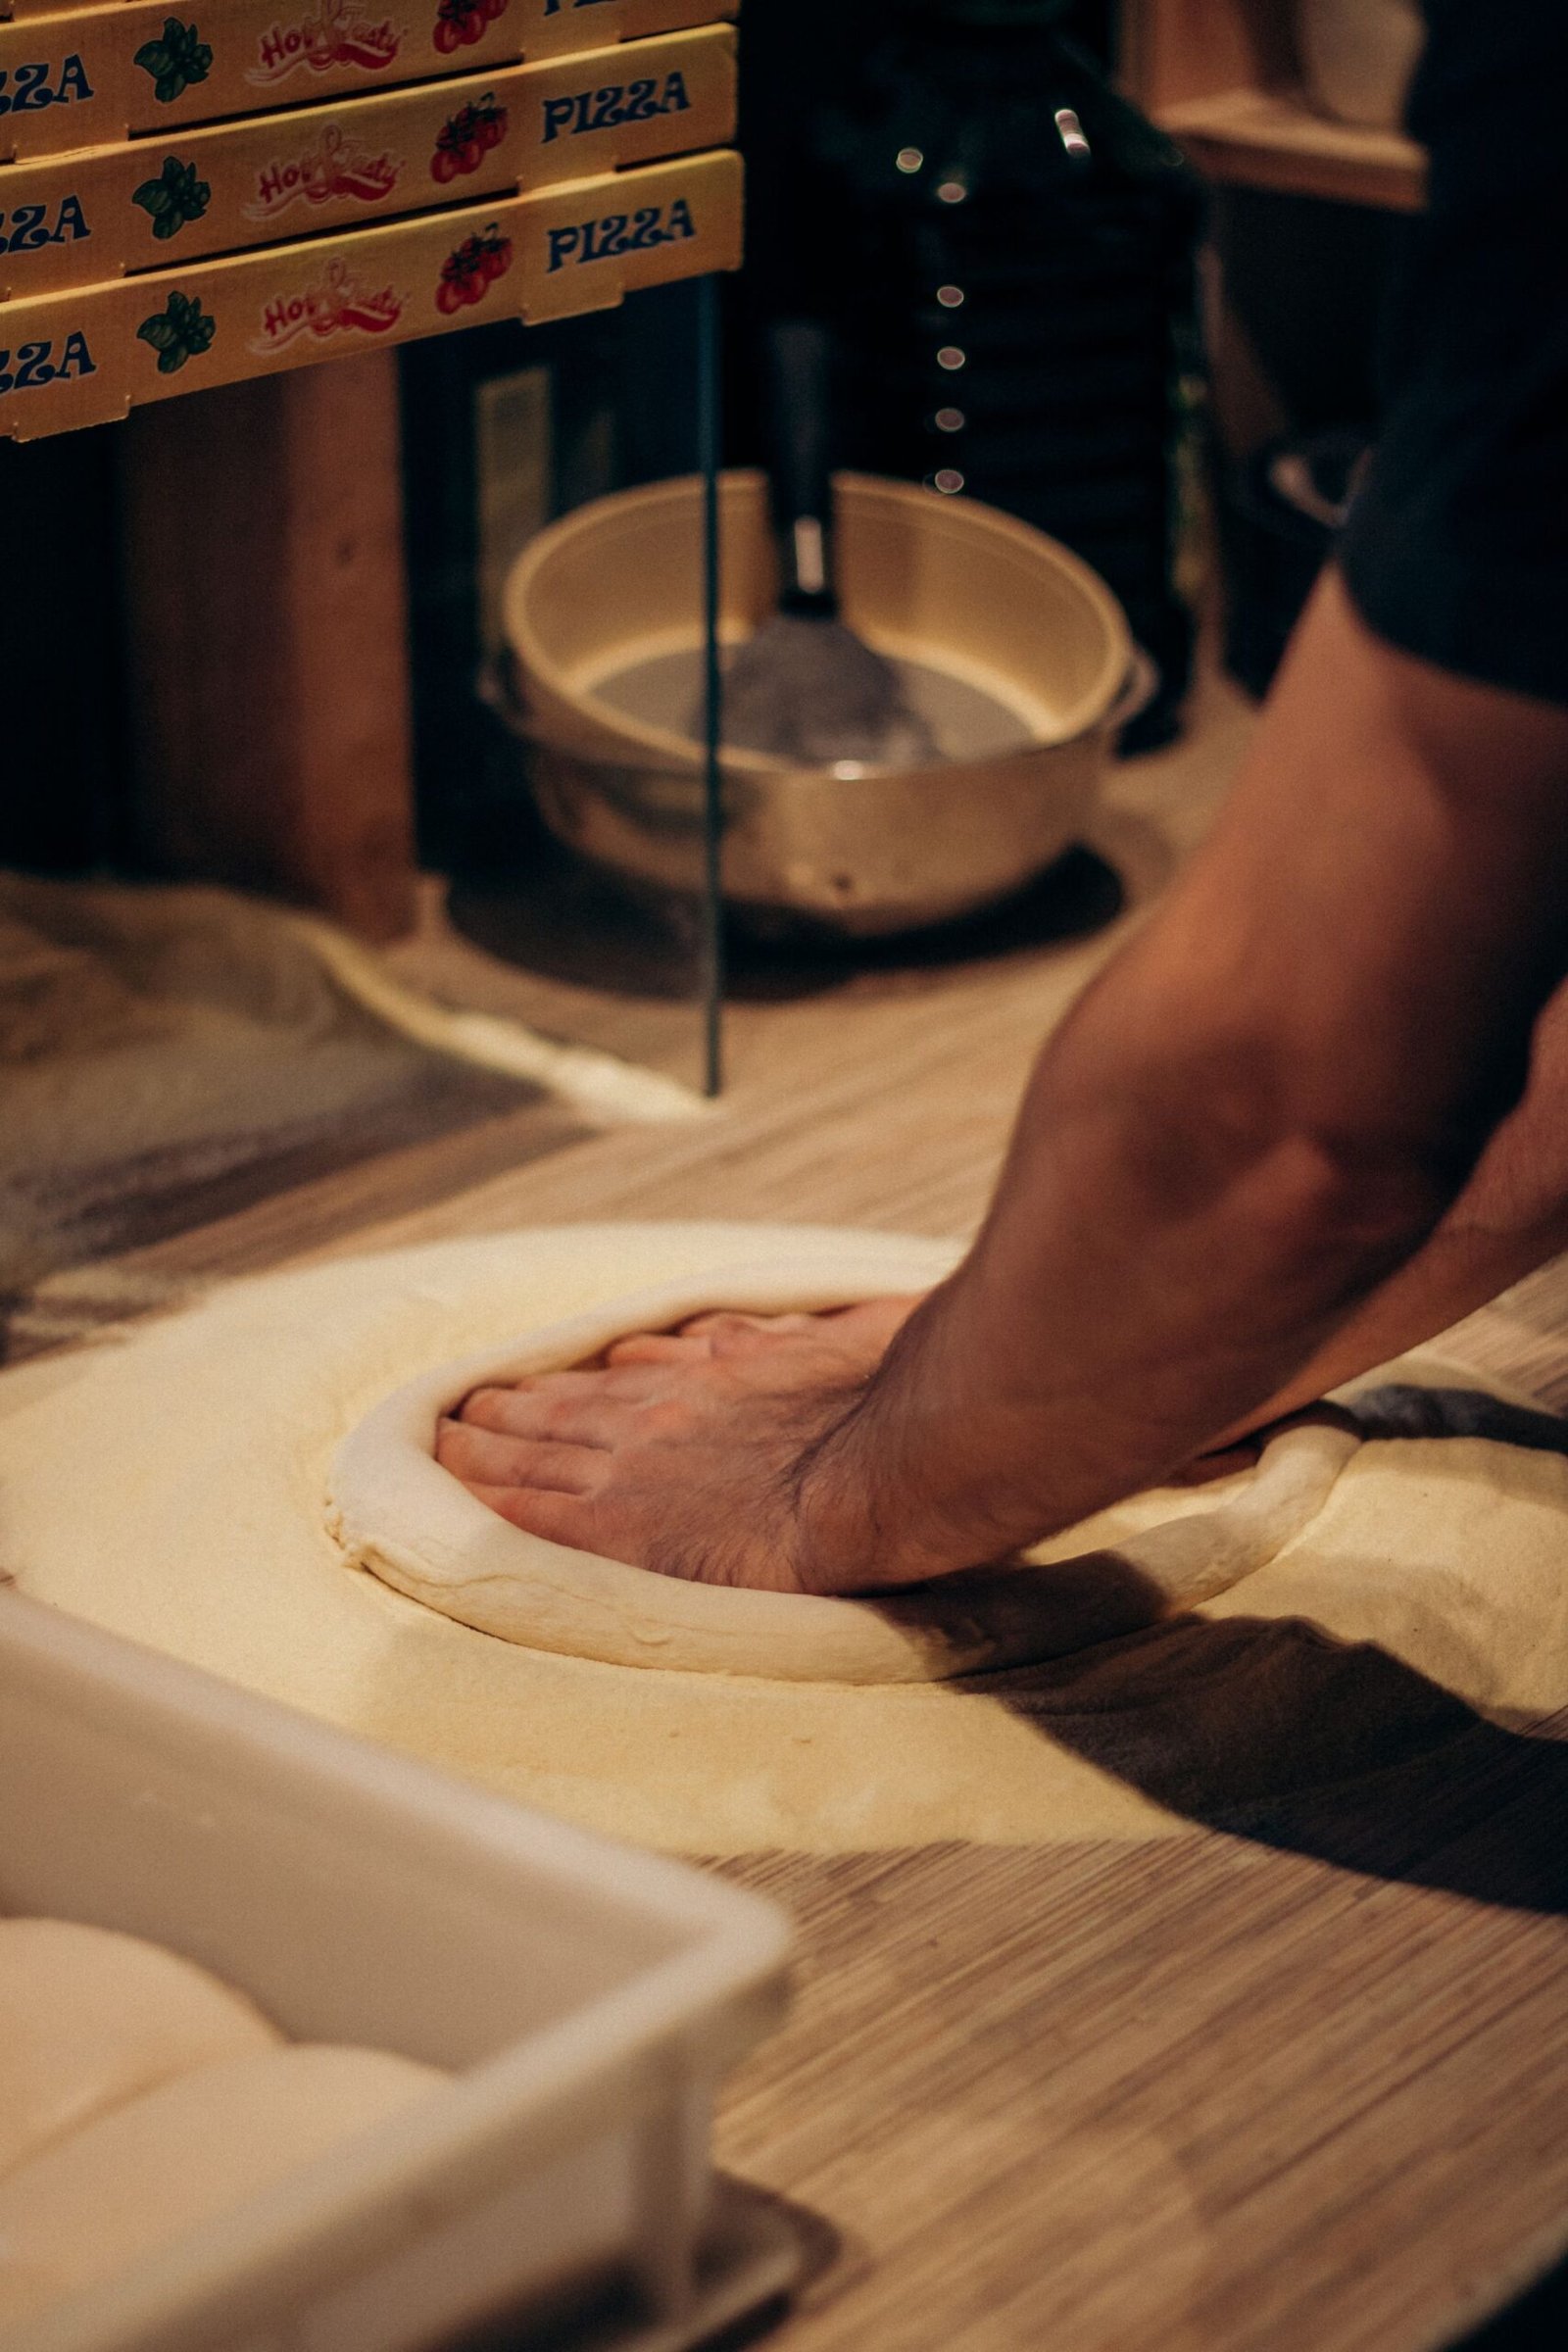
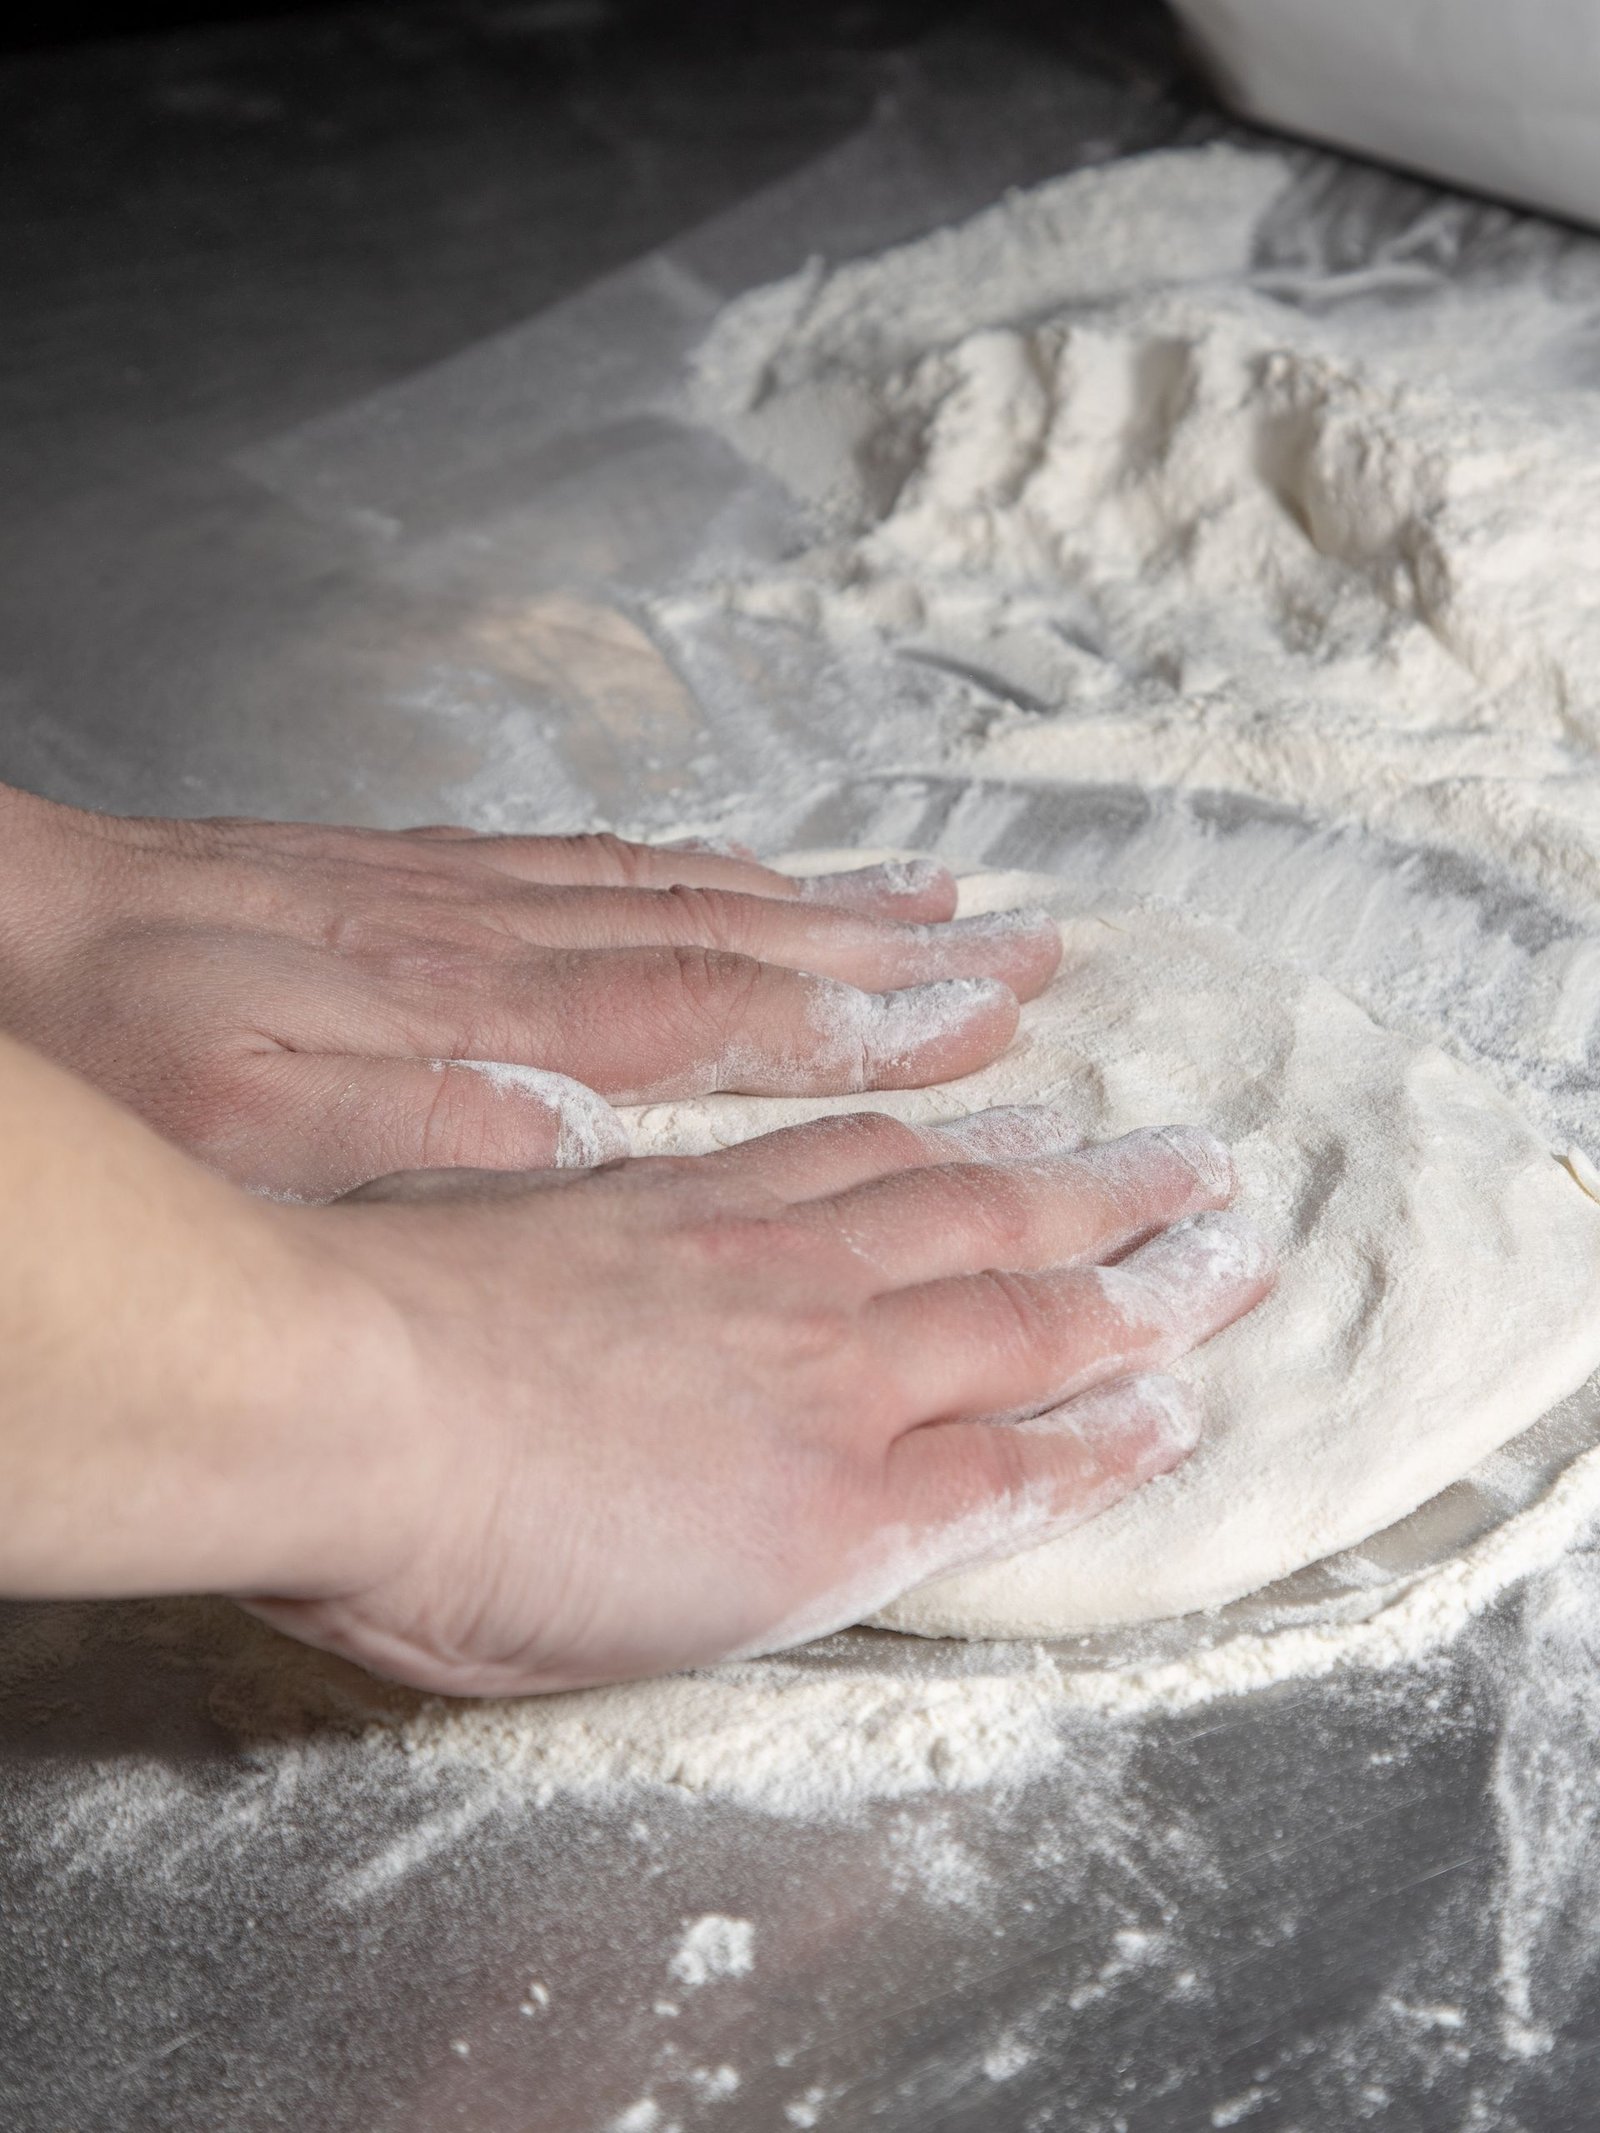
Flour your hands and the counter lightly. Place a dough ball down and press from the center outward with your fingertips, pushing air toward the edges and leaving a 1-inch puffy rim (the cornicione) untouched. Never press the rim flat — that air becomes the puffy, charred crust edge. Lift the dough onto the backs of your knuckles and rotate, letting gravity stretch it to 12 inches. If it resists, set it down, rest 5 minutes, and try again.
Transfer to a pizza peel dusted with flour or semolina (semolina acts like ball bearings). Give the peel a little shake — the dough should slide freely. If it sticks anywhere, lift and dust more underneath. A stuck launch is the most common pizza disaster, and it is entirely preventable here.
Never use a rolling pin. Rolling crushes the gas bubbles you spent hours creating, producing a flat, dense crust. Fingers and gravity only.
Step 7 — Top and bake (8–12 minutes)
Top sparingly — sauce, cheese, and toppings in thin layers. Too much topping is the fastest route to a soggy center. Launch onto a pizza stone or steel that has preheated at your oven’s maximum (500–550°F / 260–290°C) for at least 45 minutes. Bake 8–12 minutes until the crust is puffed and golden with charred spots, the cheese is bubbly and browned in patches, and the bottom is crisp and browned when you lift an edge.
No stone or steel? A heavy upside-down baking sheet, preheated the same way, works surprisingly well. For a different but equally excellent approach, try the same dough as a cast iron skillet pizza.
Baker’s Percentages: The Formula Behind the Recipe
Professional bakers express recipes as percentages of the flour weight, which makes scaling effortless. Flour is always 100%, and everything else is a percentage of it:
- Flour: 500 g — 100%
- Water: 325 g — 65%
- Salt: 10 g — 2%
- Instant yeast: 7 g — 1.4%
- Olive oil: 15 g — 3%
- Sugar: 5 g — 1%
Want three pizzas instead of two? Multiply flour by 1.5 (750 g) and scale everything else by the same factor. Want a wetter, airier dough? Raise water to 70% (350 g). Once you think in baker’s percentages, every dough recipe becomes adjustable — our hydration guide takes this concept much further.
Two Timelines: Same-Day vs. Overnight
The same-day timeline (about 4 hours)
This is the weeknight-friendly path. Mix and knead at 2:00 PM, bulk ferment until about 4:00 PM, divide and bench-rest, shape at 4:30, and bake by 5:00 — dinner on the table with time to spare. The flavor is clean, wheaty, and straightforward: genuinely good pizza, just without the depth that time provides. If your afternoon is compressed, a dedicated same-day dough recipe trims the schedule further with a slightly higher yeast dose and warmer fermentation.
The overnight timeline (24 hours, 20 minutes active)
Mix and knead in the evening — say 8:00 PM — then refrigerate immediately instead of the room-temperature bulk rise. The next evening, pull the dough out 60–90 minutes before you want to bake, then divide, shape, and bake as normal. Total active time is identical; the refrigerator does the flavor work while you sleep. The difference in taste is not subtle: cold fermentation produces organic acids and alcohols that read as nuttiness, mild tang, and a more aromatic crust. Once you have tasted the overnight version, the same-day dough becomes the backup plan rather than the default.
Which should you choose?
If you are learning, start same-day — fewer variables, faster feedback, and you will bake more often when the process fits your schedule. Once shaping feels natural, switch to overnight as your standard; it requires only the foresight to mix the evening before. Either way, the dough technique in this guide does not change — only the clock does.
Troubleshooting: Fixing Common Dough Problems
My dough is too sticky to handle
High-hydration dough is supposed to be tacky, but if it is gluing itself to everything, you likely mis-measured flour (cups!) or over-hydrated. Dust your hands and the bench lightly, use a bench scraper, and knead through it — stickiness decreases as gluten develops. Next time, weigh your flour. If it is truly unworkable, knead in flour a tablespoon at a time until manageable.
My dough springs back when I stretch it
The gluten is tense. This happens when you skip the bench rest or shape cold dough straight from the fridge. Solution: stop, cover, rest 10–15 minutes, and try again. For cold dough, allow a full 60–90 minutes at room temperature before shaping. Patience beats force every time.
My dough didn’t rise
Check the yeast first: proof a pinch in warm water with sugar — if it does not foam in 10 minutes, the yeast is dead. Other causes: water too hot (killed the yeast) or too cold (fermentation stalled — move somewhere warmer), or an over-salted mix.
My crust came out pale and soft
Almost always under-preheated oven or insufficient heat. The stone or steel needs a full 45–60 minutes at maximum temperature — 15 minutes is not enough, no matter what the oven beep says. Also check: too much topping (steams the crust), or dough rolled too thick. A little sugar in the dough helps browning too.
My crust is tough and chewy (in a bad way)
Over-kneading is rare by hand but possible with a mixer on high speed. More commonly: too much flour added during kneading, or the dough was re-kneaded after rising (which destroys the gas structure). Handle risen dough gently — divide and shape, never knead again.
The bottom is burnt but the top is pale
Your heat source is too bottom-heavy. Move the pizza to a higher rack, and consider a baking sheet under the stone as a heat buffer. Some ovens need the pizza finished under the broiler for 60–90 seconds to brown the top — watch it like a hawk.
Storing, Freezing & Food Safety
Refrigerating
After kneading, place the dough in an oiled container (it will expand), cover, and refrigerate up to 3 days. Cold dough develops deeper, more complex flavor — many pizzerias ferment exclusively cold. Bring to room temperature 60–90 minutes before shaping.
Freezing
Dough freezes beautifully for up to 3 months. After the bulk rise, divide into balls, coat lightly with oil, and seal in freezer bags with the air pressed out. Thaw overnight in the fridge, then warm at room temperature 60–90 minutes before shaping. Our freezing guide covers thawing in detail — including the quick-thaw method for when you forget.
The 2-hour rule and food safety
Raw dough contains uncooked flour, which can carry bacteria — do not taste raw dough, and do not let children play with or eat it. This is not about the yeast; it is about the flour. Once baked, cool leftover pizza to room temperature within 2 hours and refrigerate. Reheat to steaming hot.
Frequently Asked Questions
How do I know when the dough is kneaded enough?
Use the windowpane test. Stretch a small piece of dough thin between your fingers. If it forms a translucent membrane without tearing, the gluten is developed and you can stop kneading. If it tears right away, keep going for a few more minutes.
Can I double this pizza dough recipe?
Yes — simply double every ingredient and mix in a large bowl. Divide the finished dough into individual balls before the final rise so each portion ferments evenly. Give the doubled batch a few extra minutes of kneading to develop the gluten fully.
Can I make pizza dough without a stand mixer?
Absolutely — hands are the original mixer, and this recipe was written for hand kneading. It takes 8–12 minutes of steady work. Many experienced pizza makers prefer hand kneading because you feel the gluten develop and learn the dough’s language. A mixer saves effort, not quality.
How long does homemade pizza dough last in the fridge?
Up to 3 days, and the flavor improves each day as cold fermentation works its slow magic. After day 3 the yeast exhausts itself and the dough becomes slack and overly sour. For longer storage, freeze it — frozen dough keeps 3 months with minimal quality loss.
Why is my pizza dough tasteless?
Under-salting is the usual culprit — 2% salt by flour weight (10 g per 500 g flour) is the baseline, and timid salting shows. The other fix is time: a same-day dough tastes simple and bready, while an overnight cold ferment tastes complex and wheaty. If your dough is bland, ferment it colder and longer before changing anything else.
Can I use all-purpose flour instead of bread flour?
Yes. The crust will be slightly less chewy and a bit more tender — many people prefer it. You may need a tablespoon or two less water since all-purpose absorbs slightly less.
Do I really need a pizza stone or steel?
You need intense bottom heat from something with thermal mass — a stone, a steel, a preheated heavy baking sheet, or a cast iron skillet. Baking directly on a thin room-temperature sheet pan produces a pale, soft bottom. Of the options, steel is the best performer in home ovens; our steel vs. stone comparison breaks down the tradeoffs.
[…] at 63%: A touch lower than the 65% baseline in our from-scratch dough guide. Cold dough firms up, and long fermentation slightly weakens gluten; the marginally lower hydration […]
[…] flour is also the most forgiving flour for beginners learning how to make pizza dough. Its strong gluten tolerates imperfect kneading, slightly off hydration, and rough shaping — the […]
[…] But the best fix is prevention through proper mixing order, which costs nothing. When you read a dough recipe, check that it keeps salt and yeast separated until the flour brings them […]