

Temperature is the invisible ingredient in every pizza, working silently behind the dough, the sauce, and the cheese. It determines how fast the crust sets, how the cheese melts, whether the bottom crisps or steams, and whether your toppings roast or scorch. Yet most home pizza makers treat temperature as a single dial setting — “as hot as it goes” — and miss the nuance that separates good pizza from great pizza. This pizza oven temperature guide fixes that, with the right temperatures for every major pizza style and practical, tested advice for managing heat on every fuel type.
The core insight is simple: temperature and time are two sides of the same coin. Higher heat means shorter bakes and puffier, char-spotted crusts; lower heat means longer bakes and crisper, more even textures. Neither is better in the abstract — each pizza style evolved around a specific heat over decades, and matching your oven to the style is the whole game. Get the temperature right and everything else gets easier; get it wrong and no amount of premium flour or expensive cheese will save the pie.
We will cover why temperature matters, exact temperature targets for every major style, the crucial difference between deck temperature and air temperature, how to actually measure heat, how to manage temperature on wood, gas, pellet, and home ovens, and how to diagnose temperature-related failures. By the end, you will read your oven the way a pilot reads instruments — and your pizzas will show it.
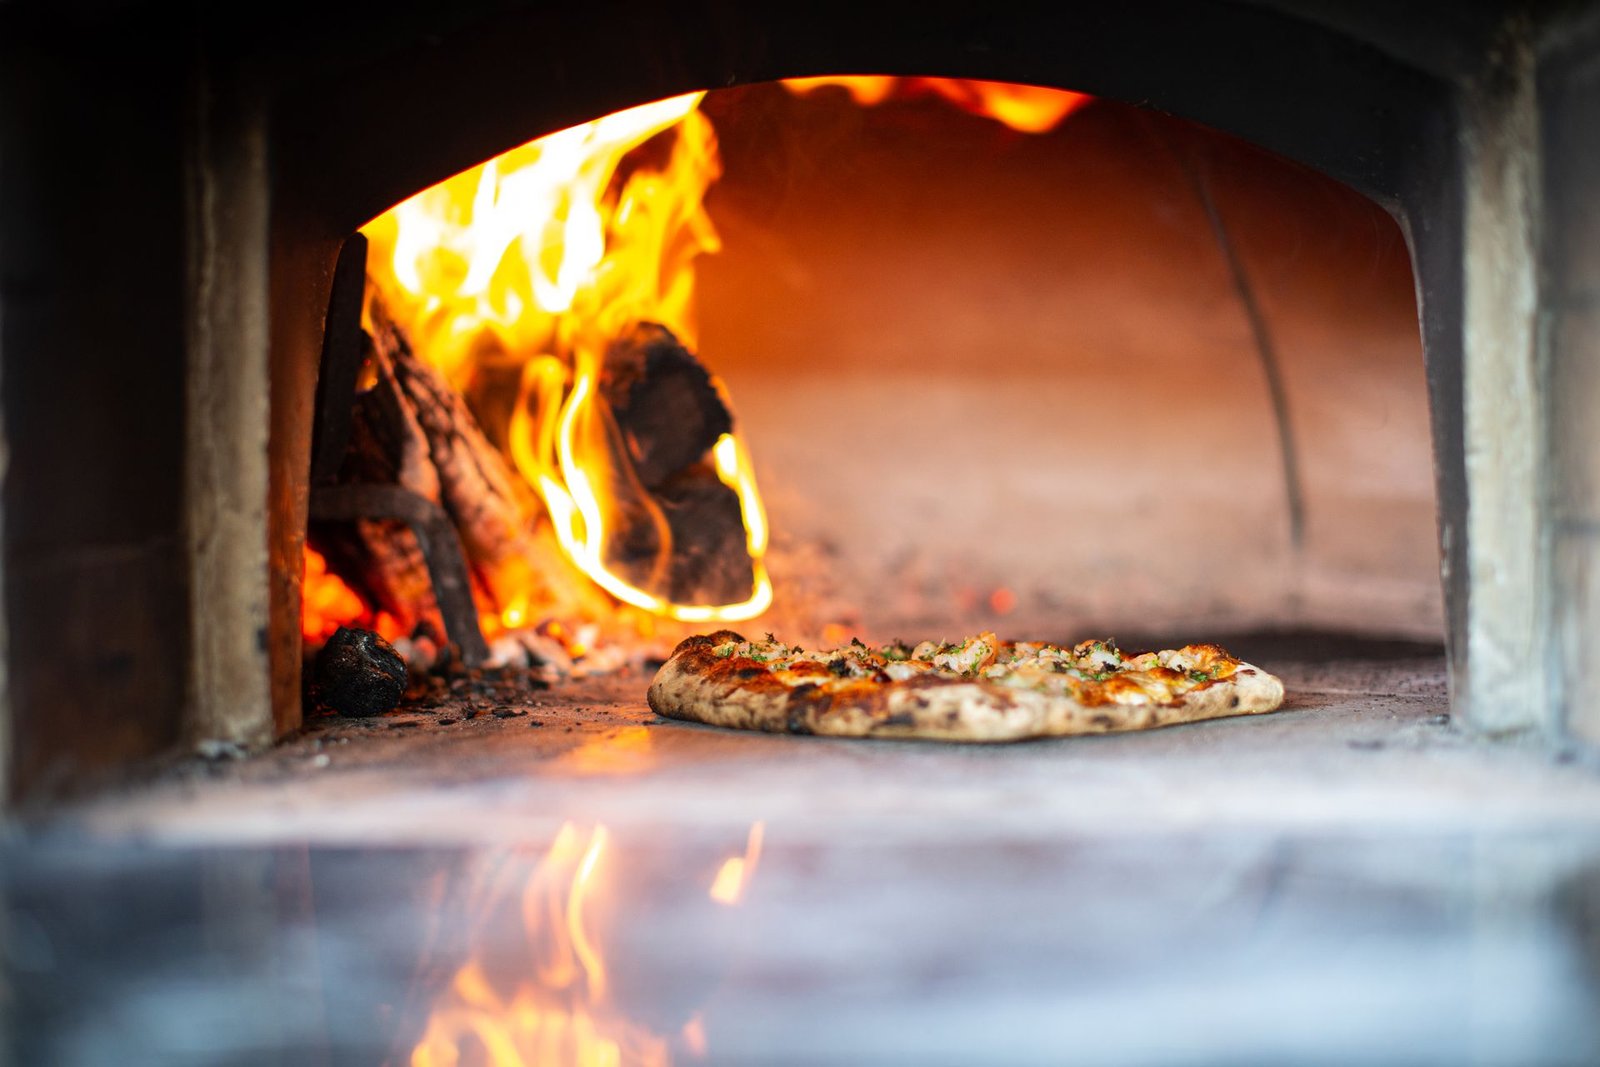
🍕 Key Takeaways
- Every pizza style has an ideal temperature: Neapolitan needs 430°C+ (800°F+), New York wants 290–330°C (550–625°F), pan styles are happy at 230–290°C (450–550°F).
- Deck temperature (the surface the pizza sits on) matters more than air temperature — measure the deck, not the dial.
- An infrared thermometer is the single most useful temperature tool; built-in gauges measure air, which misleads.
- Higher heat = shorter bake = puffier, char-spotted crust. Lower heat = longer bake = crisper, drier, more even texture.
- Each fuel manages heat differently: wood needs fire tending, gas needs dial control, home ovens need long preheats and recovery rests.
- Most temperature problems are really preheat or measurement problems — verify before you blame the oven.
Why Temperature Matters: Heat, Time, and Texture
Pizza baking is a race between the top and the bottom of the pie. The bottom cooks by conduction — direct contact with the hot deck — while the top cooks by radiation from the hot dome or oven ceiling and convection from hot air. Temperature determines the pace of that race, and the pace determines the texture.
At very high temperatures (430°C+), the bake finishes in 60–90 seconds. The crust’s exterior sets and chars almost immediately while the interior stays soft and airy — this is the Neapolitan texture, pillowy with leopard-spotted char. Moisture does not have time to escape, so the crumb stays tender.
At moderate-high temperatures (290–330°C), the bake takes 6–8 minutes. More moisture escapes, the crust crisps further, browning is deeper and more even — this is New York style, crisp-yet-foldable with a sturdy chew.
At moderate temperatures (230–290°C), 12–20 minute bakes produce the even, golden, thoroughly crisp textures of pan, Detroit, and Sicilian pizzas, where the thicker structure needs sustained time to cook all the way through without the exterior burning.
The takeaway: there is no universally “correct” pizza temperature. There is only the right temperature for the style you are making. Baking a Detroit-style pizza at Neapolitan heat chars the cheese edges to bitterness before the thick crumb cooks through; baking a Neapolitan dough at Detroit temperatures produces a dry, crackery disc instead of a puffy, tender pie. Match heat to style and half your problems disappear.
How Temperature Interacts With Your Dough
Heat does not act on all doughs equally — your formula and your temperature are a paired system, and mismatches cause most “the recipe didn’t work” complaints.
Sugars and browning. Browning (the Maillard reaction and caramelization) needs either high heat or available sugars. Lean Neapolitan dough — just flour, water, salt, yeast — browns beautifully at 450°C but stays pale and bland at 275°C. That is why New York-style dough includes sugar or malt: it supplies browning fuel for moderate heat. If your crust will not brown at your oven’s maximum, the fix is usually in the dough formula, not the oven.
Hydration and bake time. Wetter doughs need hotter, faster bakes — at low temperatures, a high-hydration dough spends so long in the oven that it dries into toughness instead of setting into an open crumb. Conversely, lower-hydration doughs tolerate (and often prefer) longer, cooler bakes. Match your hydration to your heat: 70%+ hydration wants 400°C+; 60–65% is the comfortable zone for home ovens.
Fermentation and color. Long-fermented doughs brown faster because fermentation produces sugars and acids that accelerate browning. A 72-hour cold-fermented dough will color noticeably quicker than a same-day dough at identical temperatures — adjust your bake time or temperature down slightly, or you will overshoot from golden to burnt.
Carryover cooking. Pizza keeps cooking after it leaves the oven — the crust’s internal heat continues setting the crumb for a minute or two on the cooling rack. Pull the pizza when it looks just done, not when it looks “a little more would be nice.” That extra minute in the oven is the difference between perfect and overdone, especially at high temperatures where change happens in seconds.
Temperature Targets by Pizza Style
Neapolitan: 430–480°C (800–900°F), 60–90 seconds
The hottest standard in pizza. The deck should read at least 430°C on an infrared thermometer, with the dome even hotter from the live flame. At these temperatures the pizza cooks almost entirely by intense radiant heat — the flame rolling across the dome does as much work as the deck. This is the domain of dedicated pizza ovens; home ovens cannot reach it. Our Neapolitan pizza guide covers the full technique for this demanding, rewarding style.
New York style: 290–330°C (550–625°F), 6–8 minutes
The sweet spot for maxed-out home ovens with a steel, and easily reachable in any dedicated pizza oven turned down. This temperature gives the signature balance: a bottom crisp enough to support folding, a rim puffy enough to chew, even browning without excessive char. Most home-oven pizza makers should consider this their home territory — learn more in our New York style guide.
Detroit and pan styles: 260–290°C (500–550°F), 12–18 minutes
Thick, cheese-edged pan pizzas need moderate heat and time. Too hot and the cheese perimeter burns before the deep crumb sets; too cool and the bottom never fries crisp in the pan’s oil. The steel or stone beneath the pan matters here too — it drives bottom heat into the pan for that fried, crispy underside.
Chicago deep dish: 215–230°C (425–450°F), 25–40 minutes
The coolest standard bake in pizza, because deep dish is essentially a casserole with a crust. Low, slow heat cooks the thick layers through without burning the exposed rim. Rushing deep dish with high heat is the classic mistake — the outside looks done while the middle is raw.
Sicilian and grandma styles: 260–290°C (500–550°F), 12–20 minutes
Similar territory to Detroit: moderate heat, longer bake, with attention to bottom browning in the oiled pan. These styles are forgiving of temperature imprecision, which makes them excellent for beginners calibrating a new oven.
Thin and cracker styles: 260–290°C (500–550°F), 8–12 minutes
Cracker-thin crusts need enough heat to crisp fully without scorching — moderate-high heat with a longer bake drives off the moisture that would otherwise leave them leathery. Watch the edges, which brown fastest.
Deck Temperature vs Air Temperature: Measure the Right Thing
Here is the concept that upgrades more pizza makers than any other: the deck temperature matters more than the air temperature. The bottom of your pizza cooks by direct contact with the baking surface, and that surface can be hundreds of degrees cooler — or hotter — than the air around it.
A home oven set to 275°C may show 275°C air temperature while the stone inside has only reached 200°C after a 20-minute preheat. Launch onto that stone and the bottom steams instead of searing. Conversely, in a wood-fired oven, the deck near the fire can be 500°C while the air at the mouth is 350°C — launching onto the hot spot incinerates the bottom before the top cooks.
This is why oven dial settings and built-in thermometers mislead: they measure air. The pizza cares about the deck. Internalize this distinction and you will stop being confused by bakes that “should have worked” at the right dial setting.
How to measure deck temperature
An infrared thermometer — point, click, read the surface temperature — is the definitive tool. Aim at the center of the deck where the pizza will sit, and take readings in a few spots to find hot and cool zones. They are inexpensive, instant, and useful for every high-heat cooking task beyond pizza.
Without one, use visual and tactile cues: in a wood oven, the traditional test is the dome clearing of soot and a deck that makes a dropped pinch of flour brown in seconds. In a home oven, the honest proxy is time — a full 45–60 minute preheat at maximum is the only reliable substitute for measurement. The oven’s preheat beep is not a substitute; it measures air.
Mapping hot spots
No oven heats evenly. Use the infrared thermometer to map your deck: take readings in a grid pattern and note where the hot and cool zones are. In home ovens, the back is usually hotter than the front; in wood ovens, the fire side dominates. Knowing your map tells you where to launch, when to turn, and why one side of every pizza browns first. Re-map occasionally — hot spots shift as elements age or fire habits change.
Managing Heat by Fuel Type
Wood-fired ovens: read the fire
Wood oven temperature management is a skill, not a setting. Build the fire 30–45 minutes before baking and let it heat the dome and deck thoroughly — the traditional sign of readiness is soot burning off the dome interior, revealing clean refractory underneath. Before launching, push the fire to the back or side and check the deck with an infrared thermometer: 430°C+ in the center for Neapolitan, cooler toward the mouth.
During a session, the deck temperature falls with each pizza while the fire rebuilds it. Manage this rhythm: add a small log or two between pizzas to maintain the flame, and give the deck a few minutes to recover. If bottoms start coming out pale, the deck has cooled — pause and rebuild heat before launching the next pie. Rolling flame across the dome top is what cooks toppings; a dying fire means pale tops even on a hot deck. Fire management is the whole craft of wood-fired pizza, and it rewards attention.
Gas ovens: trust the dial, verify the deck
Gas is gloriously simple: set the dial, wait 15–20 minutes, verify the deck temperature, and bake. The main technique is learning your oven’s dial positions — most owners end up with a “Neapolitan setting” near maximum and a “New York setting” a notch or two down, calibrated by thermometer readings rather than the printed numbers. Between pizzas, the burner recovers the deck quickly; still, give it two to three minutes. If your oven has separate top and bottom burner controls, use them to balance top and bottom heat — more top flame for pale toppings, less for aggressive cheese browning.
Pellet ovens: steady with supervision
Pellet ovens hold temperature more steadily than hand-managed wood fires thanks to automated feeding. Set your target, let the oven stabilize for 15–25 minutes, and verify with the thermometer. The main variable is pellet feed rate — learn how your oven’s settings translate to actual deck temperatures, since controller numbers are approximate. Keep the hopper filled; a hopper running low causes temperature swings as the feed becomes intermittent.
Home ovens: preheat is everything
Home oven temperature management is 90% preheat discipline. Set maximum temperature, put the steel or stone in from the start, and give it 45–60 minutes — not 20, not 30. Verify with an oven thermometer (air) and, ideally, an infrared reading of the surface. Between pizzas, close the door and rest 5–10 minutes for recovery. Use the broiler for finishing tops. There is no trick beyond this: a fully saturated steel at maximum oven temperature is a formidable pizza tool, and an under-preheated one is a disappointment machine. Our guide to great pizza in a home oven builds the complete technique around this foundation.
Pizza Oven Temperature Troubleshooting
Bottom burns while top stays pale. The deck is too hot relative to the top heat. In a wood oven, move the pizza away from the fire or let the deck cool slightly; in a home oven, move the steel up a rack and finish under the broiler. This imbalance is the most common temperature problem across all ovens.
Top burns while bottom stays pale. The reverse: too much top heat, under-preheated deck. In wood ovens, the flame is too aggressive — let it die down slightly. In home ovens, the deck was not saturated — extend the preheat and verify with a thermometer rather than the beep.
First pizza great, later pizzas pale. Deck recovery failure. The first pizza spent the stored heat and the oven has not rebuilt it. Rest longer between pizzas, rebuild the fire (wood), or confirm the burner is actually cycling (gas). This is normal physics, not oven failure.
Uneven browning — one side chars. Hot spots. Map them with the thermometer, launch away from the worst of them, and turn the pizza during the bake — every 20–30 seconds in high-heat ovens, once halfway in home ovens.
Cheese splits or gets greasy. Often excessive heat on the cheese, especially with high-fat cheeses or heavy broiler use. Moderate the top heat, use low-moisture mozzarella, and keep broiler finishes to 60–90 seconds.
Crust is dry and crackery instead of tender. Too low a temperature for too long — the bake drove off all the moisture. Either raise the heat, shorten the bake, or accept that the style wants more heat than the oven is giving. Dough formulation matters too: lean doughs dry out faster than enriched ones in long bakes.
Frequently Asked Questions
What is the best temperature for homemade pizza?
It depends on the style: 430°C+ (800°F+) for Neapolitan, 290–330°C (550–625°F) for New York style, 230–290°C (450–550°F) for pan and Detroit styles. If you must pick one temperature for a maxed-out home oven, use the maximum — around 275–290°C — and choose styles that thrive there.
How do I know when my pizza oven is hot enough?
Measure the deck with an infrared thermometer and compare to your style’s target. Without a thermometer: in wood ovens, the dome clears of soot and flour browns in seconds on the deck; in home ovens, a full 45–60 minute preheat at maximum is the reliable proxy. Never trust the oven’s preheat beep alone — it measures air, not the baking surface.
Why is my pizza burnt on the bottom but raw on top?
Your deck is much hotter than your top heat — the classic imbalance. Move the pizza away from the direct heat source (away from the fire, or up a rack in a home oven), reduce the flame or bottom heat slightly, and give the top more time via the broiler or dome flame. Turning the pizza also helps even things out.
Can I bake pizza at 200°C (400°F)?
You can, but expect a longer bake (12–15+ minutes) and a drier, crisper, less puffy result — closer to a flatbread than a pizzeria pie. It works acceptably for thin, cracker-style pizzas and some pan styles, where crispness is the goal anyway. For anything aiming at Neapolitan or New York texture, it is too cool; the crust dries out before it browns properly, and the cheese can overcook while you wait for color.
How long should I preheat my pizza oven?
Wood-fired: 30–45 minutes of active fire. Gas: 15–20 minutes. Pellet: 15–25 minutes. Home oven with steel or stone: 45–60 minutes at maximum. In every case, verify with a thermometer rather than the clock — these are starting points, and your specific oven, the weather, and how many pizzas you are baking all shift them. When in doubt, preheat longer; there is no penalty for a fully saturated deck.
Does opening the oven door really lose that much heat?
Yes — a home oven can lose a huge fraction of its hot air in the seconds the door is open, and recovery takes minutes. That is one of the most underestimated factors in pizza oven temperature management. Work quickly when launching and turning, keep the door closed between pizzas, and plan your movements before opening. In wood-fired ovens the thermal mass buffers the loss better, but the principle still applies.
What temperature should the pizza stone be?
Match it to your style: 430°C+ for Neapolitan (in a dedicated oven), 290–330°C for New York style, 230–290°C for pan styles. In a home oven, the answer is simply “as hot as the steel or stone gets after a full 45–60 minute preheat at maximum” — which is typically 260–290°C. Measure the surface itself with an infrared thermometer rather than trusting the dial.
Why do my pizzas take longer than recipes say?
Almost always under-preheating or an oven that runs cooler than its dial claims. Verify with thermometers — both an oven thermometer for air temperature and an infrared reading of the deck. If both check out, the likely culprit is overloading: too much sauce and too many wet toppings extend bake time significantly because the oven must drive off that moisture before browning can begin.
[…] principle is identical: the deck (usually cordierite stone) must saturate, not just the air. Our pizza oven temperature guide covers target deck temps by style — roughly 650–750°F for New York style, 750–900°F for […]