

Most gluten free pizza dough fails for one reason: it tries to imitate wheat dough instead of working with what gluten-free flours actually do. Without gluten — the elastic protein network that gives wheat dough its stretch, strength, and chew — a gluten-free dough cannot be kneaded, stretched, or tossed like the real thing. Recipes that pretend otherwise produce crusts that crack when folded, crumble when sliced, and taste like disappointment. But a gluten-free pizza dough built on the right principles — the right flour blend, the right binders, the right shaping method — holds together beautifully, crisps up golden, and satisfies even the wheat eaters at the table.
This is not a recipe that happens to be gluten-free. It is a recipe engineered for gluten-free flours from the ground up: a balanced blend of whole-grain and starch flours for flavor and structure, psyllium husk and xanthan gum standing in for gluten’s binding power, and a press-and-par-bake method that plays to the dough’s strengths instead of fighting its weaknesses. The result is a crust with a crisp bottom, a tender interior, and enough structural integrity to pick up a slice one-handed — the true test.
Whether you are baking for celiac disease, gluten sensitivity, or simply curious, this guide gives you the complete method with weights in grams and cups, temperatures, and timing, plus troubleshooting for every common failure. A note on safety: if you are baking for someone with celiac disease, prevent cross-contamination — use clean equipment, fresh ingredients (flour dusted with wheat flour from an open bag in the pantry is a real risk), and check that every ingredient, including baking powder and spices, is certified gluten-free. Even a wooden pizza peel with wheat flour embedded in its grain can be a problem; use parchment as a barrier or dedicate tools to gluten-free baking.
🍕 Key Takeaways
- No single gluten-free flour works alone — blend whole-grain flours (sorghum, brown rice) with starches (tapioca, potato) for flavor and structure.
- Psyllium husk powder is the closest thing to a gluten replacement: it forms a gel network that gives the dough stretch and strength.
- Never stretch gluten-free dough — press it between parchment sheets, then par-bake before topping for a crisp, sturdy crust.
- Hydration runs higher than wheat dough (around 75–80%) because gluten-free flours are thirsty; the dough should feel like thick batter-meets-playdough.
- Yeast still works normally: 7 g per 300 g flour blend, proofed at 75–80°F (24–27°C) for 60–90 minutes.
- Par-bake the crust 8–10 minutes at 475°F (245°C) before adding toppings — this is the single biggest crispness upgrade.
- For celiac safety, verify every ingredient is certified gluten-free and prevent cross-contamination with wheat flour.
Why Gluten-Free Pizza Dough Behaves So Differently
Gluten is two proteins — glutenin and gliadin — that link into an elastic web when wheat flour meets water and kneading. That web does three jobs in pizza dough: it traps the carbon dioxide from yeast (creating rise and air pockets), it gives the dough extensibility (the ability to stretch thin without tearing), and it sets into a chewy structure in the oven’s heat. Remove gluten and all three jobs go unfilled. Gas escapes instead of inflating the dough, the dough cracks instead of stretching, and the baked crumb turns out crumbly or gummy rather than chewy.
This is why wheat-dough techniques fail on gluten-free dough. Kneading develops nothing — there is no gluten to develop, so extended kneading just makes a sticky mess. Stretching tears the dough because there is no elastic network to distribute the tension. Long fermentation helps flavor but cannot create structure that is not there. Successful gluten-free pizza dough abandons the wheat playbook and uses a different strategy: build viscosity and binding through hydrocolloids (ingredients that form gels with water), accept a press-not-stretch shaping method, and rely on the oven — particularly par-baking — for structure.
It also explains why single-flour gluten-free pizzas disappoint. Almond flour alone makes a dense, oily crust. Coconut flour alone absorbs absurd amounts of water and tastes like coconut. Rice flour alone bakes up gritty and bland. Each gluten-free flour has strengths and weaknesses, and blending them — whole-grain flours for flavor and nutrition, starches for lightness and binding, in roughly a 60/40 ratio — produces a crust greater than the sum of its parts. The blend below is tuned specifically for pizza: enough structure to hold a slice, enough tenderness to bite cleanly, and a neutral-wheaty flavor that lets toppings shine.
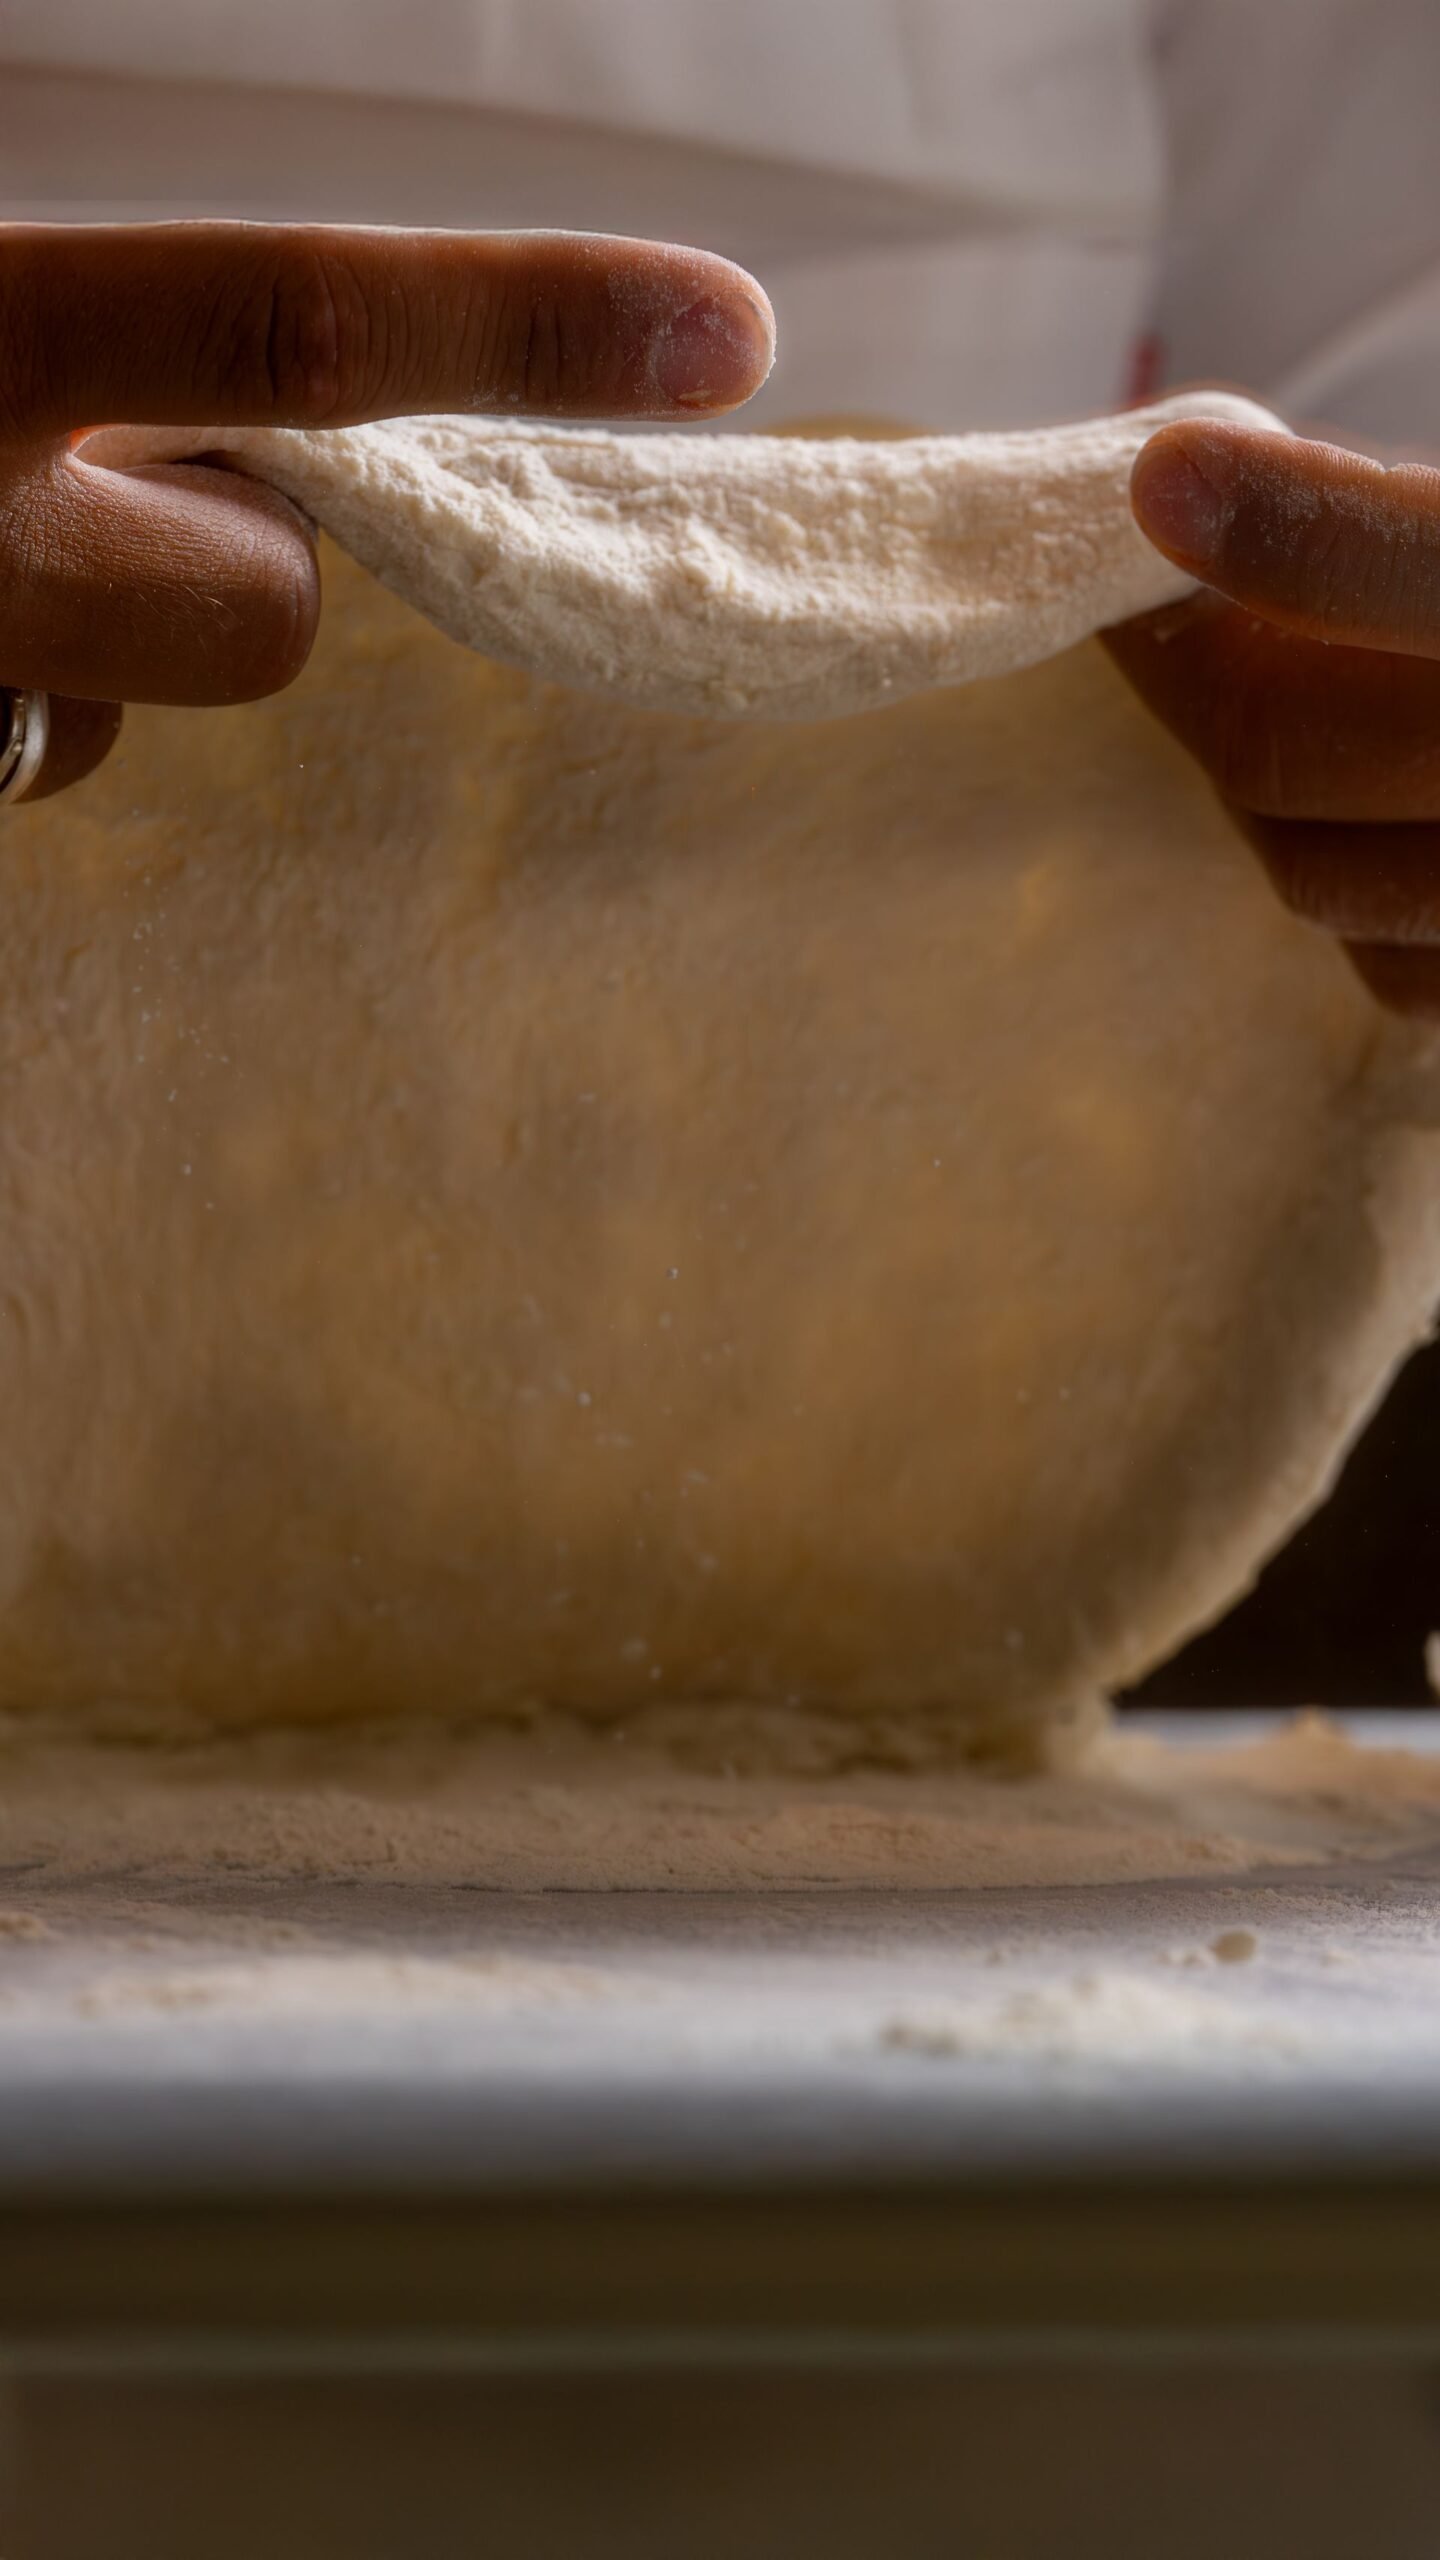
One more critical difference: gluten-free doughs are wetter. Without gluten to provide structure, the dough relies on hydrated starches and gels, which demand more water — typically 75–85% hydration versus 60–65% for wheat pizza dough. Beginners invariably add too much flour trying to make the dough “feel like normal dough,” and end up with a dry, cracked crust. Trust the wetness: properly hydrated gluten-free dough feels like a cross between thick cake batter and soft playdough — sticky, soft, and absolutely not kneadable. That texture is correct.
Gluten Free Pizza Dough: The Flour Blend and Binders That Work
Here is the blend, scaled for two 10–12 inch pizzas. You can buy a commercial gluten-free “pizza flour” or “bread flour” blend — several are now formulated with pizza in mind — but blending your own gives better flavor and costs less. All weights in grams, with cup equivalents:
Dry blend (300 g total): 120 g sorghum flour (1 cup) — mild, wheaty flavor, the backbone; 60 g brown rice flour (⅓ cup + 1 tbsp) — structure and subtle nuttiness; 60 g tapioca starch (½ cup) — lightness and chew; 45 g potato starch (¼ cup + 2 tbsp, not potato flour) — tenderness and browning; 15 g psyllium husk powder (2 tbsp) — the gluten replacement; 7 g instant yeast (2¼ tsp); 6 g fine sea salt (1 tsp); 5 g sugar (1 tsp); 3 g xanthan gum (¾ tsp) — backup binding.
Each ingredient earns its place. Sorghum is the flavor base — neutral, slightly sweet, the closest to wheat in a blend. Brown rice flour adds structure but can taste gritty alone, which is why it is balanced with starches. Tapioca starch contributes the stretchy chew that makes the crust feel like pizza rather than flatbread. Potato starch (distinct from potato flour, which is heavier and potato-flavored) keeps the crumb tender and promotes browning. Psyllium husk powder is the star: when hydrated, it forms a gel network that mimics gluten’s binding, giving the dough cohesion, a bit of stretch, and dramatically better slice integrity. Use the fine powder, not whole husks, and make sure it is fresh — stale psyllium gels weakly.
Xanthan gum plays backup to psyllium, adding viscosity and helping the crust hold together when sliced hot. A little goes a long way: too much xanthan makes the crust gummy and slick, a classic gluten-free failure mode. If your commercial blend already contains xanthan gum, omit the added xanthan here. Do not substitute guar gum 1:1 — it behaves differently and can produce a slimy texture in pizza applications.
Wet ingredients: 240 g warm water (80%, 1 cup) at 100–110°F (38–43°C); 20 g olive oil (1½ tbsp); 1 large egg (about 50 g), beaten — optional but recommended for structure and browning. The egg is the one ingredient worth calling out: it adds protein structure the dough otherwise lacks, enriches the flavor, and noticeably improves slice integrity. For an egg-free version, replace it with 50 g additional water plus 1 tablespoon of ground flaxseed mixed into the dry blend — the result is slightly more fragile but still very good.
Step-by-Step: Mixing, Proofing, and Shaping
Mixing (10 minutes). Whisk all dry ingredients thoroughly in a large bowl — truly thoroughly, for a full minute. Even distribution of psyllium, xanthan, yeast, and salt is critical because you cannot knead inconsistencies out later. Add the warm water, olive oil, and beaten egg. Mix with a sturdy spatula or wooden spoon for 2–3 minutes until no dry pockets remain. The dough will look like very thick, sticky batter — wetter and looser than wheat dough. This is correct. Do not add flour. Cover the bowl and rest 10 minutes; during this rest the psyllium and starches hydrate and the mixture thickens noticeably into a soft, moldable dough.
Proofing (60–90 minutes). Let the covered dough rise in a warm spot, 75–80°F (24–27°C) — the oven with the light on works well. Gluten-free dough will not double like wheat dough; expect a 25–50% increase in volume and a surface dotted with small bubbles. That is a full, successful rise for this dough. Over-proofing is a real risk: beyond about 2 hours the structure weakens and the baked crust turns out fragile. Set a timer. While it proofs, place a pizza stone or steel on the middle rack and preheat the oven to 475°F (245°C) for at least 45 minutes — gluten-free crust needs aggressive bottom heat.
Shaping — press, never stretch (15 minutes). Divide the dough in half (about 290 g per crust). Place one portion on a sheet of parchment paper lightly dusted with gluten-free flour or rice flour. Wet your hands or oil them lightly — this dough sticks to dry hands. Press the dough outward from the center into a 10–12 inch round, about ¼ inch (6 mm) thick, building a slightly thicker rim with your fingertips. Then lay a second sheet of parchment on top and roll gently with a rolling pin to even it out — the parchment sandwich prevents sticking without adding excess flour, which would dry the crust. Peel off the top parchment. Patch any thin spots or cracks by pressing dough over with wet fingers; unlike wheat dough, patches bond perfectly because there is no gluten structure to disrupt. If the dough resists and springs back slightly, let it rest 5 minutes — the psyllium gel relaxes just like gluten does.
Par-bake (8–10 minutes). Slide the parchment with the crust onto the preheated stone or steel — or onto a preheated sheet pan if you have no stone. Bake 8–10 minutes at 475°F (245°C), until the surface looks dry and set and the bottom is just starting to color. The crust will not brown much yet; that comes later. Par-baking is non-negotiable for gluten-free pizza: it sets the structure, drives off surface moisture, and creates the crisp foundation that wet toppings would otherwise destroy. A topped-but-not-par-baked gluten-free pizza is a soggy tragedy; a par-baked one is sturdy and crisp.
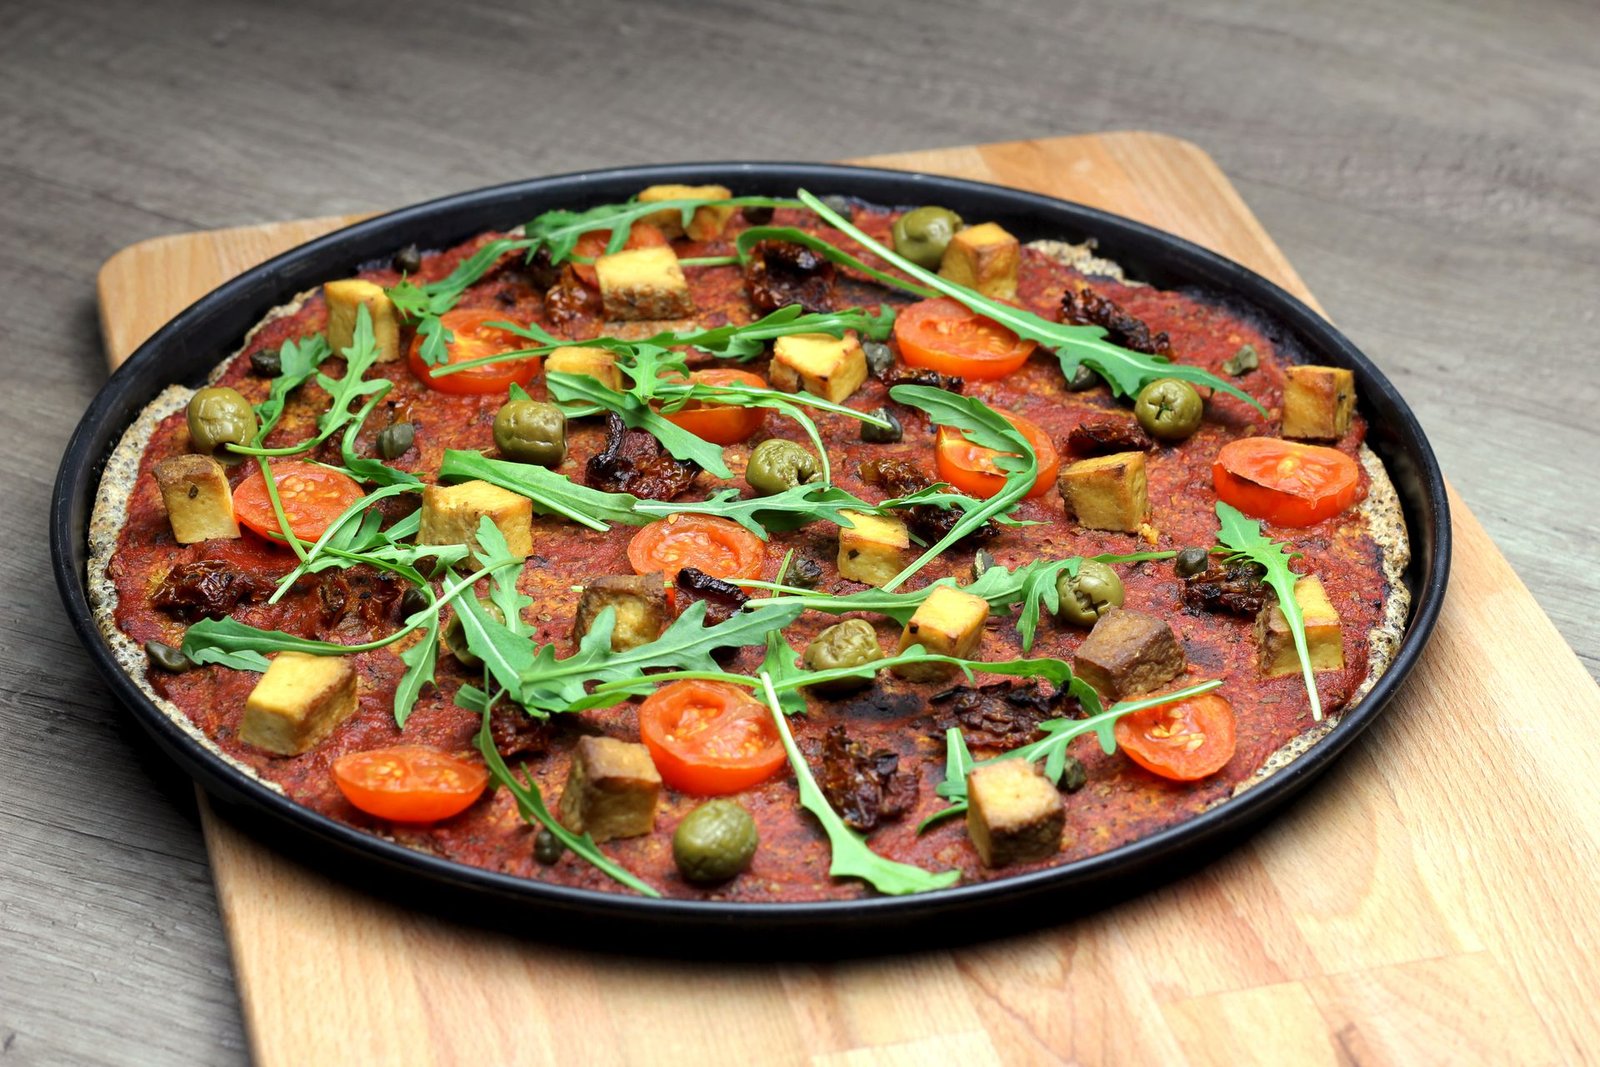
Top and finish (8–12 minutes). Remove the par-baked crust, add sauce and toppings — go lighter than you would on wheat pizza, especially with wet ingredients — and return to the oven for 8–12 minutes until the cheese melts and the rim turns golden brown. Because the crust is already mostly baked, this stage is about melting and browning, not cooking dough through. Let the pizza rest 3–5 minutes before slicing; gluten-free crust firms up as it cools slightly, and cutting too early is a leading cause of slices falling apart.
Topping Strategy for Gluten-Free Crust
Gluten-free crust is more vulnerable to sogginess than wheat crust, so topping discipline matters. The par-bake handles most of the risk, but smart topping choices finish the job. Sauce lightly — ¼ cup for a 12-inch crust, spread thin, and consider a thicker sauce like our homemade pizza sauce or tomato paste boosted with olive oil and herbs rather than a watery crushed-tomato sauce. Fresh mozzarella must be patted very dry or replaced with low-moisture mozzarella; the difference in released water is dramatic. Our guide to keeping pizza from getting soggy covers these techniques in depth, and every one of them matters double on gluten-free crust.
Pre-cook watery vegetables. Mushrooms, zucchini, bell peppers, and fresh tomatoes release significant water in the oven’s heat; a quick sauté or roast before topping removes that moisture while concentrating flavor. This is good practice on any pizza, but on gluten-free crust it is the difference between crisp and limp. Similarly, go easy on total topping weight — a loaded gluten-free pizza stresses the crust structurally. Two to three toppings, well-chosen, beat a six-topping pile.
Cheese strategy: low-moisture mozzarella is the workhorse, and a blend with a little parmesan or pecorino adds flavor and helps browning. Apply cheese after the sauce in a moderate layer — edge to edge is fine since there is no puffy wheat rim to protect, but keep the layer even and not too thick. Fresh basil, a drizzle of olive oil, and flaky salt after baking elevate the whole pizza. And remember the rest before slicing: those 3–5 minutes let the cheese set and the crust firm, turning a fragile-looking pizza into one you can confidently serve to guests.
One more topping tip specific to gluten-free crust: consider the order of operations. On wheat pizza, sauce goes directly on raw dough without issue. On gluten-free crust, a thin “cheese barrier” — a light sprinkle of parmesan or low-moisture mozzarella directly on the par-baked crust before the sauce — adds an extra layer of moisture protection. It melts into the crust’s surface during the final bake and blocks sauce liquid from seeping in. Pizzerias serving gluten-free pies use this trick routinely, and it costs nothing but ten seconds.
Troubleshooting Gluten-Free Dough Problems
The crust cracked when I tried to shape it. The dough was too dry or under-hydrated. Gluten-free dough should feel soft and slightly sticky, never firm. Next time, add water a tablespoon at a time until the texture resembles thick batter after mixing. Also check your psyllium — old or coarse psyllium gels poorly. Cracks during shaping can be patched with wet fingers; cracks after baking mean the dough needed more water.
The baked crust is gummy in the middle. Under-baking, almost certainly — or toppings that were too wet. Extend the par-bake to a full 10 minutes and make sure the oven and stone are fully preheated. Cut back on sauce and pre-cook vegetables. A gummy center can also mean the crust was too thick; roll to a true ¼ inch. If the bottom browns before the center sets, move to a lower rack for more bottom heat.
Slices fall apart. Three likely causes: the pizza was cut too hot (rest 5 minutes), the dough lacked binder (check psyllium freshness and xanthan measurement), or the crust was under-baked. Egg in the dough helps significantly — if you omitted it, try including it. Also, a slightly thicker crust (⅓ inch) holds together better than an ultra-thin one while you dial in the recipe.
The crust tastes gritty. Usually brown rice flour ground too coarsely, or the blend needed more starch. Try a finer-milled brown rice flour, or shift 20 grams from brown rice flour to tapioca starch. Letting the mixed dough rest the full 10 minutes before shaping also hydrates the flours more completely and reduces grittiness.
Dense, heavy crust with no lightness. Too little leavening action — check that the yeast is alive (proof it: foam in 10 minutes in warm sugared water or replace it), that the proofing spot was warm enough, and that you did not over-proof past 2 hours. Also verify measurements: accidentally doubling the psyllium or xanthan produces a dense, heavy crumb. A kitchen scale eliminates this class of error entirely.
It tastes bland. Gluten-free flours need assertive seasoning. Make sure the salt is a full teaspoon per batch, consider adding a teaspoon of garlic powder or Italian herbs to the dry blend, and brush the par-baked rim with garlic-infused olive oil before the final bake. Salt and fat carry flavor in the absence of wheat’s natural taste.
Frequently Asked Questions
Can I use a store-bought gluten-free flour blend for pizza?
Yes, with caveats. Choose a blend formulated for bread or pizza (not cake), and check whether it already contains xanthan gum — if so, omit the added xanthan in this recipe. Cup4Cup-style blends and King Arthur Gluten-Free Pizza Flour are designed for this purpose. All-purpose-style blends work but produce a milder, less structured crust; adding psyllium husk powder (2 tablespoons per 300 g blend) improves any commercial mix significantly.
Is gluten-free pizza dough safe for celiac disease?
The recipe itself uses no gluten ingredients, but celiac safety requires preventing cross-contamination: clean all equipment thoroughly, use ingredients certified gluten-free (including yeast, baking powder, and spices, which can share production lines with wheat), and avoid bulk-bin flours. When in doubt, certified labels are the standard to trust.
Why does my gluten-free dough need so much water?
Gluten-free flours and starches absorb more water than wheat flour, and without gluten the dough relies on hydrated starch gels for structure. At 75–85% hydration the dough feels alarmingly wet compared to wheat dough — that is correct. Resist the urge to add flour; a dry gluten-free dough bakes into a cracked, crumbly crust.
Can I make gluten-free pizza dough ahead of time?
Yes. The dough refrigerates well for up to 48 hours — the cold rest actually improves flavor, and the dough firms up slightly, making it easier to shape. You can also par-bake crusts, cool them completely, and freeze the par-baked shells for up to 2 months; top and bake from frozen, adding 3–4 minutes. Raw gluten-free dough also freezes, though par-baked shells give more reliable results.
Can I grill gluten-free pizza?
Grilling is tricky because the raw dough is fragile, but par-baked shells grill beautifully. Par-bake as directed, then finish on a medium-hot grill (about 450°F / 230°C) with toppings for 5–8 minutes with the lid closed. The grill adds wonderful char flavor that complements the mild crust.
How is this different from cauliflower crust pizza?
Cauliflower crust (our recipe) is vegetable-based — riced cauliflower bound with egg and cheese, pressed thin. It is naturally gluten-free but tastes distinctly of cauliflower and has a different, denser texture. This guide’s flour-based dough tastes like actual pizza crust: bready, crisp, and neutral enough to carry any topping combination.