

Cauliflower crust pizza has a reputation problem, and honestly, it earned it. Too many recipes produce a sad, floppy disc that steams instead of crisps, tastes faintly of boiled vegetable, and falls apart the moment you pick up a slice. This cauliflower crust pizza recipe is the fix — a genuinely crisp, golden, hold-it-by-the-point crust that happens to be made from cauliflower, with the moisture wrung out and the technique dialed in so it bakes up sturdy and delicious.
The entire battle is moisture. A head of cauliflower is over 90% water, and every drop you leave in the riced vegetable turns to steam in the oven — which is the exact opposite of crisp. This recipe attacks moisture at three stages: salting and resting the riced cauliflower to draw water out, wringing it bone-dry in a clean kitchen towel, and pre-baking the crust before any toppings go near it. Do all three and you get a crust with browned, lacy edges and a firm center that supports real toppings.
Below is the full method for two 10-inch crusts, the cheese-and-egg binder ratio that holds everything together without tasting eggy, topping strategies that keep the crust crisp, plus make-ahead, storage, reheating, and food-safety notes. Whether you are gluten-free, low-carb curious, or just vegetable-forward, this is the cauliflower crust pizza recipe that converts skeptics.
🍕 Key Takeaways
- Squeeze the cooked cauliflower rice in a kitchen towel until no more liquid comes out — this single step determines crisp vs. soggy.
- Pre-bake the bare crust 15–18 minutes before adding toppings; never bake toppings and raw crust together.
- The binder ratio that works: 1 large egg + ½ cup finely grated parmesan-style cheese per medium head of cauliflower.
- Keep toppings light and pre-cook anything watery (mushrooms, fresh tomatoes, spinach) before it goes on.
- Bake at 425°F (220°C) on parchment — the crust needs moderate, even heat, not pizza-oven blast.
- Leftovers keep 3 days refrigerated; reheat in a hot oven or skillet, and never leave pizza out over 2 hours.
Why Cauliflower Crust Goes Soggy (The Science)
Understanding the enemy makes the technique obvious. When riced cauliflower hits a hot oven, its cell walls break down and release their water as steam. In a wheat dough, gluten forms a stretchy network that traps steam in air pockets (that is what makes bread rise). Cauliflower has no gluten — so the steam has nowhere to go except outward, turning the crust’s surface damp and preventing the Maillard browning that creates crispness and flavor.
That is why every successful cauliflower crust pizza recipe follows the same physics: remove water before baking, create structure with binders (egg protein and melted cheese), and give the crust a solo bake so its surface can dry and brown before wet toppings arrive. Skip any one of these and you are back to floppy territory. Recipes that microwave the cauliflower and barely squeeze it are essentially baking cauliflower soup and hoping for crunch — hope is not a strategy.
There is also a flavor dimension. Cauliflower contains sulfur compounds that taste cabbagey when steamed but turn sweet and nutty when roasted dry. The pre-bake does double duty: it drives off water and roasts the cauliflower itself, transforming the flavor from “vegetable compromise” to something you would genuinely crave. This is the same principle behind great roasted cauliflower — dry heat is everything.
Ingredients
Makes two 10-inch crusts (each serves 2 as a main, 3–4 as a lighter meal). The recipe scales linearly if you want to batch-cook.
For the crusts
- 1 large head cauliflower (about 900 g / 2 lb), or 6 cups pre-riced cauliflower
- 1 teaspoon fine sea salt, divided (for drawing out moisture + seasoning)
- 2 large eggs, lightly beaten
- 100 g (1 cup) finely grated parmesan or a parmesan-style hard cheese
- 100 g (1 cup) shredded low-moisture mozzarella
- 1 teaspoon dried oregano
- ½ teaspoon garlic powder
- ½ teaspoon freshly cracked black pepper
- Optional: 2 tablespoons almond flour or coconut flour, for extra binding if your cauliflower seems especially wet
For topping (classic margherita-style, per crust)
- 80 ml (⅓ cup) crushed San Marzano-style tomatoes, drained of excess liquid
- 100 g (1 cup) shredded low-moisture mozzarella
- Fresh basil leaves, torn
- 1 tablespoon extra-virgin olive oil
- Flaky sea salt
Equipment notes
You will need a food processor or box grater for ricing, a clean kitchen towel or several layers of cheesecloth for wringing (this is non-negotiable — paper towels disintegrate), parchment paper, and a baking sheet or pizza stone. A pizza stone helps but is not required; a preheated heavy baking sheet works nearly as well. For more on stones versus steels, see our pizza steel vs stone comparison.
Cauliflower Crust Pizza Recipe: Step-by-Step Method
Step 1 — Rice the cauliflower (10 minutes)
Cut the cauliflower into florets, discarding the thick core. Pulse in a food processor in batches until it resembles coarse rice or couscous — about 15–20 short pulses per batch. Do not over-process into mush; you want distinct grains roughly the size of rice. (Using store-bought pre-riced cauliflower? Skip to step 2 — but check the bag for added water or preservatives, and still do the full squeeze.)
Step 2 — Salt, rest, and steam (15 minutes)
Toss the riced cauliflower with ½ teaspoon of the salt and rest 10 minutes — the salt draws a surprising amount of water to the surface. Then steam it: microwave covered for 4–5 minutes, or steam in a covered skillet with a tablespoon of water for 5 minutes, until just tender. This step breaks down the cell walls so the water releases now, in the towel, instead of later in the oven.
Step 3 — The great wringing (10 minutes, the most important step)
Dump the hot cauliflower into the center of a large clean kitchen towel (not terrycloth — a flat flour-sack towel is ideal). Let it cool until you can handle it, then gather the towel into a bundle and twist. Squeeze with everything you have over the sink. Then squeeze again. Then, when you think you are done, squeeze a third time. You should extract roughly 1 to 1½ cups of liquid from a large head. The remaining pulp should feel dry and crumbly, like damp sand — not wet. If liquid still streams out when you press a handful, keep wringing. This step alone is the difference between crisp and soggy, and it is where most failed recipes cut corners.
Step 4 — Mix and shape (10 minutes)
Preheat the oven to 425°F (220°C) with a stone or heavy baking sheet inside. In a large bowl, combine the wrung-dry cauliflower with the beaten eggs, parmesan, mozzarella, oregano, garlic powder, remaining ½ teaspoon salt, and pepper. Mix thoroughly — the mixture will be sticky and hold together when pressed. Divide in half. Place each half on a parchment-lined peel or baking sheet and press into a 10-inch round, about ¼ inch thick, with slightly thicker edges. Compact it firmly; a loosely packed crust crumbles.
Step 5 — Pre-bake the bare crust (15–18 minutes)
Slide the parchment with the shaped crust onto the hot stone or sheet. Bake 15–18 minutes until the surface is dry to the touch, firm, and golden brown with darker lacy edges. It should feel sturdy when you lift an edge with a spatula. If the center still looks pale and damp, give it 3–5 more minutes — under-baked here cannot be fixed later.
Step 6 — Top lightly and finish (8–10 minutes)
Spread a thin layer of well-drained crushed tomatoes (no more than ⅓ cup per crust), scatter the mozzarella, and return to the oven for 8–10 minutes until the cheese is melted and bubbly with browned spots. Finish with fresh basil, olive oil, and flaky salt. Rest 3 minutes before slicing — the crust firms up as it cools slightly, so cutting too early invites breakage.
Pro Tips for Maximum Crispness
The double-bake insurance policy
If you have been burned by soggy cauliflower crust before and want maximum insurance, bake the crust twice: pre-bake the bare crust 12 minutes, flip it over carefully with a wide spatula, and bake 5–7 minutes more on the second side. This drives moisture out of both faces and gives you a crust that is crisp all the way through — sturdy enough for generous toppings. The flip is the only tricky part: slide a large spatula (or two) fully under the crust, commit to one confident motion, and do not attempt it until the first side is genuinely firm and golden. This technique also works beautifully for crusts you plan to freeze, since the extra-dry structure resists freezer moisture.
The squeeze test never lies
After wringing, grab a handful of the cauliflower pulp and squeeze hard. If more than a few drops escape, wring again. Experienced cauliflower-crust makers describe the target texture as “like wrung-out sponge meets cookie dough” — it should clump when pressed but release no visible liquid. When in doubt, squeeze once more. There is no such thing as too dry here.
Parchment is mandatory, not optional
Cauliflower crust bonds to bare metal like it has a grudge. Always shape and bake on parchment paper. Do not try to slide the raw crust off the parchment onto a stone — bake it on the parchment the whole time. The paper does not meaningfully block heat at 425°F, and it guarantees a clean release.
Thin beats thick, every time
A ¼-inch crust crisps through; a ½-inch crust steams in its own center no matter how long you bake it. If you want a heartier pizza, make two thin crusts rather than one thick one. Press the mixture firmly and evenly — thin spots burn while thick spots stay soft, so take a minute to get it uniform.
Cheese selection matters
Finely grated parmesan-style cheese is the structural backbone — its low moisture and high protein content help the crust set firm. Pre-shredded mozzarella with anti-caking starch actually helps here too, since the starch absorbs trace moisture (one of the few cases where the bagged stuff outperforms fresh). Save the fresh mozzarella for wheat-crust pizzas, where its water has gluten structure to lean on. Whatever cheese you choose, grate or shred it finely — large shreds melt unevenly and leave weak spots in the crust’s structure, while fine shreds distribute through the cauliflower pulp and bind every bite.
Let it rest before slicing
Fresh from the oven, the cheese binders are molten and the crust is at its most fragile. Three to five minutes of resting lets everything set into a sliceable structure. Use a sharp pizza wheel or a large chef’s knife with a single firm press — sawing back and forth tears the crust. A wire cooling rack under the pizza during the rest keeps the bottom crisp instead of steaming against the pan.
Toppings & Variations
A crisp cauliflower crust can handle real toppings — it just needs them managed. The rules: pre-cook anything that releases water, keep sauce and cheese layers thin, and avoid the “loaded” instinct. Get the topping strategy right and the variations below become easy weeknight rotations.
Toppings that work beautifully
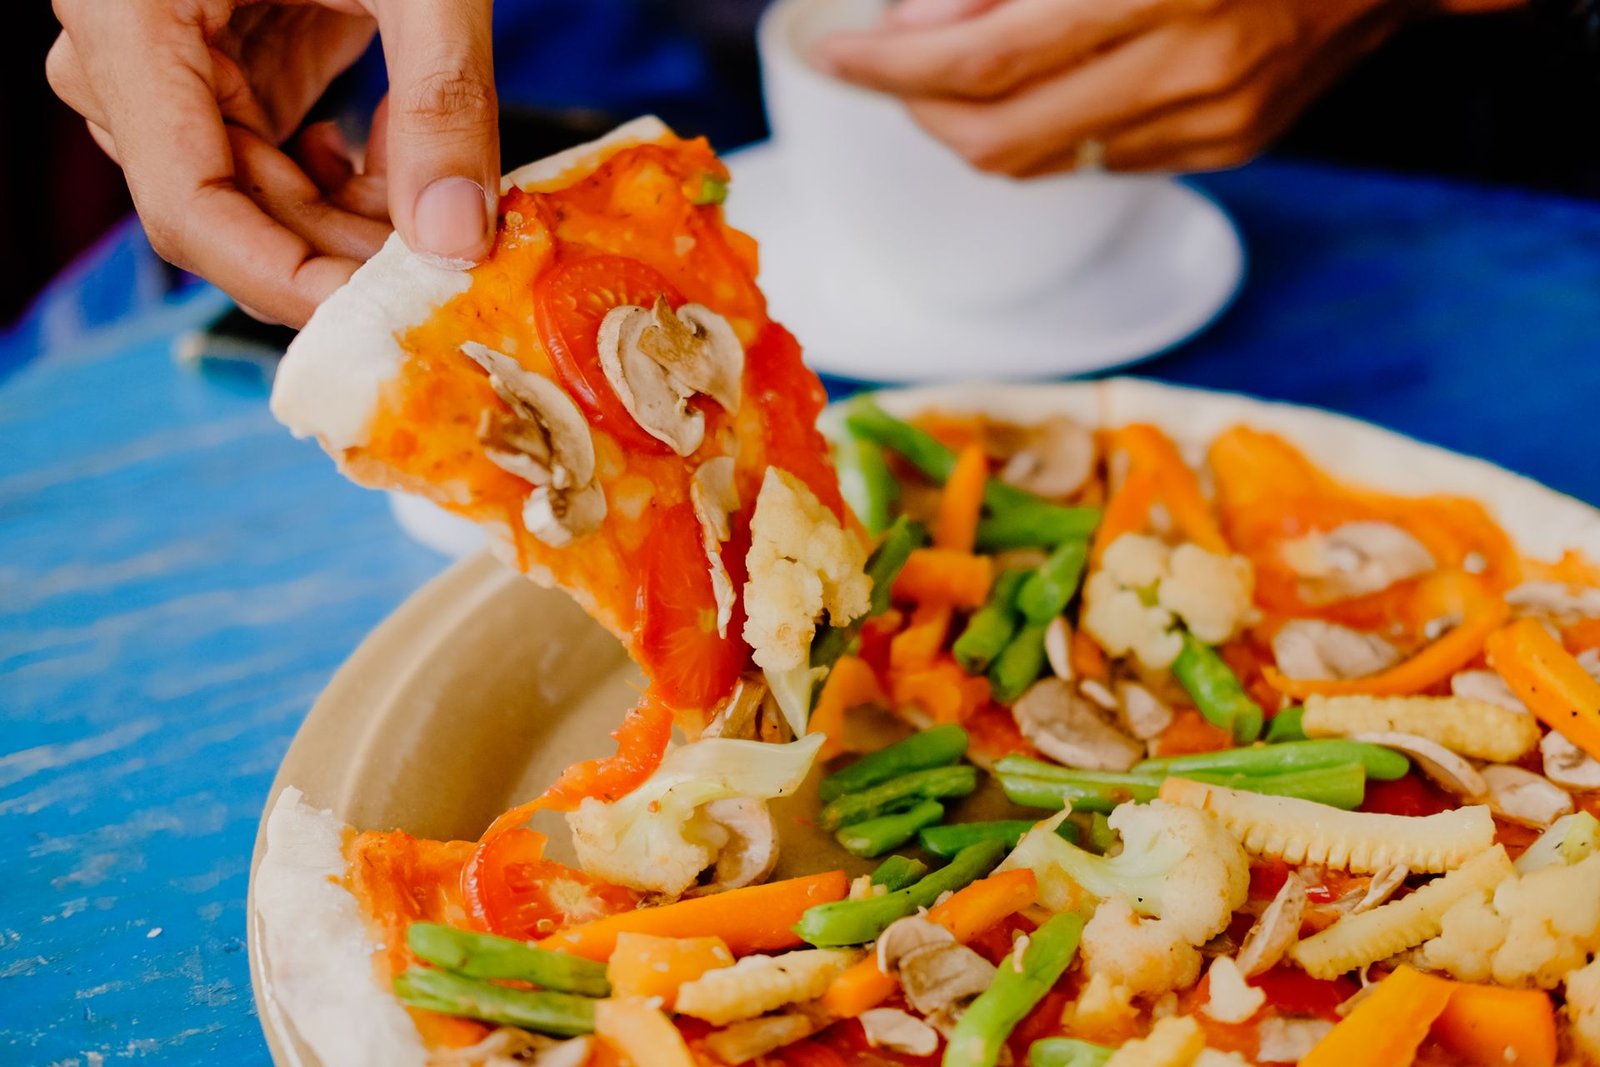
- Pepperoni: Renders its fat in the oven and crisps at the edges. Pat slices dry first. A pepperoni pizza on cauliflower crust is a low-carb classic for good reason.
- Cooked sausage or bacon: Pre-cooked, well-drained meats add flavor without moisture.
- Roasted vegetables: Roast peppers, zucchini, or onions separately until their moisture is gone, then use as toppings.
- Caramelized onions: Sweet, jammy, and already moisture-free.
- Olives, capers, pickled peppers: Briny toppings are naturally low-moisture and add punch.
Toppings to pre-cook or avoid
- Fresh mushrooms: Sauté until golden and dry first — raw mushrooms weep copiously. Our mushroom pizza technique (garlic butter, pre-cooked) adapts well.
- Fresh tomatoes: Use sparingly, seeded and drained, or use a thin layer of drained crushed tomatoes instead.
- Spinach and greens: Wilt and squeeze completely dry first.
- Pineapple: Delicious but juicy — pat very dry and use sparingly.
- Extra sauce: More than ⅓ cup per 10-inch crust is asking for trouble. Cauliflower crust is not a deep-dish vehicle.
More Variations to Try
Dairy-free cauliflower crust
Replace the parmesan and mozzarella in the crust with ½ cup nutritional yeast plus 3 tablespoons almond flour, and add an extra egg white for binding. The crust will be slightly less sturdy and will not brown as deeply, but it holds together and crisps acceptably. Top with dairy-free cheese or go cheeseless with a robust vegetable topping.
Extra-protein crust
Add 30 g (¼ cup) unflavored whey or egg-white protein powder to the cauliflower mixture and reduce the parmesan by half. The protein powder absorbs residual moisture and boosts structure — the crust comes out notably sturdier, with a slightly chewier bite. Season a touch more aggressively, as protein powder mutes flavors.
Italian herb and garlic crust
Double the oregano, add 1 teaspoon dried basil and an extra clove of minced garlic (or ½ teaspoon garlic powder) to the crust mixture. This is the version to make when the toppings are simple — a plain cheese or white pizza-style build lets the seasoned crust shine.
Breakfast cauliflower crust
Par-bake the crust, then top with a thin layer of cheese, pre-cooked bacon or sausage, and crack on eggs for the final bake — essentially the method from our breakfast pizza recipe, adapted to the sturdier low-carb base. Reduce the final bake by a minute since the thin crust heats faster.

Make-Ahead, Storage & Reheating
Make-ahead
The wrung-dry cauliflower pulp keeps refrigerated in a sealed container for up to 2 days — wring it, refrigerate, and mix the crust fresh when ready to bake. Fully shaped raw crusts can be refrigerated on their parchment for up to 24 hours (cover loosely). Best of all, pre-baked bare crusts freeze beautifully: cool completely, stack with parchment between them, wrap tightly, and freeze up to 2 months. Top and bake straight from frozen, adding 2–3 minutes to the final bake.
Storing leftovers
Refrigerate leftover slices in an airtight container for up to 3 days. Cool to room temperature within 2 hours of baking — do not leave pizza out on the counter, especially topped versions with cheese and meat. Cauliflower crust actually holds its texture in the fridge better than wheat crust, which tends to go leathery.
Reheating (best methods)
The oven is king: 400°F (200°C) directly on the rack or a sheet pan for 6–8 minutes re-crisps the crust remarkably well. A hot dry skillet with a lid works for single slices — 3–4 minutes over medium heat. The air fryer at 375°F (190°C) for 3–4 minutes is excellent for 1–2 slices. Avoid the microwave; it steams the crust back to the soggy state you worked so hard to escape. Our full reheating guide covers the nuances.
Food-safety notes
The crust contains egg, so bake until the center is fully set and golden — no damp, underdone middle. Wash the cauliflower thoroughly before ricing, and use clean towels for wringing (launder kitchen towels hot; a towel that smells musty has no place near food). Cool and refrigerate leftovers within 2 hours. If you are cooking for anyone pregnant, elderly, or immunocompromised, make sure egg-containing crusts bake through completely and toppings like deli meats are heated until steaming.
Frequently Asked Questions
Can I use frozen cauliflower rice for the crust?
Yes, and it is a real time saver. Thaw it completely, then squeeze out every drop of moisture in a clean kitchen towel before mixing. Excess water is the number one reason cauliflower crusts turn soggy, so do not skip the squeezing step.
Why is my cauliflower crust soggy in the middle?
Almost always insufficient wringing, a too-thick crust, or skipping the pre-bake. Fix all three: squeeze until the pulp releases no liquid, press to a uniform ¼ inch, and pre-bake the bare crust 15–18 minutes until golden before topping. Also check that you are not over-saucing — more than ⅓ cup sauce per 10-inch crust overwhelms it.
Can I use frozen riced cauliflower?
Yes, and it is a legitimate shortcut — thaw it completely, then steam and wring exactly as described. Frozen cauliflower actually releases its water readily, so the wringing step is even more productive. Expect to squeeze out a full cup or more of liquid. Do not skip the steaming step; thawed-but-raw cauliflower has a harsher flavor.
Is cauliflower crust pizza healthy?
It is lower in carbohydrates and calories than wheat crust and adds a serving of vegetables, which suits many people’s goals. But “healthy” depends on the whole pizza — a cauliflower crust buried under a pound of cheese and pepperoni is still an indulgent meal. We keep it honest: this is a genuinely tasty alternative crust, not a health claim. (For a balanced take on the bigger question, see our guide to whether pizza can be part of a healthy diet.)
Can I make cauliflower crust without cheese?
The cheese provides both binding and browning, so cheeseless versions are trickier — but possible. Use 3 eggs plus ¼ cup almond flour and ¼ cup nutritional yeast per head of cauliflower, press very thin, and extend the pre-bake by 5 minutes. The result is drier and more cracker-like; it works best with moist toppings like a white-pizza-style ricotta spread added after baking.
Does cauliflower crust taste like cauliflower?
Barely, when made right. The salting, steaming, hard wringing, and hot pre-bake convert the flavor from steamed-cauliflower to roasted-nutty, and the parmesan, garlic, and oregano do the rest. Blind tasters routinely fail to identify the vegetable. If yours tastes strongly of cauliflower, the pre-bake was too short or the wringing too gentle.
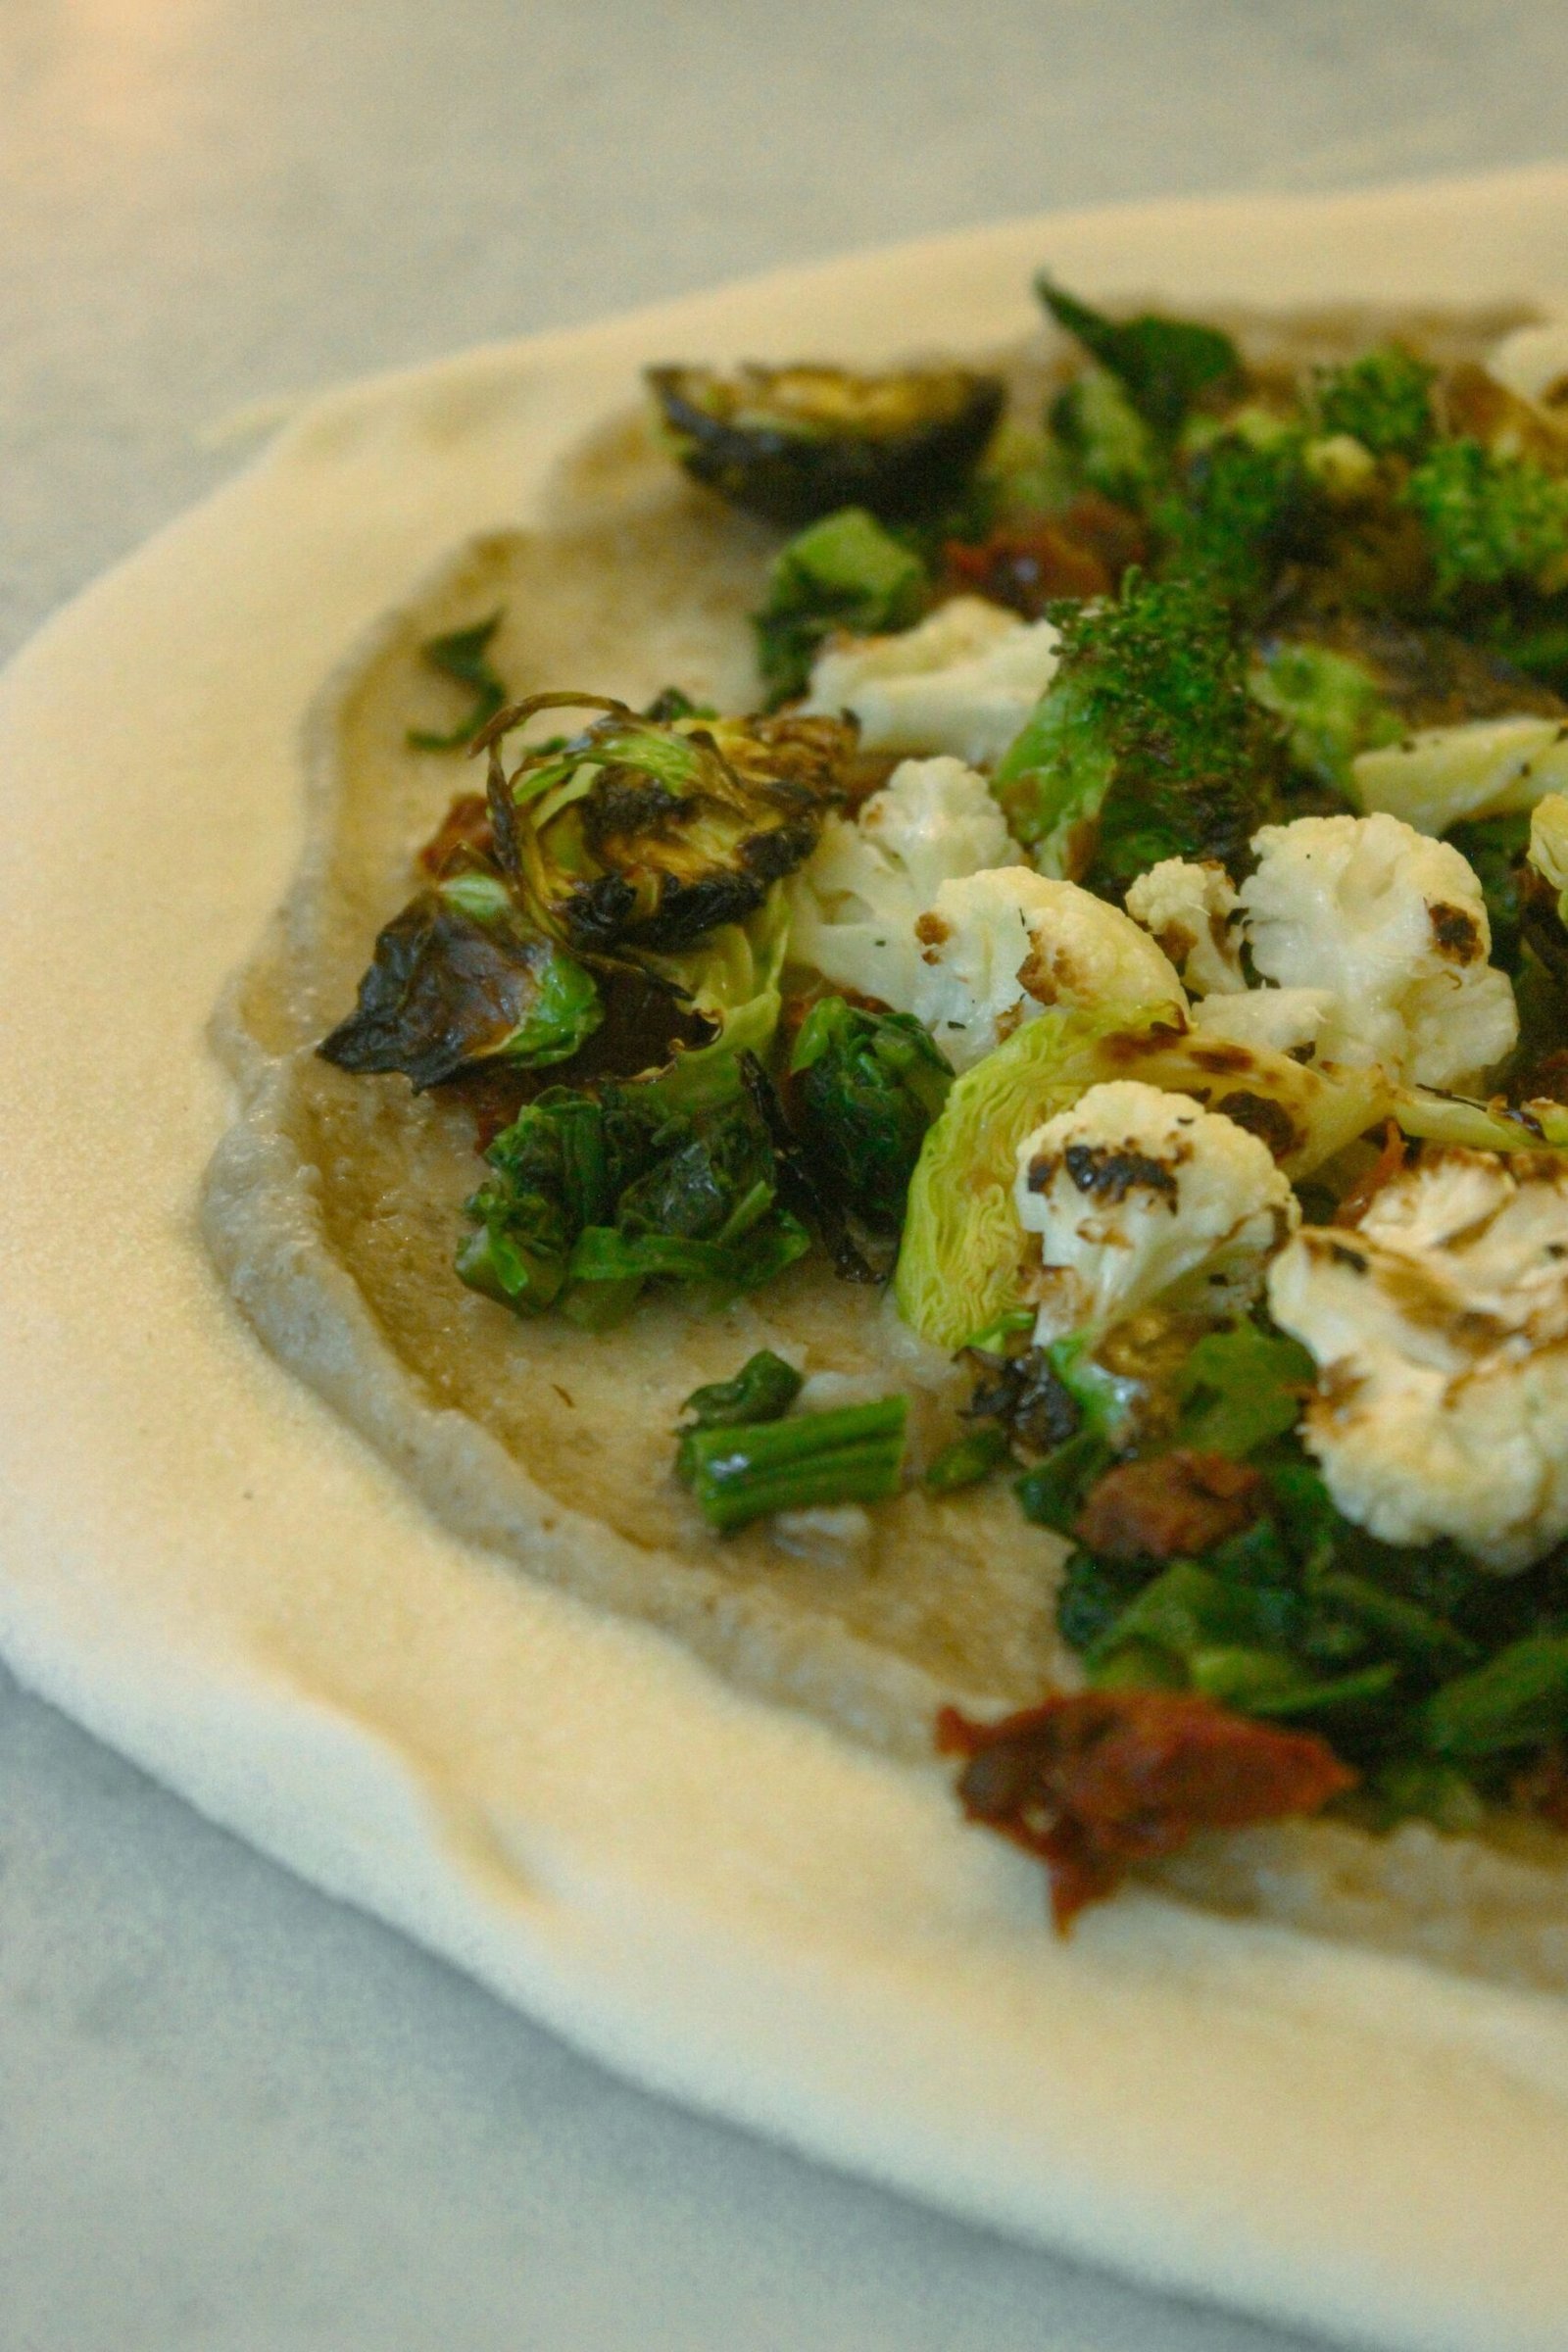
[…] This topping combination is excellent on a cauliflower crust or a good gluten-free pizza dough. Because the base is creamy, a sturdy crust matters even more […]