

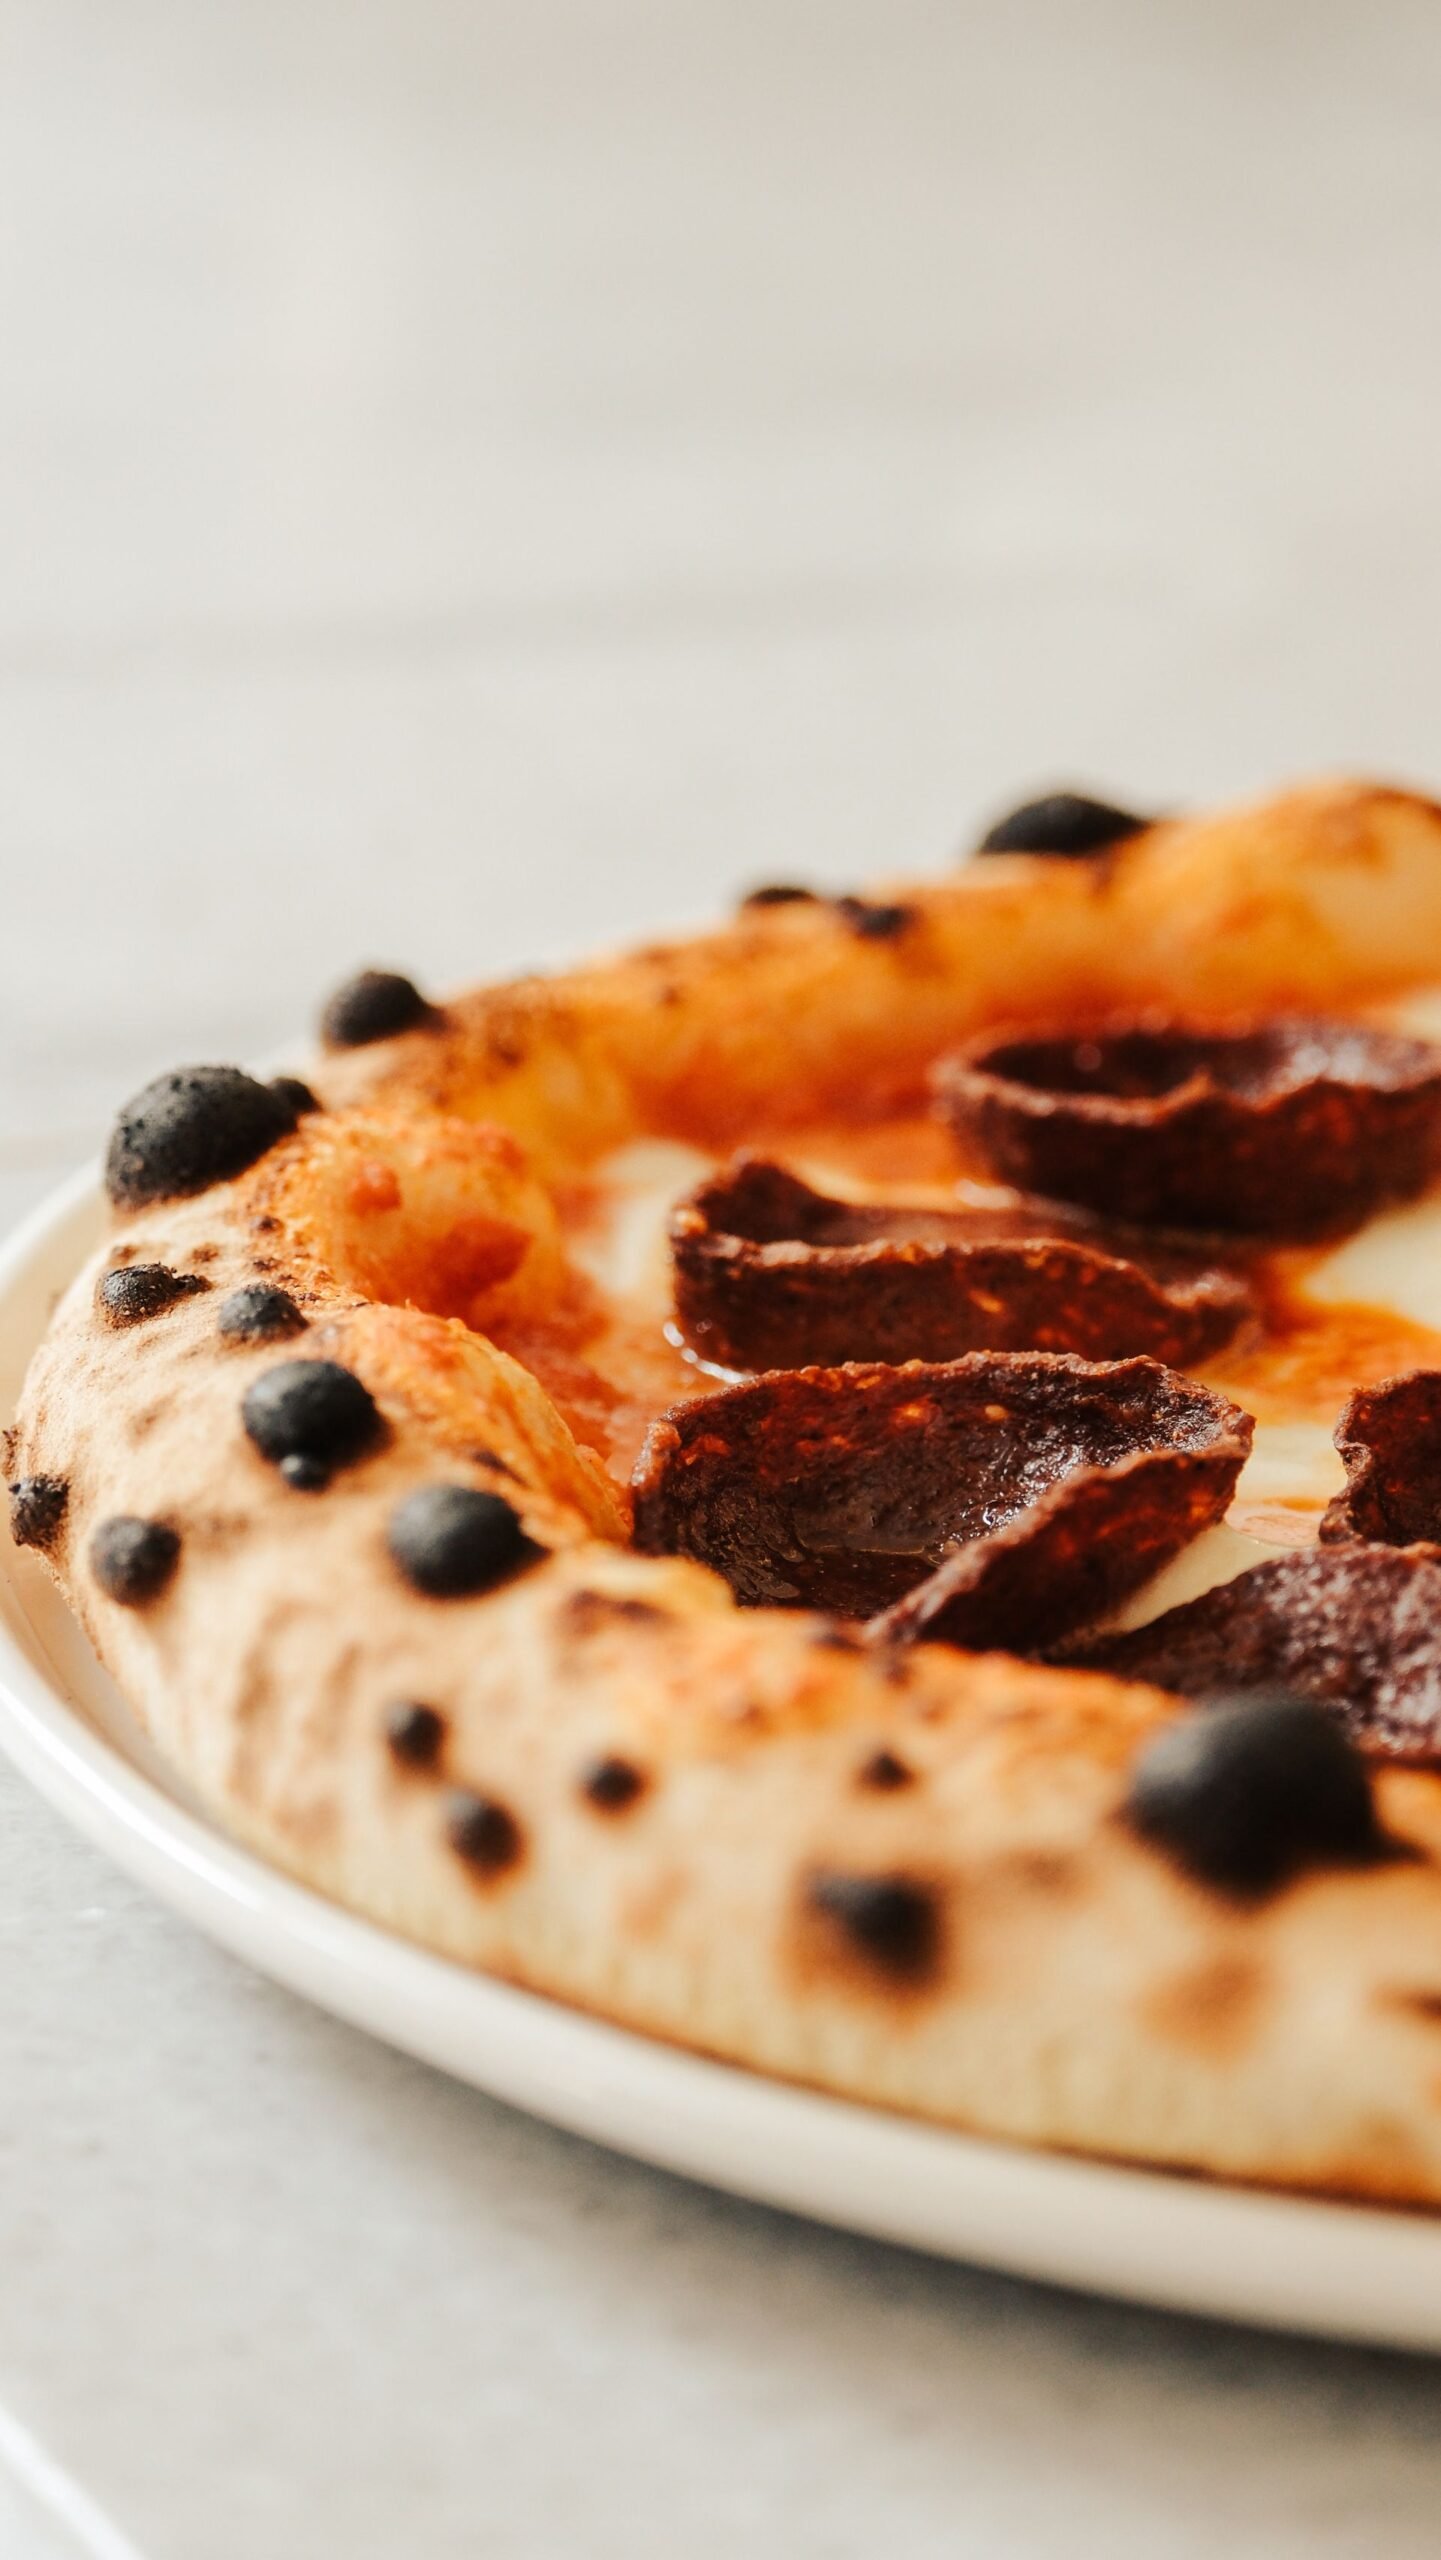
Few sights in the pizza world are as satisfying as pepperoni slices that have curled into little crispy cups, their edges charred and their centers holding tiny pools of rendered, spicy fat. That cup-and-char effect is the hallmark of a great pepperoni pizza recipe — and it is not an accident. It is the result of choosing the right pepperoni, slicing it the right thickness, and baking it hot enough that the slices transform in the oven’s heat.
Most homemade pepperoni pizzas fall short in one of two ways: the pepperoni lies flat and floppy, steaming rather than crisping, or the whole pie turns greasy because the pepperoni was piled on too thick over too much cheese. Both problems are easy to fix once you understand what makes pepperoni cup. The curl comes from the casing: traditional pepperoni is stuffed into a natural casing that shrinks faster than the meat when heated, pulling the slice into a cup. Pepperoni sold in sticks with the casing on cups dramatically; pre-sliced, casingless pepperoni from a bag mostly lies flat. That single buying decision matters more than any trick in the oven.
This recipe builds the perfect pepperoni pizza from the ground up: a sturdy, flavorful dough that stands up to the toppings, a simple bright tomato sauce, a balanced layer of low-moisture mozzarella, and a single, well-spaced layer of casing-on pepperoni sliced to the ideal thickness. Baked screaming hot on a preheated steel or stone, the slices cup and crisp at the edges while the cheese melts into golden pools around them. It tastes like the best neighborhood pizzeria pie — because it is built on the same principles.
🍕 Key Takeaways
- Cupped, crispy pepperoni comes from natural-casing pepperoni sticks sliced yourself — bagged pre-sliced pepperoni rarely cups.
- Slice pepperoni about ⅛ inch (3mm) thick: too thin and it burns, too thick and it stays flat and chewy.
- Use one even layer of pepperoni with breathing room; overlapping slices steam instead of crisping.
- Low-moisture whole-milk mozzarella is the right cheese here — it melts evenly without releasing excess water.
- Bake at maximum oven heat (500–550°F / 260–290°C) on a preheated steel or stone for 6–9 minutes.
- Blot excess grease with a paper towel right out of the oven if you like a cleaner slice — it is purely optional.
- Leftovers keep 3–4 days refrigerated; cool within 2 hours and reheat in a skillet or hot oven, not the microwave.
The Science of Cupped Pepperoni
Understanding why pepperoni cups will change how you shop for it. Pepperoni is a cured, spiced sausage made from pork and beef, fermented and dried. When it is stuffed into a natural collagen or hog casing, that casing becomes part of the stick. In the oven’s heat, the casing contracts more aggressively than the meat inside it, and because it contracts unevenly, the slice buckles upward into a cup. The rim of the cup, being thinner and more exposed, crisps and chars first — that is the “char” in cup-and-char.
Bagged, pre-sliced pepperoni is almost always made without a casing (or with the casing removed before slicing) precisely so the slices lie flat for sandwich and mass-market pizza use. It will still taste like pepperoni, and it will still render some fat, but it will never give you those dramatic cups. If cupping matters to you — and if you are reading a pepperoni pizza recipe, it probably does — buy pepperoni in stick form and slice it yourself. Look for words like “natural casing” on the label. Deli counters often carry it, and it keeps for weeks in the refrigerator.
Thickness is the second variable. Slices around ⅛ inch (about 3mm) hit the sweet spot: thick enough to cup structurally and stay meaty, thin enough that the edges crisp rather than merely warming through. Paper-thin slices scorch before the pizza finishes; thick coins stay flat and rubbery. A sharp knife and a steady hand are all you need — or ask the deli counter to slice the stick for you at their #3 or #4 setting.
The third variable is heat. Cupping needs aggressive, fast heat so the casing seizes before the fat fully renders out. That is another reason this recipe calls for your oven’s maximum temperature on a fully preheated steel or stone. A lukewarm oven gives you greasy, flat pepperoni; a ripping-hot one gives you cups. There is also a fourth, subtler factor: slice diameter. Smaller-diameter sticks cup more dramatically than wide ones, because the casing has more leverage over a smaller disc of meat. If you find two natural-casing options at the store, the slimmer stick is usually the better pick for maximum curl. Our pizza oven temperature guide has exact targets if you are working with an outdoor oven that runs even hotter.
Ingredients for Pepperoni Pizza
This recipe makes two 12-inch pizzas. The dough is a straightforward same-day dough with enough structure to carry the toppings; if you want deeper flavor, swap in our cold-fermented dough, which also blisters beautifully under pepperoni.
For the dough (makes 2 balls, ~260g each)
- 500g bread flour (about 4 cups spooned and leveled)
- 320g lukewarm water (about 1⅓ cups)
- 10g fine sea salt (about 2 teaspoons)
- 7g instant dry yeast (one standard packet)
- 15g extra-virgin olive oil (about 1 tablespoon), plus more for the bowl
For the sauce (enough for 2–3 pizzas)
- 1 can (28 oz / 800g) crushed tomatoes
- 1 teaspoon fine sea salt
- ½ teaspoon dried oregano
- 1 small clove garlic, grated or pressed (optional)
- 1 teaspoon extra-virgin olive oil
For topping each 12-inch pizza
- ⅓ cup tomato sauce (about 80ml)
- 5–6 oz (140–170g) low-moisture whole-milk mozzarella, shredded by hand
- 2–2.5 oz (55–70g) natural-casing pepperoni, sliced ⅛ inch thick (about 20–24 slices)
- 1 tablespoon grated Parmesan (optional, for extra savory depth)
- ½ teaspoon dried oregano or Italian seasoning (optional)
- Extra-virgin olive oil, for drizzling the crust edge (optional)
A note on quantities: a 12-inch pepperoni pizza needs roughly 20–24 slices in a single layer. It will look like generous coverage without crowding. Resist the urge to double up — overlapping slices trap steam, prevent cupping, and leave you with a greasy layer instead of crispy cups. If you want more pepperoni flavor, choose a spicier pepperoni rather than adding more slices. And shred your own mozzarella: pre-shredded cheese is dusted with starch that dulls the melt. Our guide to the best cheese for pizza explains why low-moisture whole-milk is the workhorse for American-style pies.
Step-by-Step Method
Step 1: Mix, knead, and ferment the dough
Whisk the flour and yeast, add water and olive oil, and mix to a shaggy mass. Rest 15 minutes, add the salt, then knead 8–10 minutes until smooth and elastic. Bulk ferment in an oiled, covered bowl for 1.5–2 hours until doubled. Full details with troubleshooting are in our step-by-step dough guide.
Step 2: Ball the dough and prep the pepperoni
Divide into two ~260g balls, shape tight, and proof seam-side down on a floured tray, covered, for 30–60 minutes until puffy. Meanwhile, slice your pepperoni stick into ⅛-inch rounds. If the stick is cold from the fridge, let the slices sit at room temperature for 15 minutes — cold pepperoni straight onto the pie can cool the cheese unevenly and delay cupping.
Step 3: Make the sauce
Stir the crushed tomatoes with salt, oregano, garlic (if using), and olive oil. Taste and adjust salt — the sauce should taste seasoned and bright on its own. Unlike the uncooked minimalist sauce on a classic margherita, pepperoni pizza welcomes the oregano and garlic; they stand up to the sausage’s bold spicing.
Step 4: Preheat the oven hard
Set a pizza steel or stone on an upper-middle rack and preheat at your oven’s maximum temperature (500–550°F / 260–290°C) for a full hour. This stored heat is what crisps the bottom crust and shocks the pepperoni into cupping. If you are still baking on a sheet pan, our guide to great pizza in a home oven will level up your setup.
Step 5: Stretch the base
Press a dough ball from the center outward with your fingertips, leaving a 1-inch rim for the crust edge. Stretch over your knuckles to 12 inches — never a rolling pin, which crushes the air bubbles. Transfer to a lightly floured pizza peel and shake to confirm it slides. For technique help, see how to stretch dough without tearing.
Step 6: Sauce and cheese
Spread ⅓ cup of sauce edge to rim-bare, then scatter the shredded mozzarella evenly. Keep both layers modest: this pizza’s star is the pepperoni, and a restrained base lets the cups crisp instead of swimming. If using Parmesan, dust it over the mozzarella now.
Step 7: Lay the pepperoni in a single layer
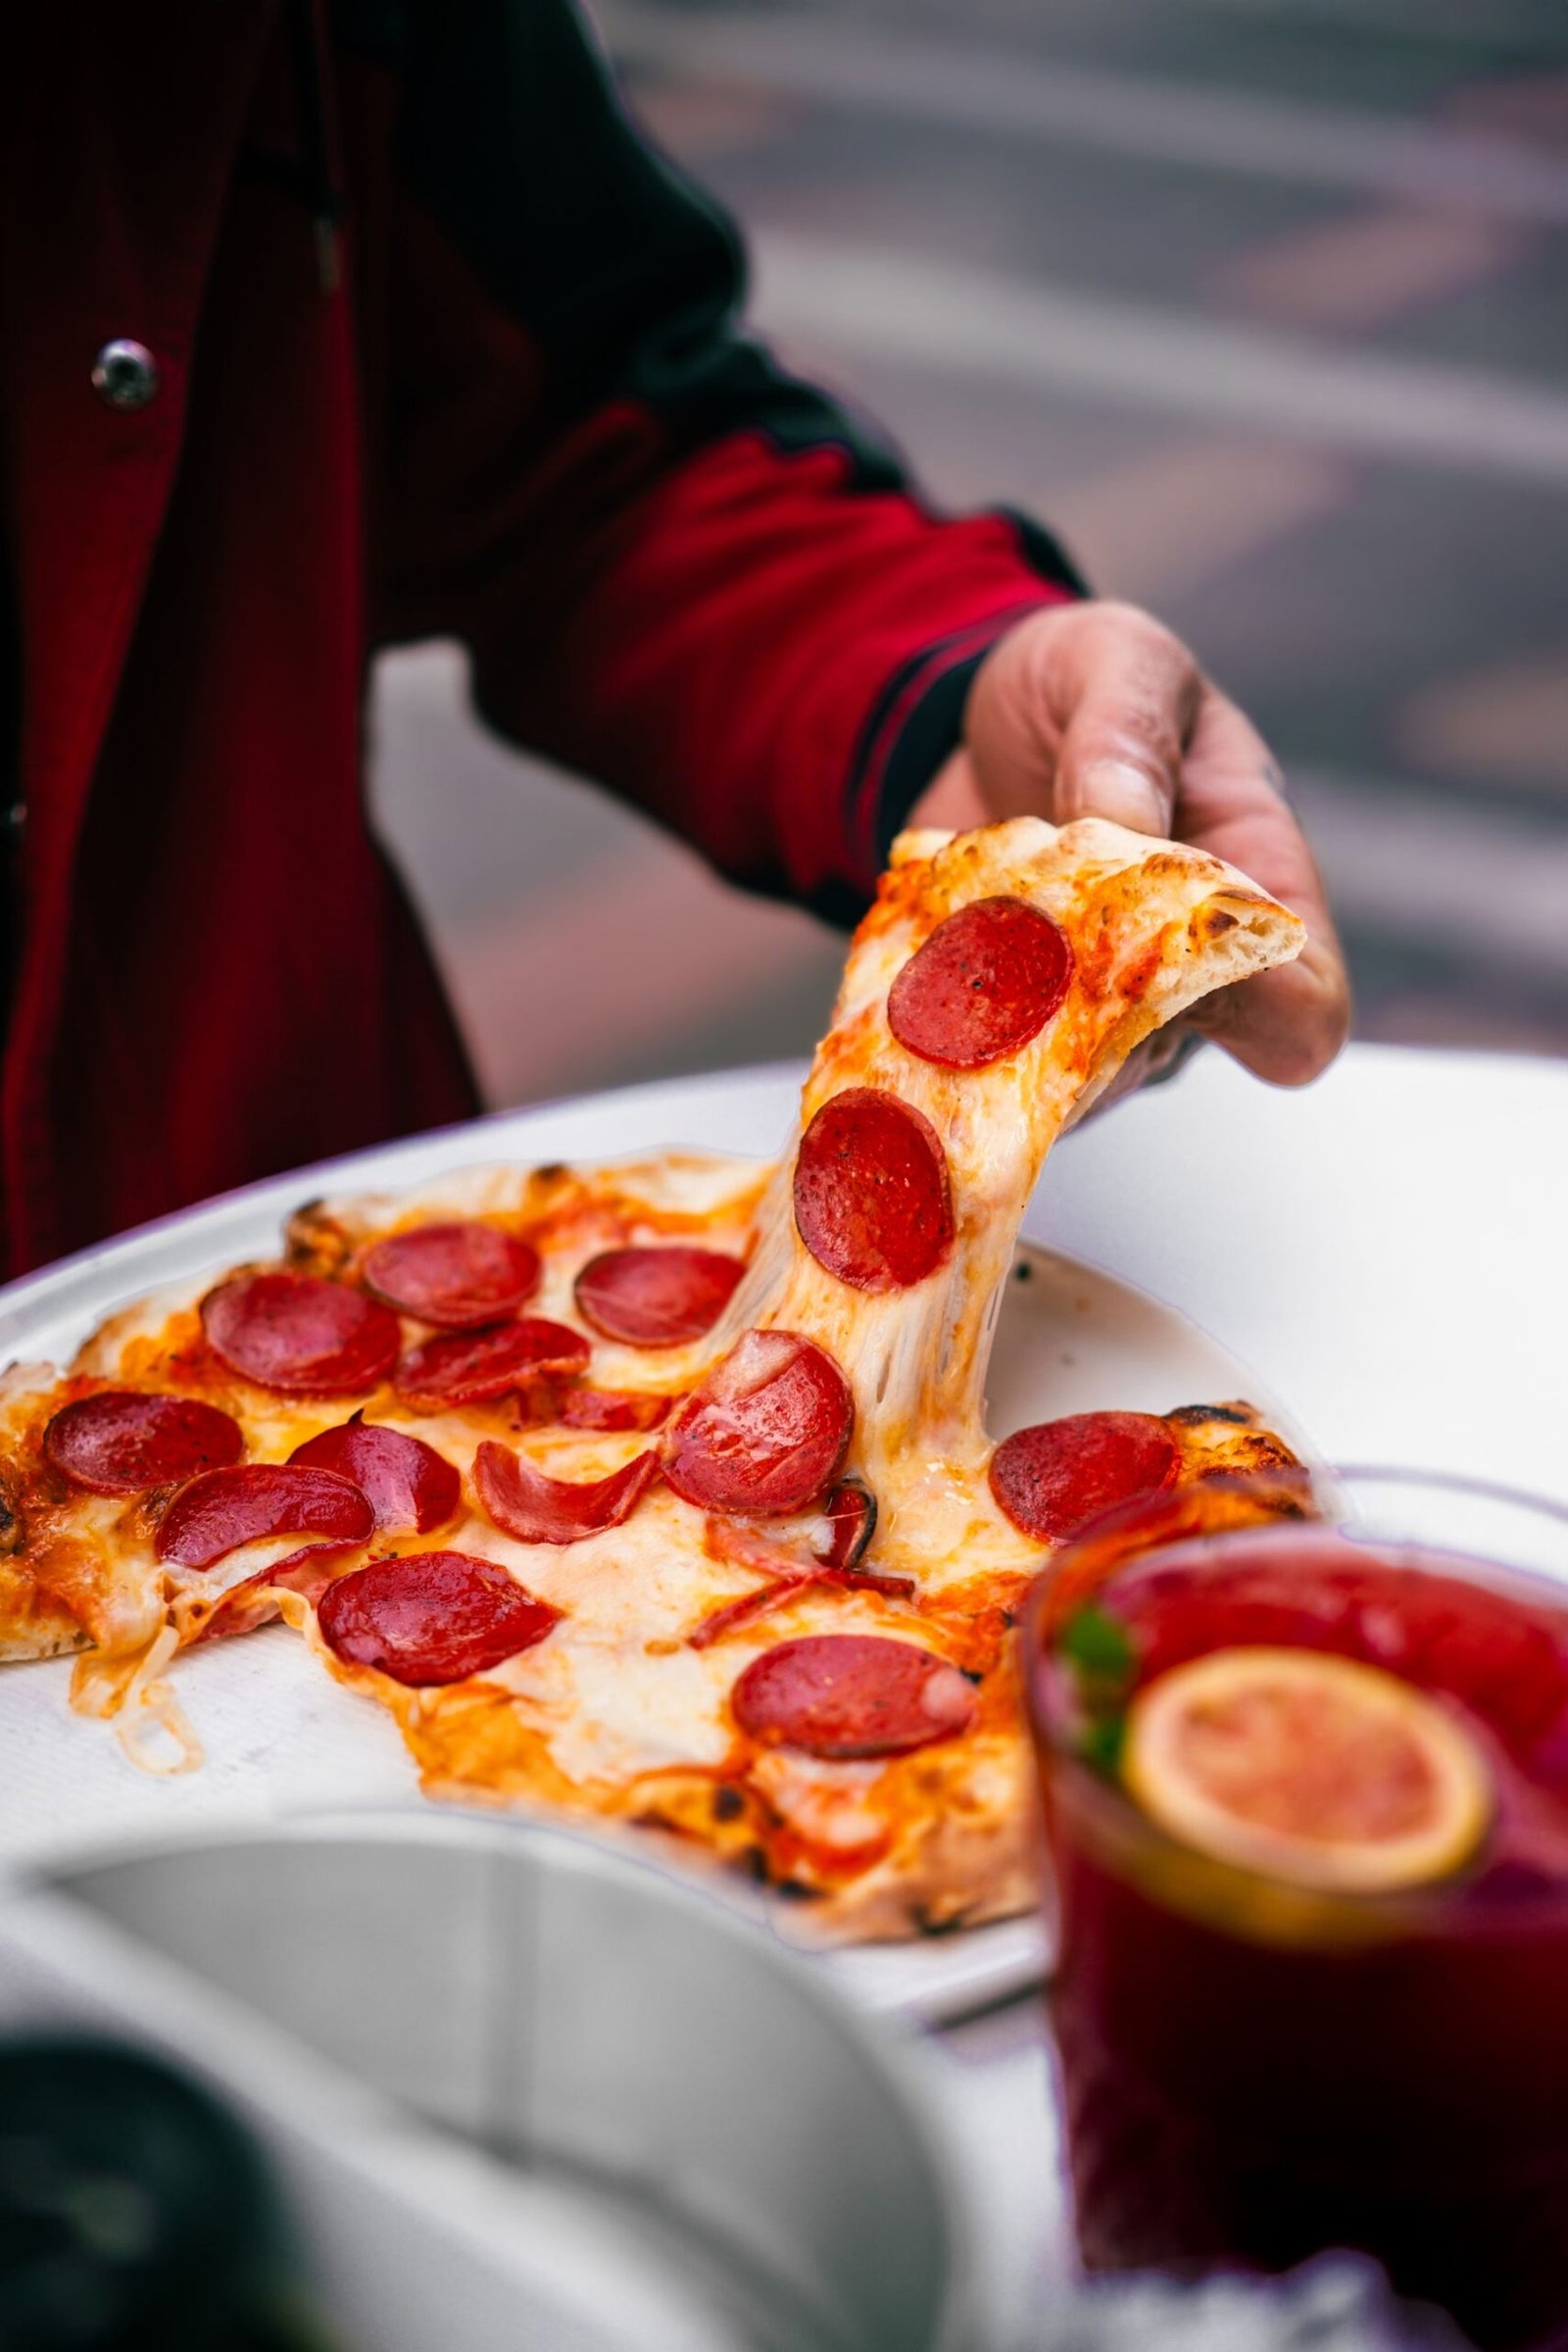
Arrange 20–24 slices in one even layer with a little space between each slice — think of a grid, not a shingle roof. Start from the outer edge and spiral inward, or lay neat rows; either works as long as no slice fully covers another. This spacing lets hot air circulate around each slice, which is what drives even cupping and crisping.
Step 8: Bake 6–9 minutes
Launch onto the hot steel with a confident jerk of the peel. Bake until the crust is deep golden with charred spots, the cheese is melted with browned patches, and the pepperoni has cupped with crisped, darkened rims — usually 6–9 minutes at max heat. Start checking at 5 minutes; pepperoni goes from perfectly charred to burnt quickly.
Step 9: Rest, blot (optional), and slice
Move the pizza to a wire rack or board — never a cold plate, which steams the crust soft. If you like, lightly blot the pepperoni cups with a paper towel to remove excess rendered fat; this is purely a preference thing. Sprinkle with oregano if using, rest 1–2 minutes so the cheese sets, then slice and serve. Repeat with the second ball.
Pro Tips for Maximum Cup and Char
Buy the stick, not the bag. This is the whole game. Natural-casing pepperoni in stick form, sliced yourself to ⅛ inch, is the difference between dramatic cups and flat discs. Check deli counters, Italian grocers, or the specialty section — it is more widely available than most people think, and one stick makes several pizzas.
Space the slices. Overlapping pepperoni is the most common homemade mistake. Each slice needs hot air around it to cup and crisp. One even layer with breathing room beats two crowded layers every time — you get more texture, less grease, and better flavor per bite.
Go easy on the cheese underneath. A thick blanket of mozzarella insulates the pepperoni from the oven’s heat and releases moisture as it melts, both of which fight cupping. Five to six ounces of low-moisture mozzarella per 12-inch pie is plenty. The cheese should be a supporting layer, not a mattress.
Preheat for the full hour. A steel or stone that has only been heating for 15 minutes is barely warm inside. The full hour saturates it with thermal energy, which does two jobs: it blasts the crust bottom crisp, and the radiant heat bouncing around the oven shocks the pepperoni into cupping fast. Consult our steel vs stone breakdown if you are choosing equipment.
Watch the last two minutes. Pepperoni’s thin crisped rims can tip from charred-delicious to acrid in under a minute. Stay near the oven for the final stretch, and pull the pizza when the rims are dark mahogany with a few near-black spots — that is the sweet spot, not a flaw.
Finish the crust edge. A light brush of olive oil on the exposed rim before baking encourages deep golden browning and adds flavor that stands up to the pepperoni. For even more crunch, dust the oiled rim with a pinch of garlic powder and Parmesan right after baking.
Variations Worth Trying
Hot honey pepperoni
Bake the classic pie, then drizzle with hot honey (honey infused with chili) the moment it comes out. The sweet heat against the salty, fatty pepperoni is one of the best flavor combinations in all of pizza — sweet, spicy, savory, and rich in every bite. Start with a light drizzle; you can always add more.
Double pepperoni (the right way)
If one layer is not enough, add the second layer halfway through the bake rather than at the start. Launch the pizza with one layer, bake 3–4 minutes, pull it out, add the second layer on top of the partially rendered first layer, and return to the oven. Both layers crisp instead of steaming.
Pepperoni and jalapeño
Add 12–15 thin slices of fresh jalapeño scattered among the pepperoni before baking. The peppers char slightly at the edges and their bright heat cuts through the richness. For pickled jalapeños, pat them dry first so they do not waterlog the cheese.
Pepperoni and mushroom
Tuck thinly sliced mushrooms between the pepperoni slices. Mushrooms release moisture, so slice them thin and keep the layer light — or better, pre-sauté them for 3–4 minutes to drive off water first. Our mushroom pizza recipe goes deep on handling mushrooms correctly.
Grandma-style pepperoni
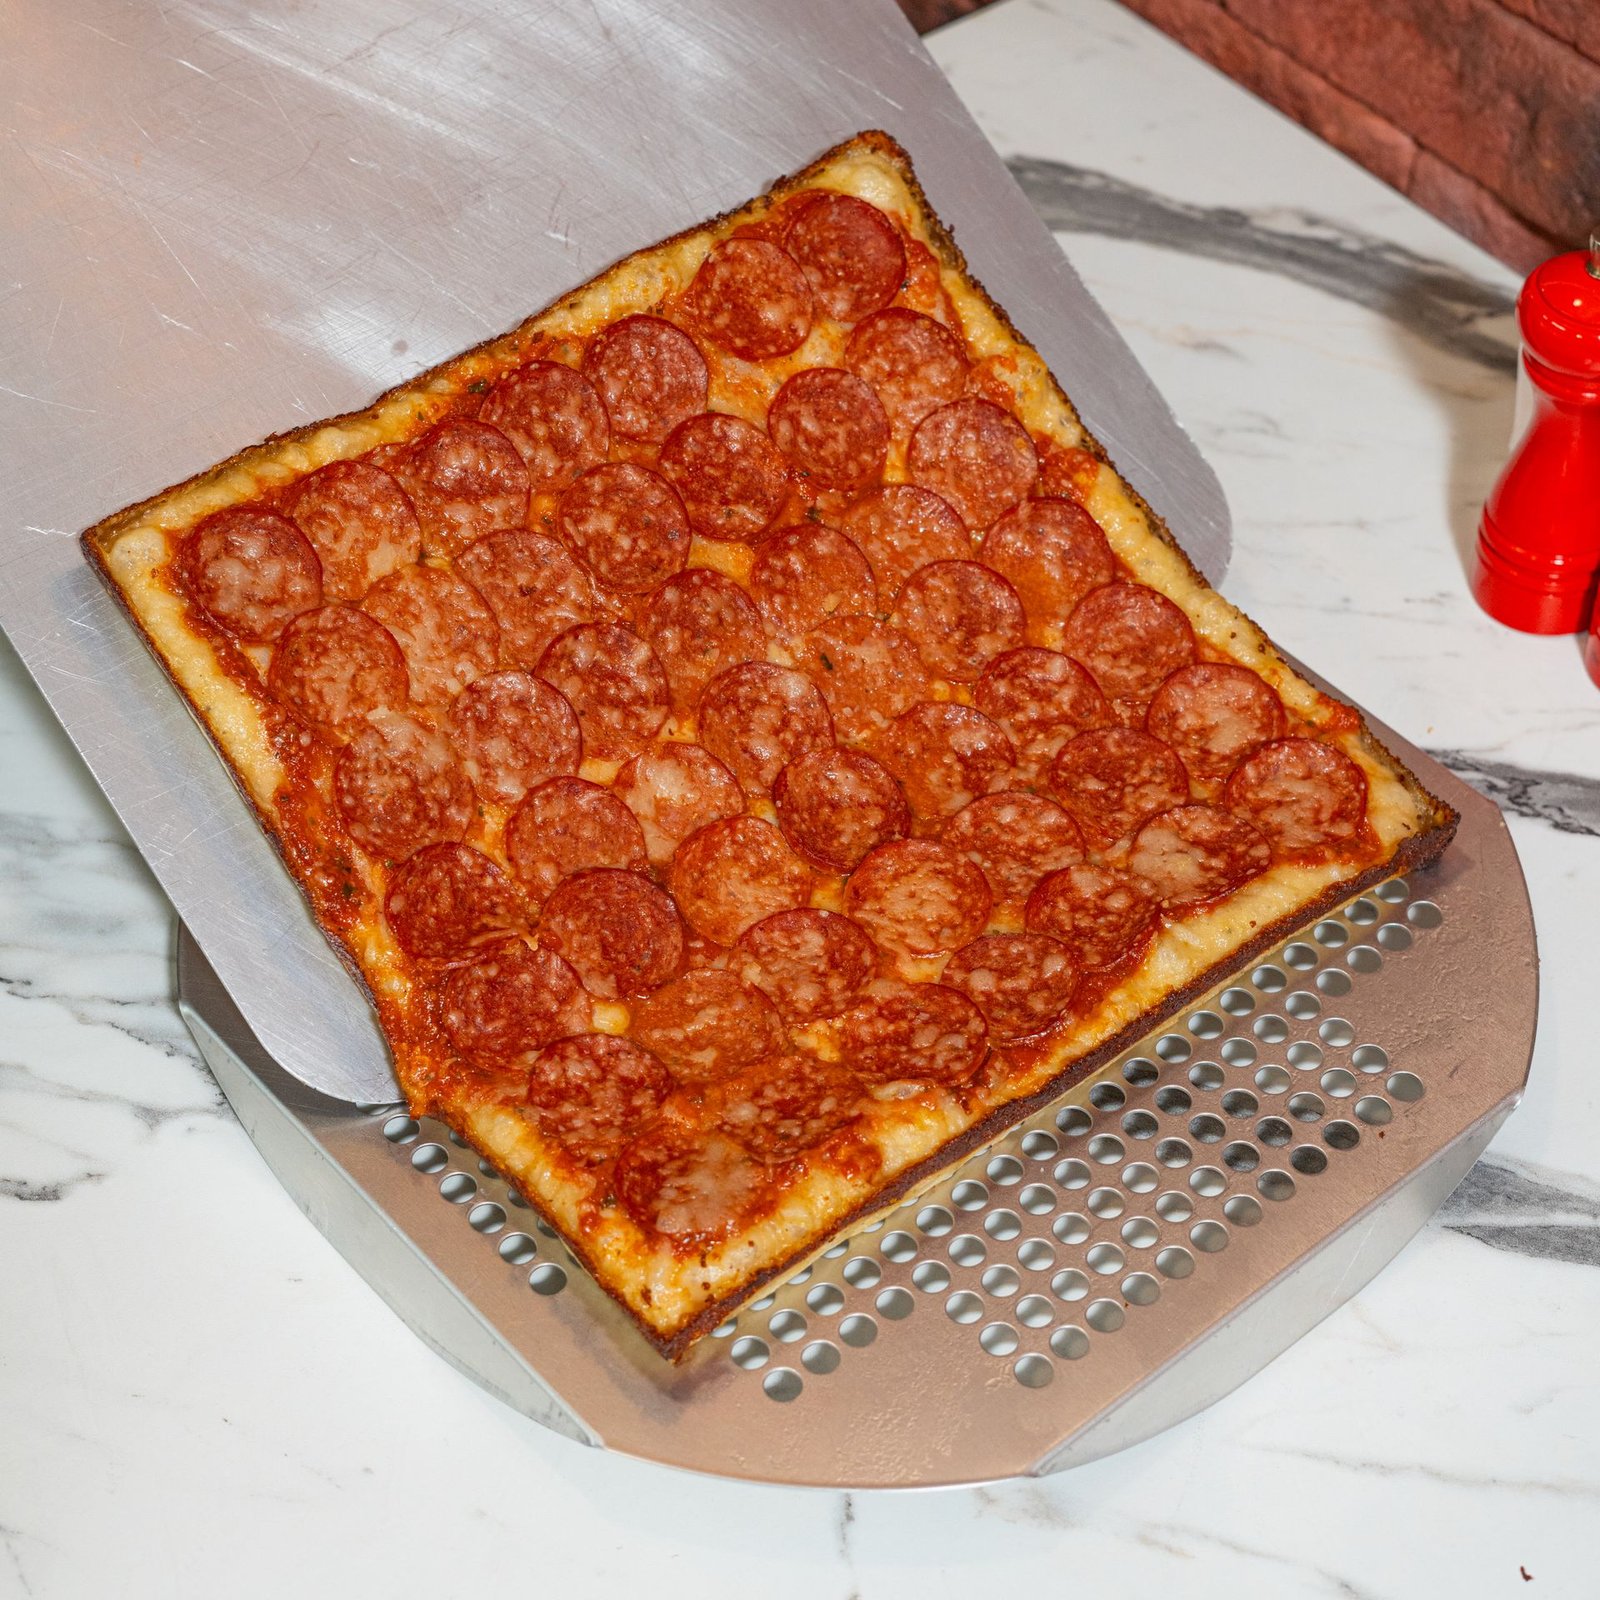
Press the dough into an oiled sheet pan, let it rise until puffy, then top with sauce, cheese, and pepperoni and bake at 475°F (245°C) for 15–18 minutes. The pan-fried bottom gets shatteringly crisp. Our grandma pizza guide covers the pan technique in full.
Storage, Reheating & Food Safety
Storing leftovers: Cool slices to room temperature within 2 hours of baking, then refrigerate in an airtight container or tightly wrapped. Pepperoni pizza keeps safely for 3–4 days refrigerated. Do not leave the box on the counter overnight — the 2-hour rule applies to pizza just like any other cooked food. More detail in our leftover pizza safety guide.
Reheating: Skip the microwave; it makes pepperoni rubbery and the crust soggy. The skillet method is best: medium heat, 2–3 minutes, lid on for the last minute to re-melt the cheese — the pepperoni re-crisps beautifully. A 375°F (190°C) oven on a rack for 8–10 minutes is a close second. We ranked every method in our guide to reheating pizza.
Freezing: Cool completely, wrap slices individually, and freeze up to 2 months. Reheat from frozen at 400°F (200°C) for 10–12 minutes. The pepperoni will not be quite as cupped as fresh, but the flavor holds up well.
Food safety notes: Pepperoni is a cured meat, but once it is on a baked pizza it follows the same rules as any cooked food: refrigerate within 2 hours, keep for 3–4 days, and reheat until steaming hot throughout. When prepping, keep the raw dough and ready-to-eat toppings on separate surfaces, wash hands after handling raw dough, and use a food thermometer on nothing here — but do apply one if you ever top pizza with raw chicken, which must reach 165°F (74°C) internal, as in our BBQ chicken pizza. Discard any leftover pizza that smells off or has been left out too long; when in doubt, throw it out.
Frequently Asked Questions
Why isn’t my pepperoni cupping?
Three likely culprits: you are using pre-sliced bagged pepperoni without casing (switch to a natural-casing stick and slice it yourself), your slices are too thick or overlapping (aim for ⅛ inch in a single spaced layer), or your oven is not hot enough (preheat at max for a full hour on steel or stone).
How much pepperoni per pizza?
About 2–2.5 oz (55–70g), or 20–24 slices, in a single layer on a 12-inch pizza. More is not better — crowding prevents cupping and makes the pizza greasy.
Should I cook pepperoni before putting it on pizza?
No. The oven does the work. Pre-cooking renders out the fat early and the slices will not cup properly. The one exception is very thick-cut pepperoni, which benefits from a quick 2-minute par-cook — but at that point, just slice it thinner instead.
Can I use turkey pepperoni?
You can, but expect less cupping and less rendered flavor — turkey pepperoni is much leaner, and fat is what drives both the cupping and the taste. If you use it, a light brush of olive oil over the slices before baking helps them crisp rather than dry out.
What’s the best cheese to pair with pepperoni?
Low-moisture whole-milk mozzarella, shredded by hand. It melts smoothly, browns in spots, and does not waterlog the crust. Part-skim works but melts less luxuriously; fresh mozzarella releases too much water for this style. See our cheese guide for the full breakdown.
Can I make pepperoni pizza on a pizza screen or pan?
Yes — a pizza screen works well and makes launching easier for beginners. You will get slightly less bottom char than on a steel, but the pepperoni will still cup if your oven is fully preheated and the slices are spaced. A cast iron skillet is another excellent option: our cast iron skillet pizza recipe shows how the pan’s heat retention creates deeply crisp edges that pair beautifully with cupped pepperoni.
The Bottom Line
A great pepperoni pizza recipe comes down to three decisions made before the oven even heats: natural-casing pepperoni sliced to ⅛ inch, a single spaced layer, and a ripping-hot baking surface. Get those right and the oven does the rest, turning simple slices into crispy, charred cups over a blistered crust. It is the pizza that made pizzerias famous, and now your kitchen can make it just as well — explore the rest of our pizza recipes to keep the streak going strong tonight, slice after slice.
[…] Renders its fat in the oven and crisps at the edges. Pat slices dry first. A pepperoni pizza on cauliflower crust is a low-carb classic for good […]
[…] with bold toppings that might fight a tangy long-ferment. This is the dough to use for a punchy pepperoni pizza or a garlicky white […]
[…] works but melts less smoothly due to anti-caking starch). Classic toppings: pepperoni (our crispy-cupped recipe), sausage, mushrooms (pre-cooked), peppers. Keep toppings moderate — the thin crust punishes […]