

Grandma pizza is the style that tastes like someone’s childhood — because for a lot of people, it literally is. Born in Long Island kitchens, where Italian-American grandmothers pressed dough into olive-oiled sheet pans and baked it in home ovens, grandma pizza is thin, square, and unapologetically garlicky: a crisp-yet-tender crust, bright uncooked tomato sauce, and mozzarella scattered (not blanketed) over the top, often with the cheese going on before the sauce.
If you’ve never had it, imagine the best parts of a Sicilian pie — the pan-baked chew, the olive oil richness — crossed with the lightness of a thin-crust pizza. It’s weeknight-friendly (no special equipment beyond a sheet pan), endlessly adaptable, and one of the most forgiving pizzas a home cook can make. This grandma pizza guide covers what defines the style, how it differs from its square cousins, the full recipe with technique, and the tips that separate a good grandma pie from a great one.
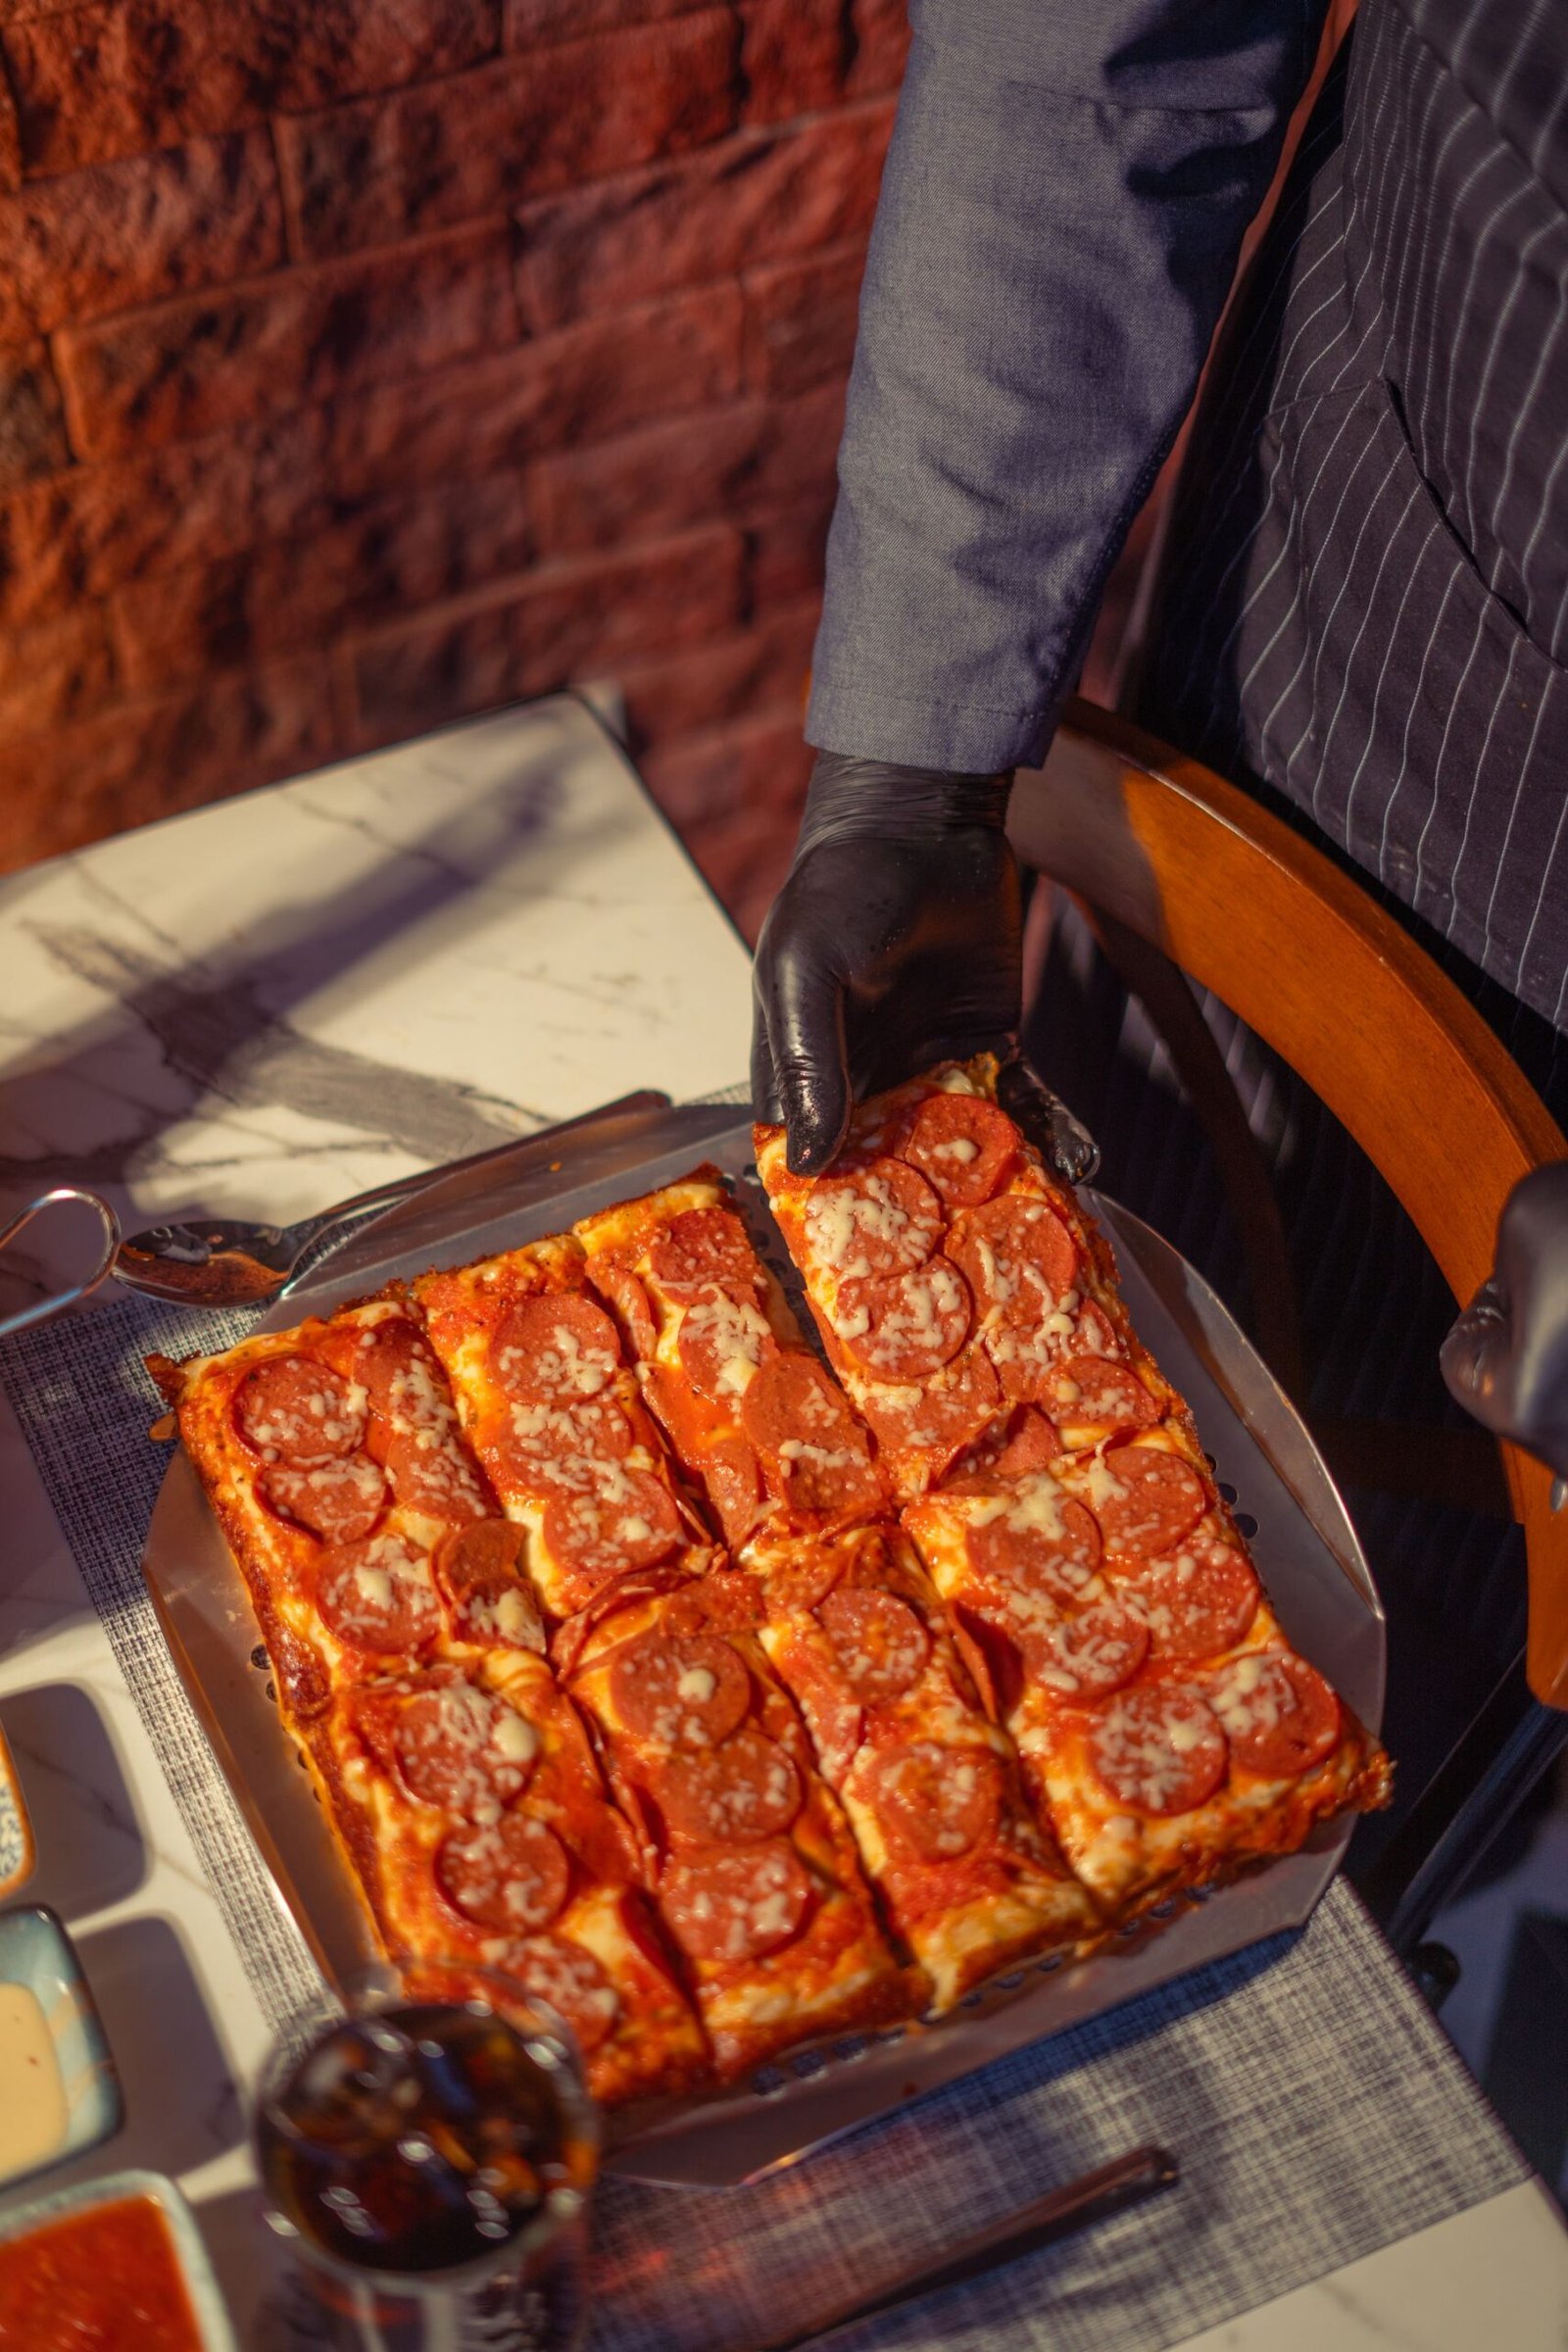
🍕 Key Takeaways
- Grandma pizza is a thin, square, pan-baked pizza: crisp bottom, tender crumb, bright tomato sauce, and a garlicky olive-oil base.
- Use a well-oiled half-sheet pan and a moderately hydrated dough (around 65%) pressed — not rolled — into the corners.
- Cheese traditionally goes under the sauce in dollops or scattered shreds, not in a full blanket.
- An uncooked crushed-tomato sauce keeps the flavor bright against the rich, oily crust.
- Bake hot (500°F+) on the lowest rack or a preheated steel for a shattering-crisp bottom.
- Let it rest 5 minutes after baking so the cheese sets and slices cut cleanly.
What Is Grandma Pizza?
Grandma pizza is a thin square pizza baked in an oiled sheet pan, defined by four things: a crisp, olive-oil-fried bottom crust; a tender, open crumb that’s thin but not cracker-like; a bright, simple tomato sauce; and a restrained hand with the mozzarella. Garlic is the signature flavor — traditionally the pan is slicked with garlic-infused olive oil, and the sauce itself is simply crushed tomatoes with garlic, salt, and oregano.
The origin story is exactly what the name suggests. In the mid-20th century, Italian immigrant grandmothers on Long Island made pizza the way they made everything: in the pans they had, in their home ovens, without fuss. They pressed dough into sheet pans, topped it simply, and baked it hot. The style stayed a local secret for decades — a thing you ate at your friend’s grandmother’s house — before pizzerias started putting “grandma slices” on menus and the rest of us caught on. For the deeper history of how pizza traveled and evolved, see our history of pizza overview, which traces the full journey from Naples to the American suburbs.
How grandma differs from Sicilian and Detroit-style
All three are square pan pizzas, but they’re distinct styles, and confusing them leads to wrong technique. Sicilian pizza (sfincione) is thick — an inch or more of airy, focaccia-like crumb with sauce on top of the cheese, baked in a deep pan. Our Sicilian pizza guide covers that style’s pillowy heights. Detroit-style is also thick, baked in a deep steel pan with cheese spread edge-to-edge so it fries into a caramelized crust, sauce ladled on top in stripes. Grandma pizza is the thin one: roughly half the dough of a Sicilian in the same pan, a crumb you can almost see through at the edges, and a bottom that shatters more than it chews. If you press Sicilian-thickness dough into a sheet pan and call it grandma, you’ll get a good pizza — but it won’t be grandma pizza.
The Dough: Formula and Handling
Grandma pizza dough is a straightforward yeasted dough at moderate hydration — around 62–65% — made with bread flour or a bread/all-purpose blend. That hydration is deliberate: wet enough for an open, tender crumb, dry enough to press into a pan without a fight. Enrichment is minimal — a couple of tablespoons of olive oil in the dough itself, which shortens the gluten slightly for tenderness and adds flavor.
Grandma pizza dough (for one half-sheet pan)
- 450 g (about 3½ cups) bread flour
- 290 ml (1¼ cups) lukewarm water
- 2¼ teaspoons (1 packet) instant dry yeast
- 2 tablespoons olive oil, plus more for the pan
- 2 teaspoons fine sea salt
- 1 teaspoon sugar or honey
Mix, knead 8–10 minutes until smooth and elastic, and let rise until doubled, about 1–1½ hours. You can also cold-ferment overnight for deeper flavor — divide, ball, refrigerate, and use within 3 days. If dough technique is new territory, our step-by-step pizza dough guide walks through every stage with the visual cues to look for.
Pressing into the pan (the key technique)
Here’s where grandma technique diverges from round-pizza technique: you press, you don’t stretch or roll. Pour 3–4 tablespoons of olive oil into a half-sheet pan (13×18 inches) and swirl to coat every inch, including the corners. Drop the risen dough in the center and, with oiled fingertips, dimple and press it outward toward the edges — like making focaccia. When it resists and springs back, stop, cover, and rest 15 minutes, then continue. Two or three press-and-rest cycles will get you corner to corner without tearing.
Don’t aim for perfection on the first press. The dough will relax into the pan during a final 20–30 minute proof at room temperature, and you can nudge it into the corners right before topping. The dimpling matters: those fingertip dents create the characteristic uneven surface and prevent big bubbles. A dough that’s too cold will fight you — let refrigerated dough sit at room temperature for an hour before pressing.
Sauce, Cheese, and Toppings the Grandma Way
The sauce: uncooked and bright
Grandma sauce is simplicity itself: a 28-ounce can of crushed tomatoes (San Marzano-style if you can get them), 2–3 cloves of garlic minced or grated, a teaspoon of dried oregano, salt to taste, and a glug of olive oil. No cooking — it cooks on the pizza. The uncooked sauce tastes brighter and fresher than a simmered one, which matters because the crust itself is rich with olive oil; the sauce’s acidity is the counterbalance. Taste and adjust salt before it goes on the pizza — you can’t fix seasoning after baking. Our San Marzano tomato guide explains why canned tomatoes beat fresh for pizza sauce every time.
Cheese under the sauce (yes, really)
The traditional grandma assembly order is: dough, then cheese, then sauce on top. Scatter 8–10 ounces of low-moisture mozzarella — torn into chunks or in rough shreds, not a uniform blanket — directly over the dough, leaving patches of dough visible. Then spoon the sauce over in dollops or stripes, again leaving gaps. This isn’t just tradition; it’s engineering. The cheese under the sauce melts into the crust, the exposed sauce reduces and concentrates in the oven’s heat, and the patchwork top gets those coveted browned-cheese spots where mozzarella peeks through.
Use low-moisture mozzarella here, not fresh — fresh mozzarella’s water pools on a thin pan pizza. Our fresh vs low-moisture mozzarella breakdown covers the why in detail. A shower of grated Parmesan or pecorino over the top before baking adds salty depth.
Toppings: restraint is traditional
Classic grandma toppings are minimal: maybe sliced garlic, fresh basil added after baking, or a drizzle of good olive oil to finish. If you add more — pepperoni, mushrooms, peppers — keep the total modest, because a thin crust can’t support a loaded pie without steaming. Pre-cook watery vegetables. And the food-safety note that applies to every pizza: raw meats must reach 165°F (74°C) internally, verified with a thermometer — on a thin, fast-baking pizza, pre-cooking raw sausage or chicken is the safer move.
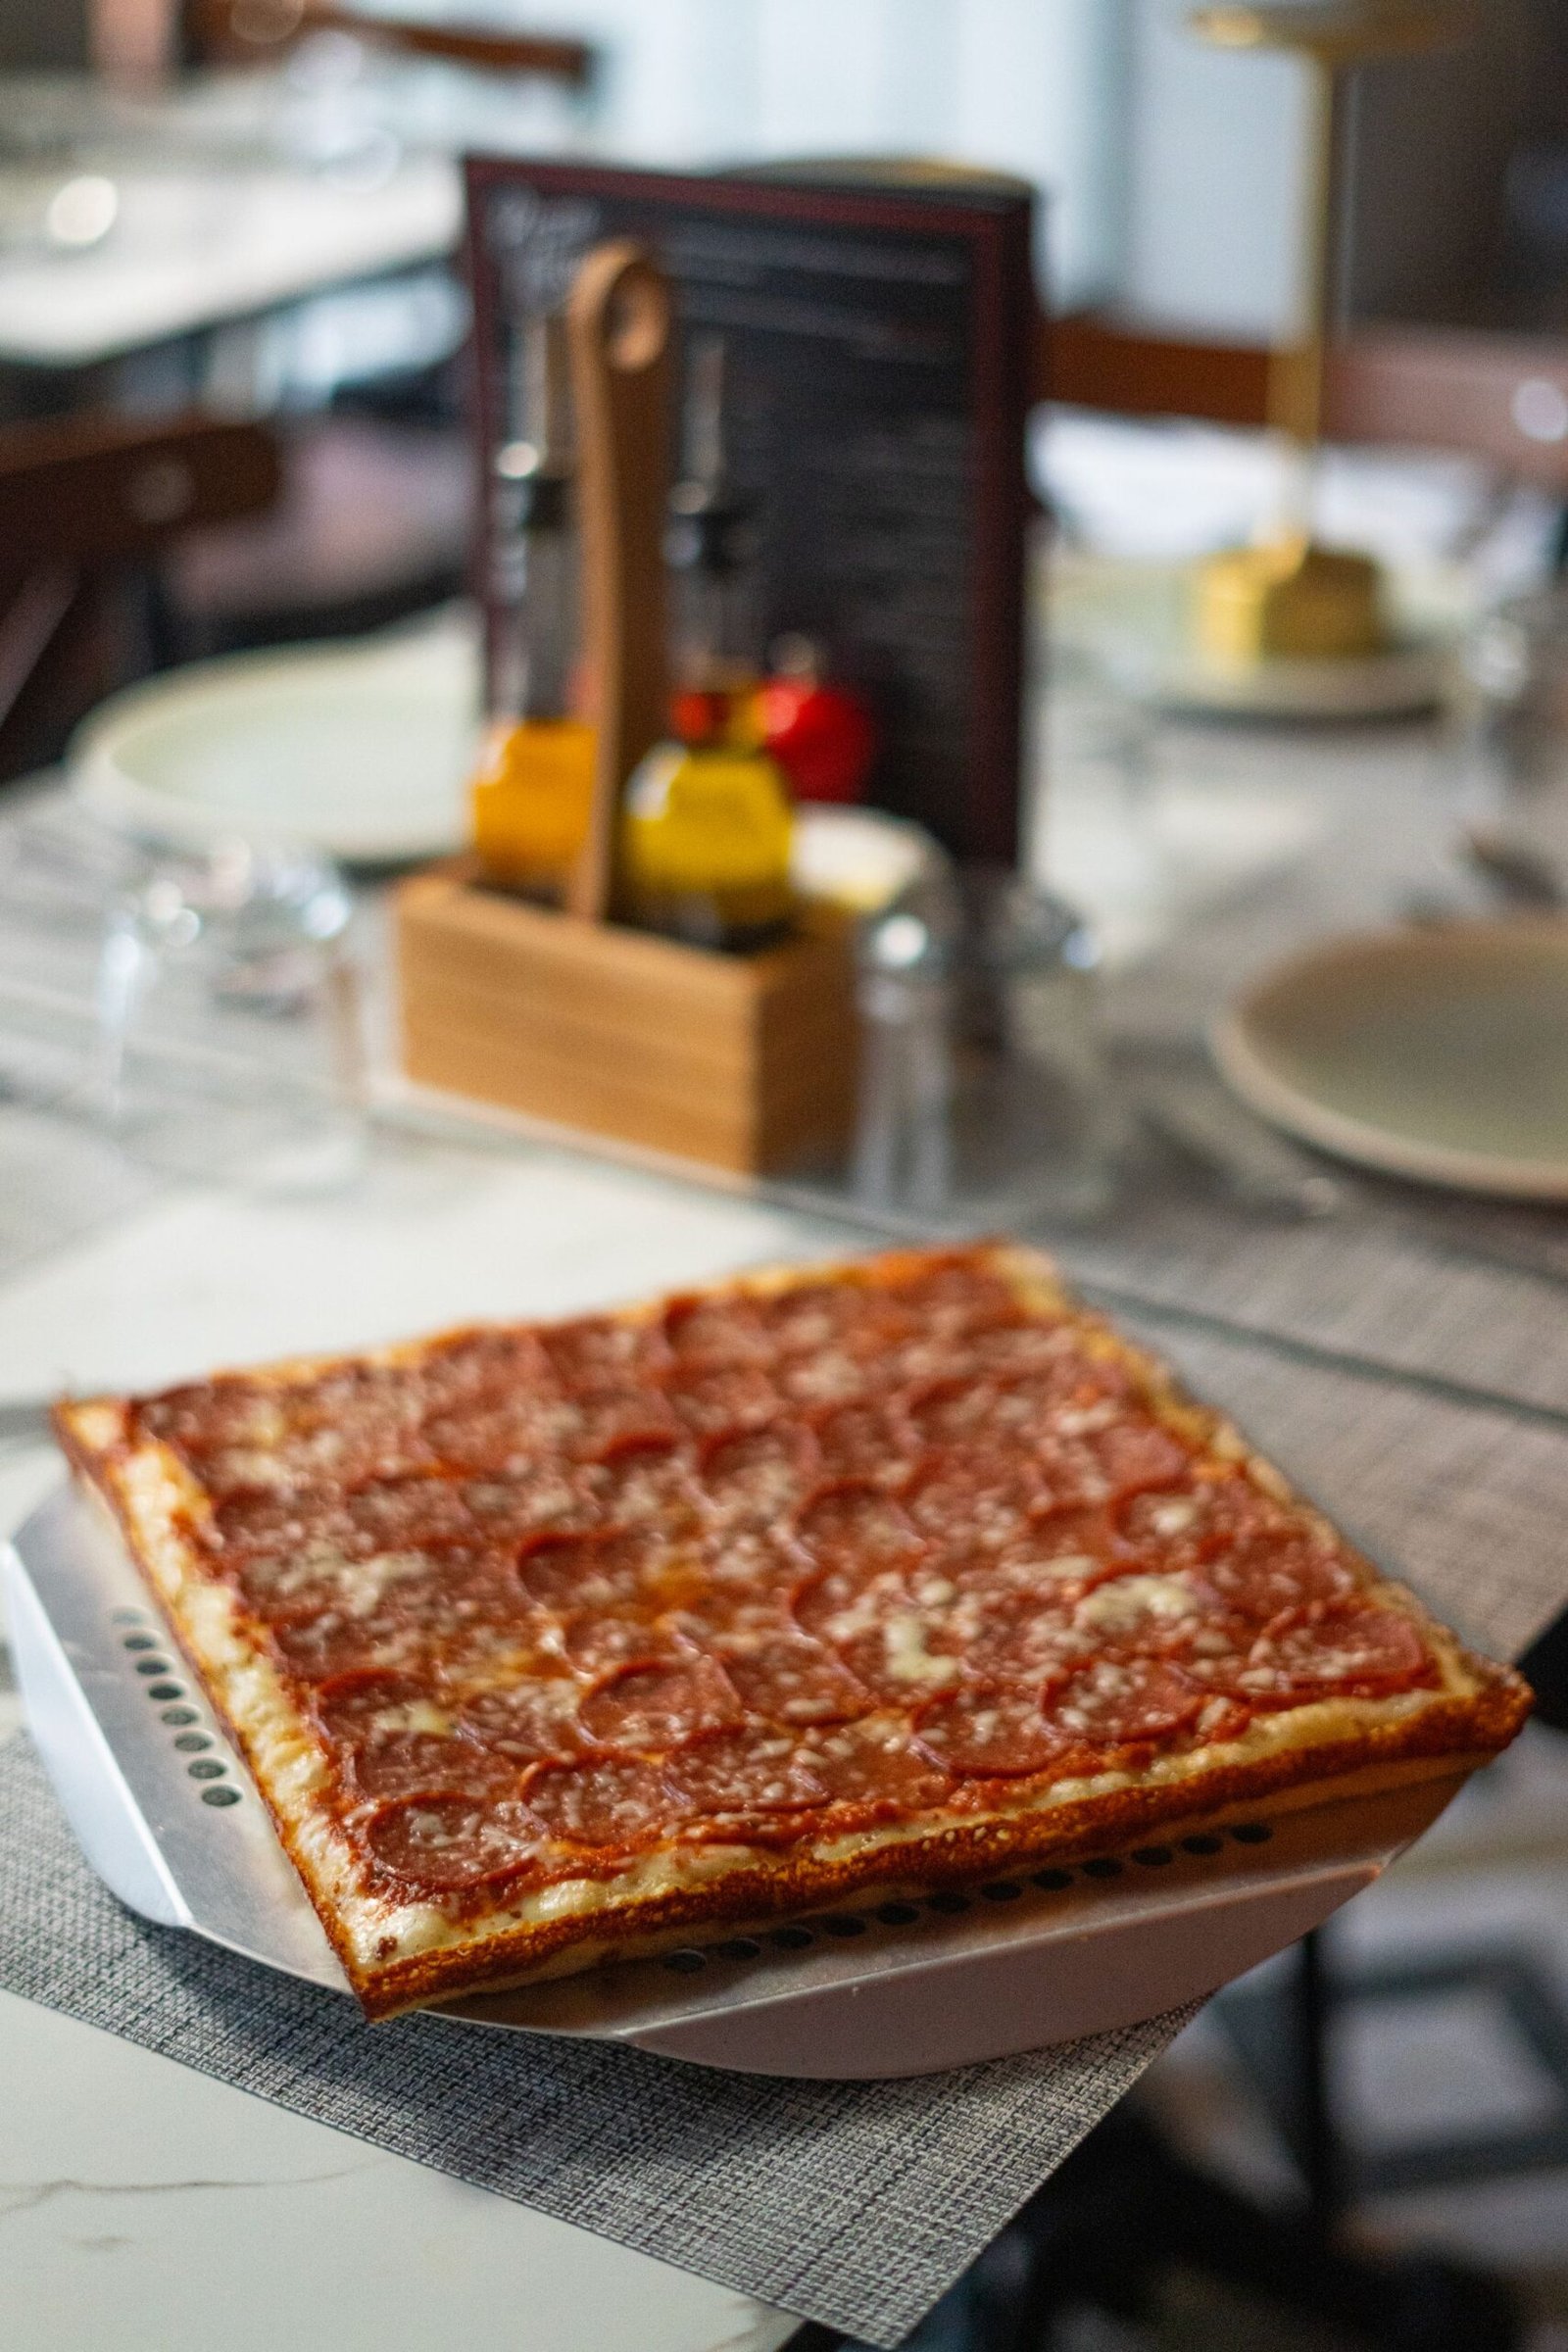
Baking: The Crisp Bottom Is Everything
A grandma pizza lives or dies by its bottom crust. The ideal is a deep golden-brown base that’s crisp enough to shatter slightly at the edges while the interior stays tender — the result of dough essentially shallow-frying in olive oil against hot metal. Here’s how to get there reliably.
Preheat your oven to 500–550°F (260–290°C) — as hot as it goes — with a pizza steel or stone on the lowest rack for at least 45 minutes. The pan sits directly on that preheated surface, which blasts heat into the bottom of the pan from the first second. If you don’t own a steel or stone, the lowest oven rack position alone still works; the pan gets the most direct heat there. Our pizza steel vs stone comparison will help you choose if you’re considering the upgrade — for pan pizzas, either works beautifully.
Bake for 15–20 minutes, until the cheese is bubbling with browned spots, the sauce has thickened and darkened slightly at the edges, and the rim is deep golden. The real test is the bottom: slide a thin spatula under a corner and peek. You’re looking for a rich, even golden-brown — pale means it needs more time, nearly black means your oven runs hot and you should drop 25°F next time. If the top is done but the bottom is pale, move the pan to the lowest rack (or directly onto the oven floor for the last 2 minutes if your oven allows it safely) to finish the crisp.
Don’t slice immediately. Rest the pizza in the pan for 5 minutes — this lets the cheese set so slices cut cleanly instead of sliding apart, and lets the bottom finish crisping from residual pan heat. Then transfer to a cutting board (leaving it in the hot pan steams the bottom soft) and cut into squares with a sharp chef’s knife or pizza wheel.
Pro Tips for Grandma Pizza Greatness
Oil the pan generously — then add a little more
Timid oiling is the most common grandma-pizza mistake. Those 3–4 tablespoons aren’t a suggestion; the oil is what fries the bottom crust crisp and keeps the dough from sticking. Use a pan with some texture or age on it — brand-new nonstick can actually be too slick, letting the dough slide and shrink. A well-seasoned half-sheet pan is the ideal tool, and it’s worth dedicating one to pizza.
Garlic in the oil, not just the sauce
The signature garlicky character comes from layering: mince 2–3 cloves of garlic and let them steep in the pan oil for 10 minutes before the dough goes in (remove any large pieces that might burn), plus garlic in the uncooked sauce. The oil-level garlic perfumes the entire bottom crust. If you love aggressive garlic flavor, add a few paper-thin raw garlic slices on top of the cheese before baking — they’ll roast into sweet, crisp chips.
Dock the center if it bubbles
During the final proof, large air bubbles sometimes form under the dough’s surface. Pop them with a fingertip before topping — a giant bubble becomes a hollow dome that lifts the toppings off and bakes into a hollow pocket. The dimpling from pressing usually prevents this, but check anyway right before you top.
Par-bake for extra insurance
If your oven is weak or your dough is on the wetter side, par-bake the pressed, dimpled dough (no toppings) for 6–8 minutes until it just sets and starts to color. Then add cheese, sauce, and toppings and bake 10–12 minutes more. This guarantees a crisp bottom even in an underpowered oven, and it’s how many pizzerias handle their grandma pies during a dinner rush.
Finish with fresh elements
The contrast between the rich, oily baked pizza and something fresh on top is what makes grandma pizza sing. Torn fresh basil, a drizzle of your best olive oil, a snowfall of grated Parmesan, or a few dollops of ricotta added after baking all work. Add them in the last minute of the rest, so they warm slightly without cooking.
Grandma Pizza Variations
Vodka-sauce grandma
Swap the classic tomato sauce for a creamy tomato-vodka sauce (still applied in dollops over the cheese). The richness doubles down on indulgence — this is a special-occasion pie, not a weeknight one. Keep the cheese layer a touch lighter to compensate, since the sauce brings its own dairy.
White grandma (no tomato)
Skip the sauce entirely: brush the dough with garlic oil, scatter mozzarella and dollops of ricotta, and finish after baking with lemon zest, fresh basil, and cracked black pepper. The lemon zest is the secret — it cuts the richness the way tomato acidity does in the classic version. Our white pizza with ricotta and garlic explores the same flavor family in round form.
Pepperoni-cup grandma
Lay pepperoni slices over the cheese (under the sauce dollops) so the cups crisp and their fat renders into the pie. Use a quality pepperoni that cups — the little grease cups are a feature, not a flaw, on this style. Blot lightly after baking if you’re fat-averse, but don’t skip the post-bake rest; the rendered fat needs those minutes to settle into the crust.
Whole-wheat grandma
Replace up to 40% of the bread flour with whole-wheat flour and add an extra 2 tablespoons of water. The nuttier crust pairs beautifully with the bright sauce, and the slightly denser crumb still crisps well in the oiled pan. Don’t go 100% whole wheat — the bran interferes with gluten enough that the thin crust turns crumbly rather than crisp-tender.
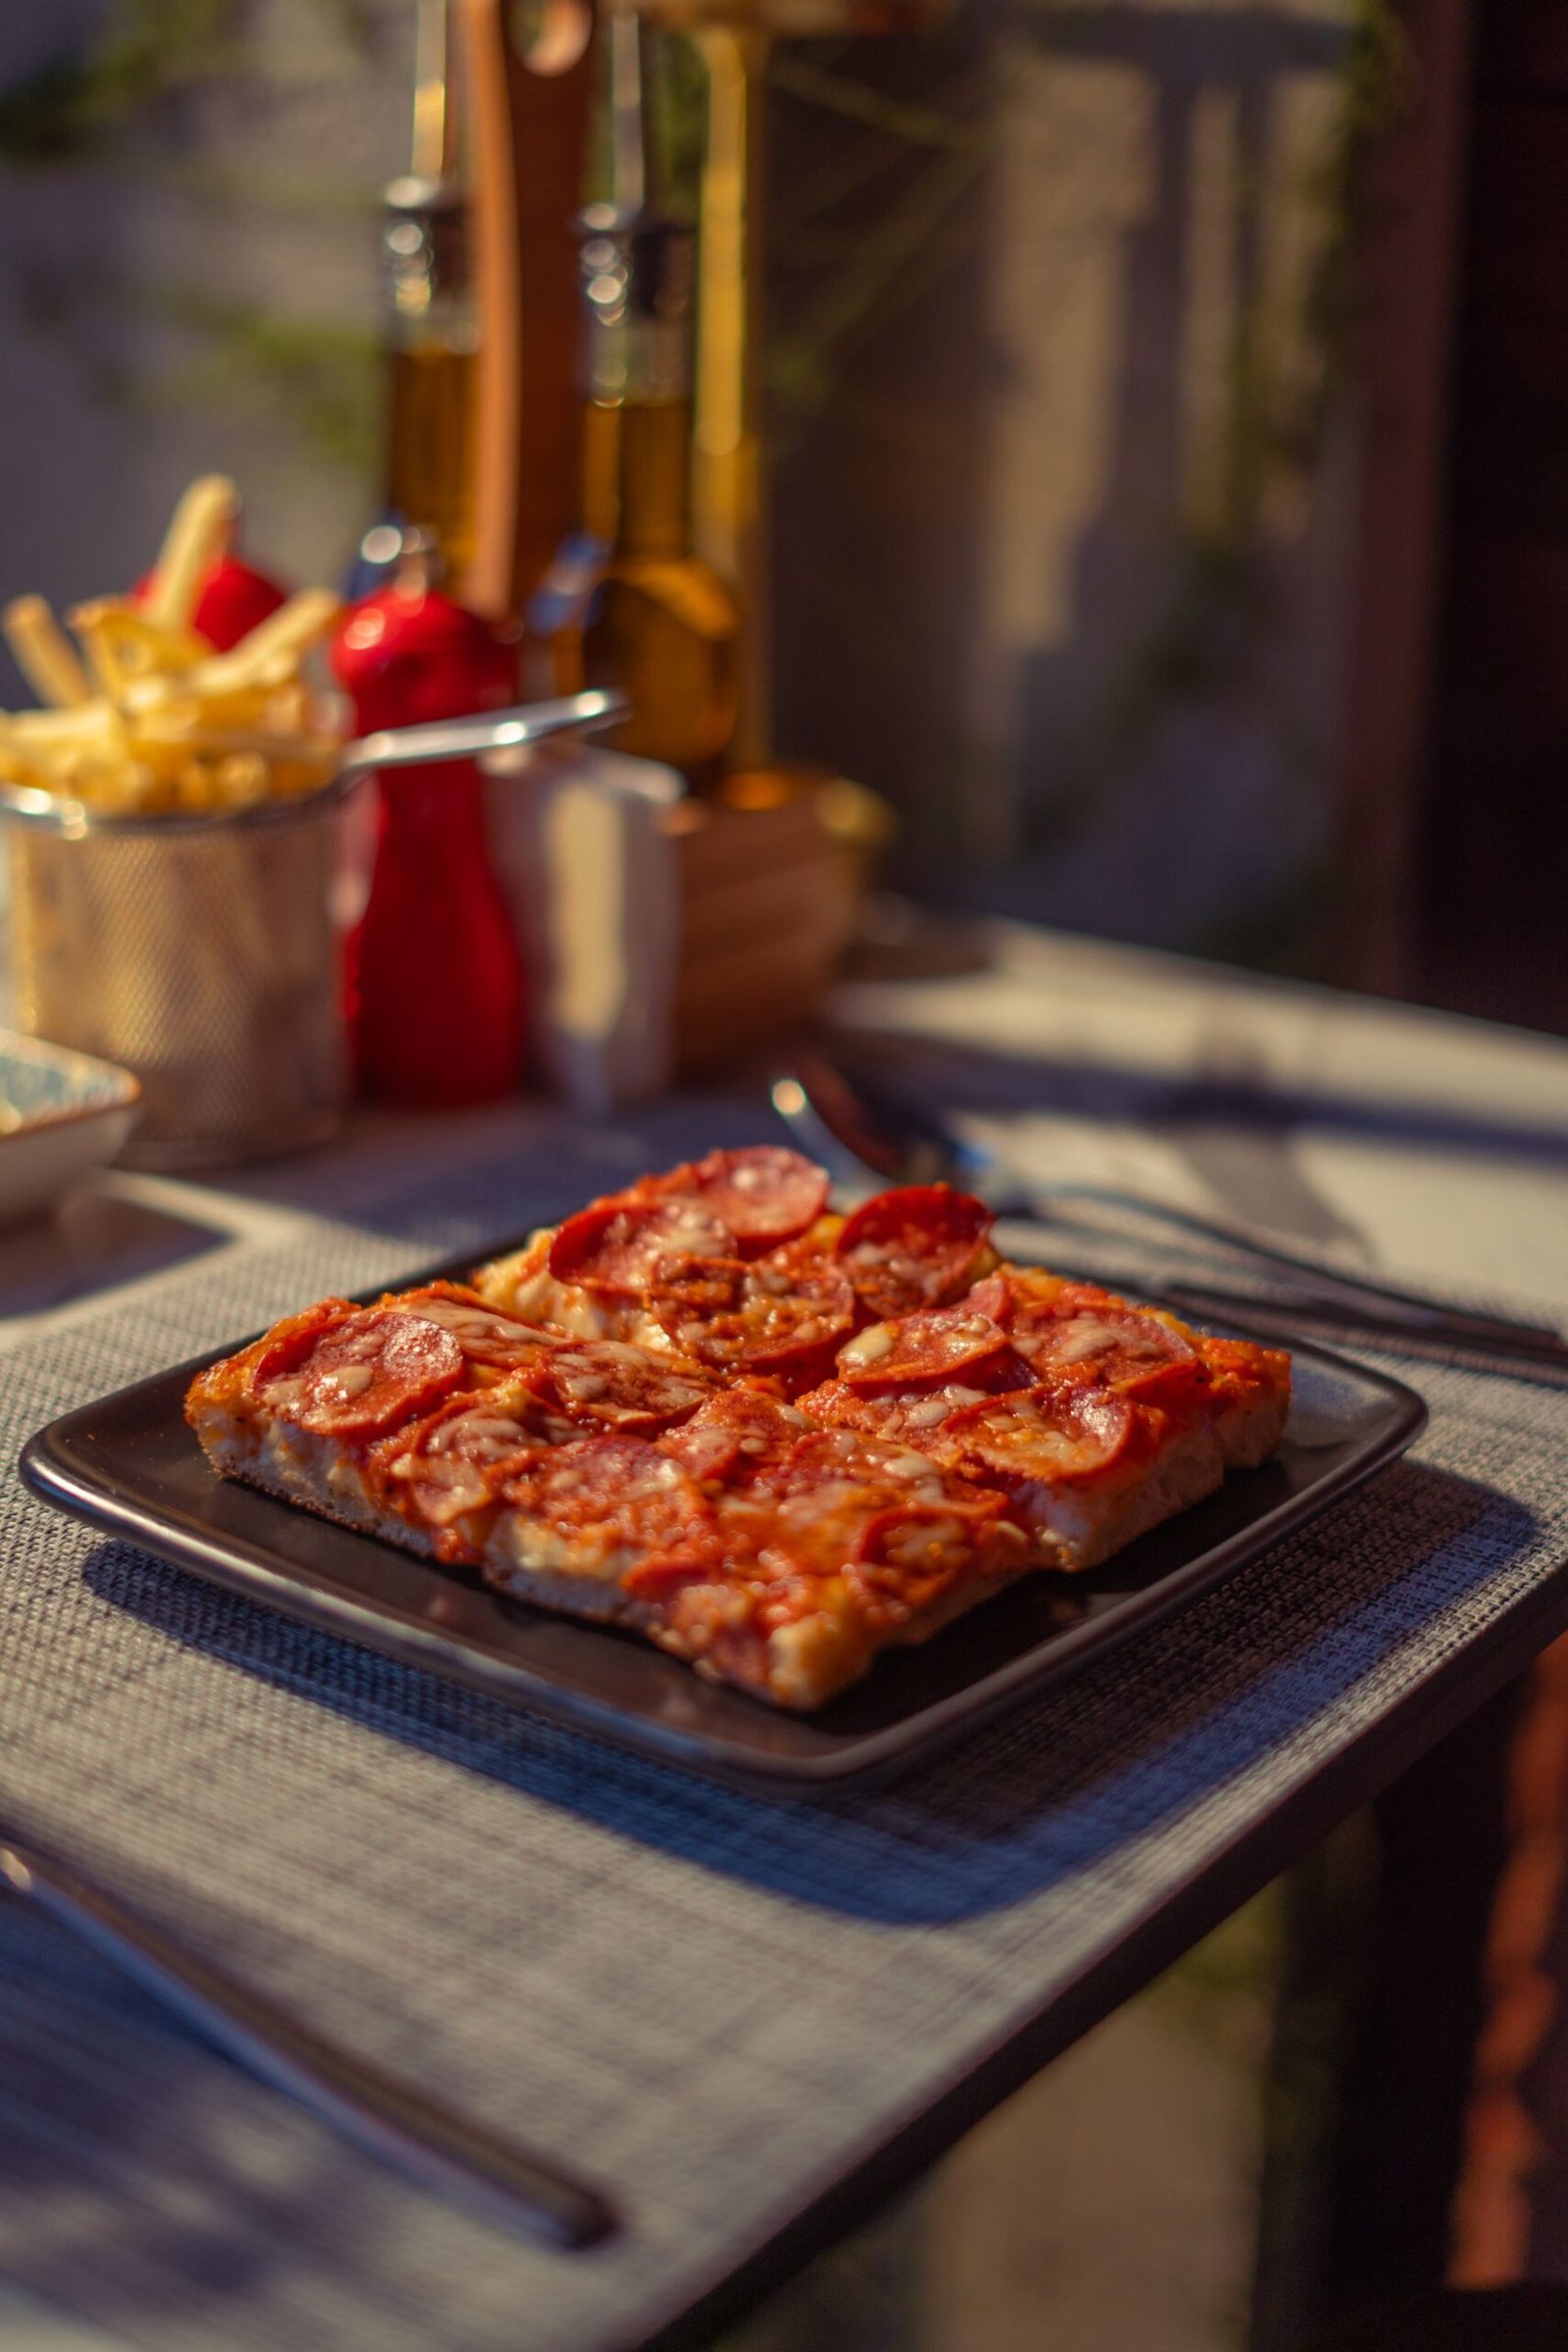
Serving, Storing, and Reheating
A half-sheet grandma pizza cuts into 12 generous squares — enough for 4 as a main course or 6–8 as part of a spread. Serve it the traditional pizzeria way: on a cutting board in the middle of the table, with extra Parmesan, red pepper flakes, and good olive oil for drizzling. It’s superb party pizza because it holds its heat well, cuts into easy grab-and-go squares, and tastes great at every temperature from piping hot to room temperature. Planning a crowd? A pizza-per-person calculator helps with quantities, and hosting a pizza party covers the full logistics.
Store leftovers within 2 hours of baking: stack squares with parchment between them in an airtight container and refrigerate for up to 4 days. The olive-oil crust actually reheats better than most pizza styles — 8–10 minutes in a 400°F oven on a sheet pan re-crisps the bottom beautifully, and a covered skillet over medium heat works too. Avoid the microwave; it turns the crisp bottom leathery. For the full method ranking, see our guide to reheating pizza.
Frequently Asked Questions
What’s the difference between grandma pizza and Sicilian pizza?
Thickness and texture. Grandma pizza is thin — a crisp, olive-oil-fried bottom with a tender, relatively thin crumb. Sicilian pizza is thick and airy, an inch or more of focaccia-like bread. Both are square pan pizzas with sauce often over the cheese, but they use different dough amounts, pan depths, and bake times. Our Sicilian pizza guide details the thick style if you want to try both and compare.
Why does the cheese go under the sauce on grandma pizza?
Tradition and engineering. The cheese melts directly into the hot crust, the sauce dollops reduce and concentrate on top, and the patchwork surface develops browned-cheese spots where mozzarella peeks through. It also protects the thin crust: sauce directly on dough can make it soggy, while a cheese layer acts as a moisture barrier. Try it the traditional way once before deciding — most skeptics convert.
Can I make grandma pizza in a round pan?
You can make a delicious thin pan pizza in a round pan, but it won’t quite be grandma pizza — the square shape, corner pieces with their extra-crisp edges, and the specific dough-to-pan ratio are part of the style’s identity. A 12-inch cast-iron skillet actually makes an excellent round equivalent with a superbly crisp bottom. If square isn’t available, round is still worth making; just don’t expect the corner slices.
My dough keeps springing back when I press it into the pan. Help?
The gluten is tense. Stop pressing, cover the pan, and rest 15 minutes — then try again. Cold dough fights hardest, so let refrigerated dough warm up for an hour first. Well-oiled hands and the pan help too; dry fingers drag the dough. Two or three press-and-rest cycles will get you to the corners. Never force it — torn dough can’t be un-torn, but rested dough always cooperates eventually.
Can I use store-bought dough for grandma pizza?
Yes. A 1-pound ball of store-bought dough fills about a quarter-sheet pan (9×13 inches) for a slightly thicker grandma-style pie; use two balls for a full half-sheet. Let it come to room temperature for 45–60 minutes before pressing — cold store-bought dough is particularly springy. The result won’t have the flavor depth of a homemade cold-fermented dough, but the technique (oiled pan, cheese under sauce, hot bake) carries most of the style’s character.
Can I freeze grandma pizza?
Yes — it freezes better than most styles thanks to the sturdy oiled crust. Cool baked squares completely, freeze them in a single layer on a sheet pan, then bag for up to 2 months. Reheat from frozen at 400°F for 12–15 minutes directly on the oven rack or a sheet pan; the bottom re-crisps remarkably well. You can also freeze the pressed, par-baked crust (no toppings) and top it straight from frozen later — a genuine weeknight shortcut.
How do I get the bottom extra crispy?
Four levers: a hotter oven (max it out), a preheated steel or stone under the pan, the lowest rack position, and enough oil in the pan. If you’ve maxed all four and still want more, par-bake the naked dough for 6–8 minutes before topping. Also check your pan — dark, well-seasoned pans brown better than shiny new ones. And always transfer the baked pizza out of the pan to rest; trapped steam is the enemy of crisp.