

The pizza peel — that flat paddle for sliding pizzas in and out of the oven — looks deceptively simple. Yet the launch is where more homemade pizzas die than anywhere else: the pizza sticks halfway, folds over itself, dumps its toppings, and your beautiful pie becomes a calzone you did not order. Learning how to use a pizza peel properly is the skill that separates smooth pizza nights from flour-dusted disasters, and it is far more about technique than equipment.
The good news: launching like a pro is a learnable, repeatable skill, not a talent. It comes down to three things — a properly prepared peel, a correctly built pizza, and one confident motion. This guide covers all three in detail: choosing the right peel, prepping it so nothing sticks, building your pizza for a clean release, the exact launching technique step by step, how to turn and retrieve, and what to do when things go wrong (because they will, at least once).
Whether you are launching onto a screaming-hot steel in your kitchen oven or into a wood-fired oven in the backyard, the fundamentals are identical. Pair this guide with our dough stretching tutorial — a well-stretched, even dough launches far better than a lumpy one — and you will have the complete handling skillset.
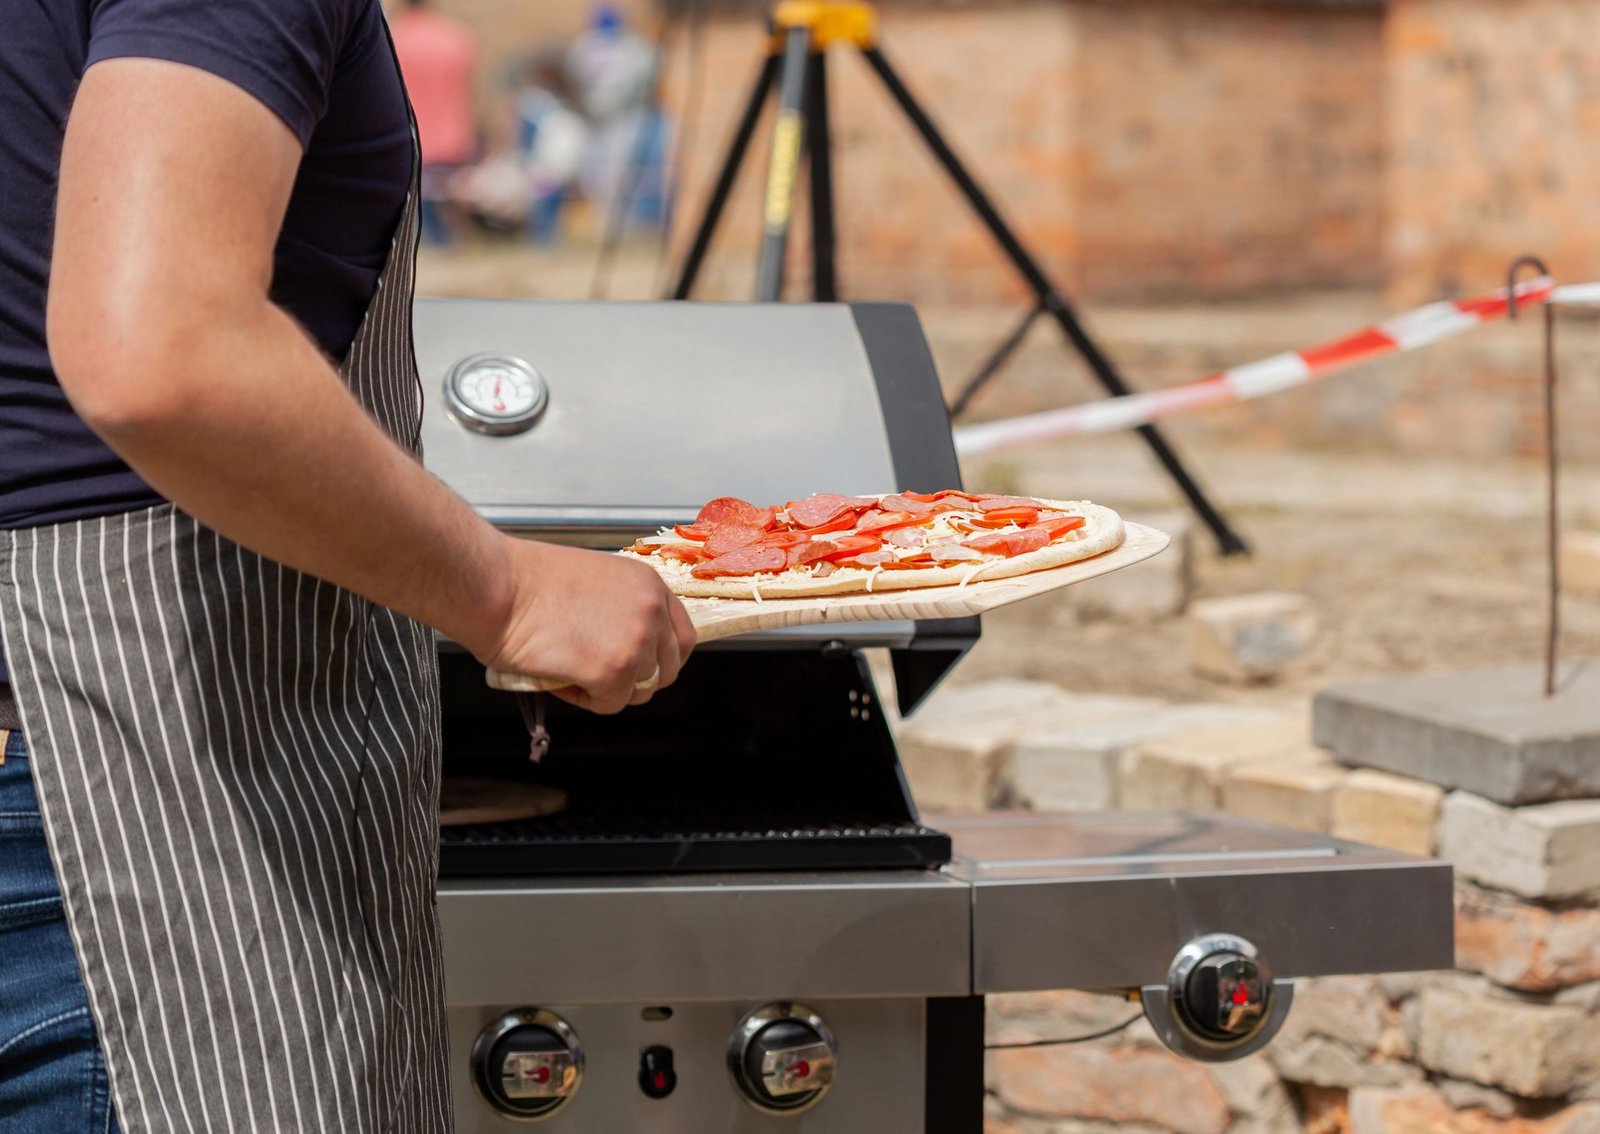
🍕 Key Takeaways
- The launch fails for three reasons: a sticky peel, a wet or heavy pizza, or a hesitant motion. Fix all three and launches become boring — in the best way.
- Wood peels are best for launching (dough sticks less to wood); thin metal peels are best for turning and retrieving.
- Dust the peel with flour or fine semolina, then do the “shake test” — the unbaked pizza must slide freely before it goes near the oven.
- Work quickly once the pizza is on the peel: every minute it sits, moisture migrates and sticking gets worse.
- The launch is one confident forward-and-back motion, not a shove. Commit fully — hesitation causes exactly the disaster you fear.
- If it sticks, do not force it: lift the edge, blow a little flour underneath, and re-shake before trying again.
Choosing the Right Peel
Wood vs metal for launching
For launching (getting the raw pizza into the oven), wood wins. Wood is porous and slightly rough, so it absorbs a little surface moisture and gives the dough less to grip — raw dough releases from a floured wooden peel more readily than from smooth metal. Wooden peels are also thicker and more rigid, which helps when sliding under a topped pizza.
For turning and retrieving, thin metal wins. A thin, beveled metal peel slides under a baked pizza effortlessly, and metal will not scorch when you hold it inside a 450°C oven to rotate a pie. Many serious pizza makers own both: wood for launching, metal for everything after. If you can only buy one, a wooden peel covers launching (the hard part) and can retrieve in a pinch, though less elegantly.
Perforated vs solid
Perforated metal peels — covered in small holes — have become popular, and for good reason: the holes let excess flour fall through instead of burning on your baking surface, and they reduce the suction effect between peel and dough. They are excellent turning and retrieving peels. For launching, a perforated peel works well too, though some beginners find dough catches on the hole edges if the peel is not well floured. Solid peels are simpler and cheaper; perforated peels are a genuine upgrade, not a gimmick.
Size matters
Your peel should be at least as wide as your pizzas, ideally 2–3 inches wider. A 14-inch peel handles 12-inch pizzas comfortably; if you make 16-inch pies, get a 16–18 inch peel. Too small and the pizza overhangs the edges, flopping and sticking. The handle should be long enough to reach the back of your oven or baking surface without your hand entering the heat — for a standard home oven, a 24-inch overall length is plenty; for outdoor ovens, longer handles keep you clear of the flames.
Prepping the Peel: The Anti-Stick System
Sticking is a physics problem with a simple solution: create a dry, slippery layer between dough and peel, and minimize the time they spend in contact.
Flour, semolina, or a blend?
Plain flour works, but fine semolina flour works better. Semolina’s coarse, sandy grains act like tiny ball bearings under the dough, and it does not absorb moisture as quickly as regular flour — so the anti-stick layer lasts longer while you top the pizza. Many pros use a 50/50 blend of flour and fine semolina: the flour fills gaps, the semolina provides the slide. Cornmeal also works but burns more readily and adds a gritty texture some people dislike. Whatever you use, apply it generously and evenly — a bare patch is where sticking starts.
The shake test (non-negotiable)
Here is the habit that will save more pizzas than any other: after building your pizza on the peel, give the peel a short, sharp horizontal shake. The unbaked pizza should slide freely, shifting an inch or two on the peel. If it does not move, it will not launch — stop and fix it now, while the fix is easy. Lift the stuck edge gently with your fingers or a bench scraper, toss a pinch of flour or semolina underneath, and shake again. Repeat until it glides. This ten-second test, done every single time, eliminates the vast majority of launch disasters.
Keep it dry
Water is the enemy of a clean launch. A damp peel — from washing, from humidity, from a wet dough — grabs dough like glue. Always start with a completely dry peel, and flour it just before use rather than an hour ahead (flour left sitting absorbs ambient moisture). If your dough is very wet or sticky, that is a dough formulation issue to address in your pizza dough recipe, but extra semolina on the peel compensates in the short term.
Building the Pizza on the Peel
Assemble quickly and lightly
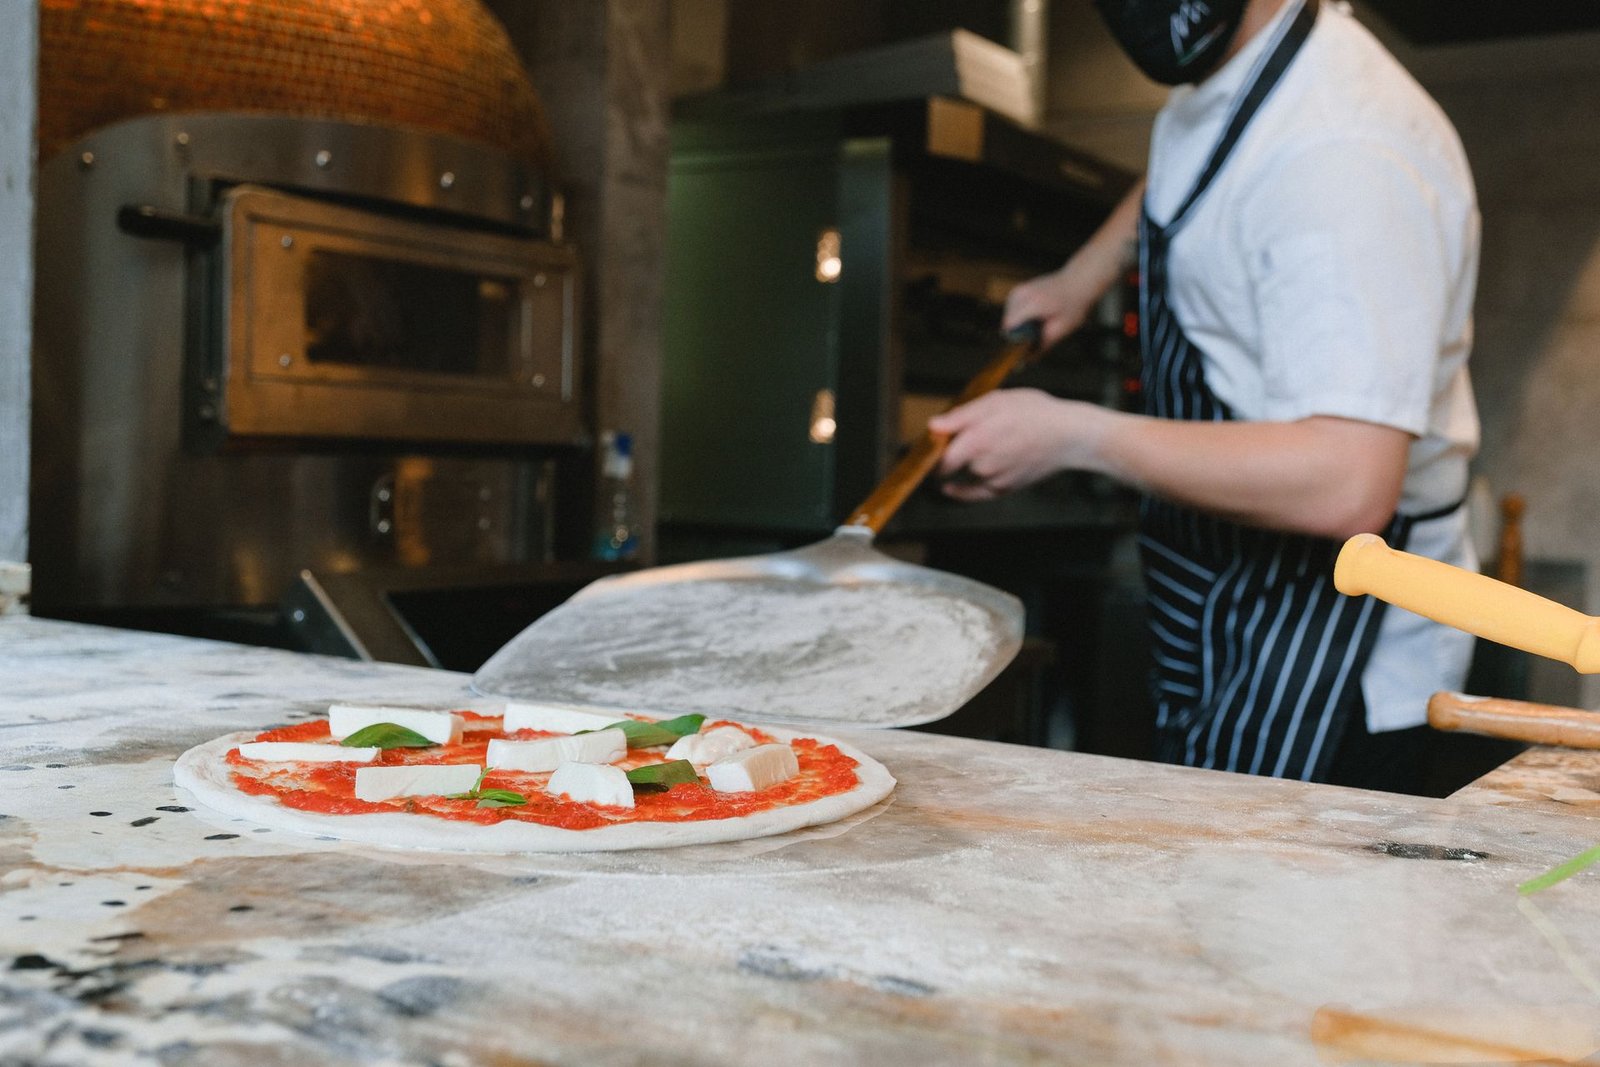
Once the stretched dough is on the floured peel, the clock is ticking. Every minute the raw dough sits on the peel, moisture migrates from the sauce into the dough-peel interface, and sticking risk climbs. Have all toppings ready before the dough goes on the peel, then sauce, cheese, and top in smooth succession. Aim to go from dough-on-peel to oven in under two to three minutes. This is also why mise en place matters in pizza making generally — hesitation at any stage costs you.
Do not overload
A heavy, wet pizza is harder to launch for two reasons: the extra weight increases friction, and wet toppings soak through to the dough bottom. Keep sauce thin (two to three tablespoons for a 12-inch pizza), distribute toppings evenly rather than piling them in the center, and remember that a pizza that launches cleanly beats a pizza with 30% more toppings that folds in half. Restraint is a launching strategy.
The parchment paper training wheels
If launches terrify you, parchment paper is a legitimate bridge technique: build the pizza on parchment on the peel, launch paper and all, then slide the paper out from under the pizza after 60–90 seconds once the bottom has set. The bottom will not brown quite as aggressively where the paper insulates it, and you should trim the paper so it does not extend past the pizza and scorch — but as a confidence-builder while you practice the real technique, it is excellent. Most people graduate off parchment within a few sessions.
Keep the peel level
A tilted peel lets the pizza slide prematurely — usually toward the floor. When carrying the loaded peel to the oven, keep it as level as you reasonably can. Small adjustments are fine; the shake test already confirmed it slides, so treat it like the slippery cargo it is — deliberate, smooth movements, no sudden stops.
How to Use a Pizza Peel: The Launch, Step by Step
This is the moment. Read it through once, then do it — thinking about it mid-motion is what causes hesitation.
Step 1: Position yourself
Stand squarely in front of the oven with the loaded peel held at a slight downward angle, tip pointing at the spot on the baking surface where the pizza will land. For a home oven, that means the peel goes in at roughly the height of the steel or stone. Give the peel one final small shake to confirm the pizza still slides — dough settles during the walk to the oven.
Step 2: Place the tip
Rest the front edge (tip) of the peel on the baking surface at the back of your target spot. The tip should touch down a few inches beyond where you want the far edge of the pizza to end up — the pizza will occupy the space between the tip and you. Keep the peel at a low angle, almost flat; a steep angle makes the pizza slide off prematurely.
Step 3: The pull-back
Here is the actual technique, and it is the opposite of what beginners expect: you do not shove the pizza forward off the peel. Instead, with the tip resting on the surface, pull the peel sharply back toward you in one smooth, confident motion. Friction between the pizza bottom and the hot surface grabs the dough while the peel slides out from underneath it. Think of it as pulling the tablecloth out from under the dishes — the pizza stays, the peel leaves.
The motion should be quick and decisive — about one second from start to finish. A slow, tentative pull-back drags the pizza with the peel and folds it. Speed is your friend. If it helps, practice the motion a few times with an empty, floured peel before you ever load a pizza.
Step 4: The nudge (if needed)
Sometimes the pizza does not fully release and a corner hangs on the peel. Do not panic and do not yank. Give the peel a short forward jiggle to lay the stuck portion down, then resume the pull-back. If more than half the pizza is still on the peel, withdraw the whole thing smoothly, re-flour under the stuck spots, re-shake, and launch again. A clean second attempt beats a mangled first attempt every time.
Launching into different ovens
The technique is identical everywhere, but the context changes. In a home oven, you have limited space and the peel goes in horizontally at rack height — mind the oven walls. In an outdoor pizza oven, the deck is blazing hot and the space is tight; work quickly, keep the handle clear of the flames, and expect the pizza to start setting the instant the tip touches down. Speed matters more in hotter ovens because the margin for fiddling is smaller.
Turning and Retrieving
Why you turn
No oven heats perfectly evenly — home ovens have hot spots, and wood-fired ovens have a flame side. Turning the pizza 180 degrees halfway through the bake evens out browning so one side does not char while the other stays pale. In a 6–8 minute home-oven bake, turn once around the halfway mark. In a 90-second high-heat bake, turn every 20–30 seconds.
How to turn
Slide a thin metal peel (or the edge of your wooden peel) under the pizza, lift slightly, and rotate. In a home oven you can pull the pizza partway out, rotate it on the peel, and slide it back. In a hot outdoor oven, use a small turning peel to spin the pizza in place without removing it — faster and safer. Do not try to turn with tongs or a spatula; they tear the soft crust.
Retrieving the finished pizza
Slide the metal peel fully under the pizza in one smooth motion, keeping the peel flat against the baking surface — jabbing downward at an angle folds the crust. Lift straight out. If the bottom seems stuck to the steel or stone (rare with a good preheat, but it happens with very wet doughs), work the peel edge gently under one side first, then slide through. Transfer to a wire cooling rack, not a flat pan: a rack lets steam escape from underneath so the bottom stays crisp while you slice. Give the pizza two to three minutes on the rack before cutting — the cheese sets slightly, the structure firms up, and your slices hold together instead of sliding apart.
Troubleshooting: When Things Go Wrong
The pizza sticks to the peel and will not budge
Do not force it. Forcing a stuck pizza folds it — the classic calzone accident. Instead: set the peel down, gently lift the edges of the dough with a bench scraper or your fingers, and toss flour or semolina into the gaps. Work around the whole pizza, re-shake, and try again. If one spot is truly welded on, slide a thin metal spatula or the edge of a bench scraper under it to break the seal. Prevention for next time: more dusting flour, faster assembly, and the shake test before you walk to the oven.
The pizza folds over itself during launch
This happens when the pull-back is too slow or the peel angle is too steep — the pizza’s far edge catches and the rest piles over it. If it folds in the oven, you have two options: carefully unfold it with the peel (works if caught immediately) or accept it and call it a calzone (works always). To prevent it: lower peel angle, faster pull-back, full commitment. Practice with an empty peel until the motion feels automatic.
Toppings slide off during the launch
Usually caused by overloading or by a jerky, stop-start motion. Distribute toppings evenly and keep the motion smooth. Wet toppings are the worst offenders — this is another reason to pre-cook watery vegetables rather than launching them raw and heavy.
The pizza lands off-center or half off the stone
Nudge it with the peel in the first seconds, before the bottom sets — after that, it is not moving until it is baked. Aim for the center but do not obsess; an off-center pizza bakes just as well as a centered one as long as it is fully on the hot surface. If half the pizza hangs off the steel onto the oven rack, though, that half will bake badly — in that case, it is better to pull it out and relaunch than to bake a half-and-half disaster.
Dough tears when launching
Thin spots or holes in the stretched dough catch on the peel and tear open, leaking sauce onto the baking surface (which then burns and smokes). The fix is upstream: stretch evenly and patch thin spots by gently pressing surrounding dough over them. If you spot a hole while topping, patch it with a small piece of dough from the edge trimmings. A little flour on the patch helps it blend in.
Frequently Asked Questions
Do I really need a pizza peel, or can I use a baking sheet?
A rimless baking sheet or the back of a sheet pan works as a substitute — build the pizza on it and slide it off like a peel. But a real peel is wider, thinner at the edge, and has a handle designed for the job; if you make pizza more than a few times a year, it is worth owning. Check our essential pizza tools list for where the peel sits in priority order.
Wood or metal peel — which should I buy first?
Wood, for launching — it releases raw dough more forgivingly and it is the harder skill. Add a thin metal peel later for turning and retrieving. If you bake exclusively in a very hot outdoor oven where a wooden peel might scorch during turning, some cooks prefer starting with a perforated metal peel that does both jobs adequately.
How do I keep dough from sticking to a metal peel?
The same system: generous semolina/flour dusting, quick assembly, and the shake test. Metal is less forgiving than wood, so be extra generous with the dusting and extra quick with the assembly. Perforated metal peels stick less than solid ones because there is less surface contact.
Can I build the pizza on the counter and transfer it to the peel?
You can, but every transfer is a sticking opportunity. Building directly on the floured peel eliminates one risky move. If your peel is occupied or you are making multiple pizzas assembly-line style, build on a well-floured surface and use the peel to scoop under — slide the peel under the pizza with a confident forward motion, dusting more flour ahead of it as you go.
Why does my pizza always stick in the same spot?
There is a bare patch in your dusting, or a dent or rough spot on the peel that grabs dough. Inspect the peel: sand any rough patches on a wooden peel smooth, and make your flouring pattern deliberate — a quick visual check for even coverage before the dough goes down. Consistency in prep beats heroics in rescue.
How do professionals launch so fast?
Repetition and mise en place. A pizzeria cook has launched thousands of pizzas, works with dough formulated for release, keeps every topping within arm’s reach, and never hesitates. You cannot shortcut the repetitions, but you can copy the system: everything ready, peel floured, shake test, one confident motion. Your fiftieth launch will feel completely different from your fifth — that is what it means to truly know how to use a pizza peel, and it is worth pushing through the awkward early ones. If you enjoy the craft, the PizzaHunter story shares why we think the learning curve is the fun part.
[…] smooth, splinter-free hardwood with a tapered front edge that slides under dough easily. Our full pizza peel technique guide covers flouring, the shake test, and the launch motion in detail — the peel is only as good as […]
[…] already own a launching peel, the wide flat paddle that carries a raw pizza into the oven. Our guide to using a pizza peel covers that tool in depth. But once the pizza is on the hot deck, the launching peel is too big and […]