

Learning how to stretch pizza dough is the skill that separates a decent homemade pizza from a great one. You can nail the recipe, ferment the dough for three days, and heat your oven until it glows — but if you rip a hole through the center while shaping, the sauce floods through, the crust bakes unevenly, and the whole pie tastes like a compromise. Stretching looks effortless when a pizzaiolo does it, and that effortlessness is exactly what makes it so frustrating to learn: the technique is genuinely gentle, and every beginner’s instinct is to fight the dough instead of cooperating with it.
The good news is that tearing is almost never a mystery. Dough tears for a small handful of reasons: it is too cold, it has not rested enough, the gluten network is underdeveloped or overworked, or the hands are doing something the dough does not want. Once you understand what the dough needs — relaxation, warmth, and even pressure from the center outward — stretching stops feeling like a gamble. The method below is the same one professional pizza makers use, adapted for a home kitchen.
This guide walks you through every step: how to prepare the dough ball so it wants to stretch, the exact hand positions that protect the center, how to handle high-hydration doughs, and what to do when things start to go wrong. By the end, you will be opening dough balls into even, round skins with puffy rims and no thin spots — the foundation every great pizza style builds on, from a classic Neapolitan to a foldable New York slice.
🍕 Key Takeaways
- Bring dough to room temperature (65–75°F / 18–24°C) for 1–2 hours before stretching — cold dough springs back and tears.
- Always push air from the center toward the rim; never press the center flat, which creates the thin spot that tears.
- Use your knuckles and the backs of your hands, not your fingertips, which puncture delicate dough.
- Flour your hands, the work surface, and the dough generously, and let gravity do the final stretching.
- If the dough fights back, stop and rest it 10–15 minutes — gluten relaxes and the dough becomes cooperative again.
- Small tears can be pinched shut; large holes mean re-balling the dough and resting it before trying again.
- High-hydration dough (65%+ water) needs a lighter touch and a well-floured surface — speed matters less than gentleness.
Why Pizza Dough Tears (and What the Dough Is Telling You)
Before learning the technique, it helps to understand why dough rips in the first place, because every fix in this guide targets one of these causes. The most common culprit is cold, tense gluten. Fresh out of the refrigerator, dough is stiff and elastic; pull on it and it snaps back like a rubber band, and pull harder and the network of gluten strands breaks instead of sliding. That is why dough straight from the fridge tears even in experienced hands. A dough ball needs one to two hours at room temperature so the gluten relaxes and the yeast wakes up, producing gas that makes the dough extensible and puffy. If your dough shrinks back the moment you stretch it, it is almost certainly too cold or under-rested — not a bad recipe.
The second cause is pressing the center. Many beginners flatten the whole dough ball like a pancake, then wonder why the middle turns translucent and fragile while the rim stays thick. The center of a pizza base should stay slightly thicker than paper-thin; all the displaced air belongs in the rim (the cornicione), which becomes the puffy outer crust. When you press the center flat, you stretch the thinnest part of the skin over the largest area, and that is where holes appear. Professionals do the opposite: they define the rim first by pressing a ring around the edge, then work the interior outward, deliberately leaving the middle a little thicker than seems necessary.
The third cause is uneven gluten development. Dough that was barely kneaded tears because the gluten network is patchy — strong in some spots, weak in others — and the weak spots give way first. Paradoxically, dough that was kneaded aggressively and then shaped immediately also tears, because overworked gluten is tight and brittle until it rests. The fix for both is the same: proper kneading (until the dough is smooth and passes the windowpane test) followed by a real rest, either a long cold ferment or at least an hour at room temperature after balling. Our step-by-step dough guide covers the kneading and fermentation side in detail, so this article can focus on the moment of shaping.
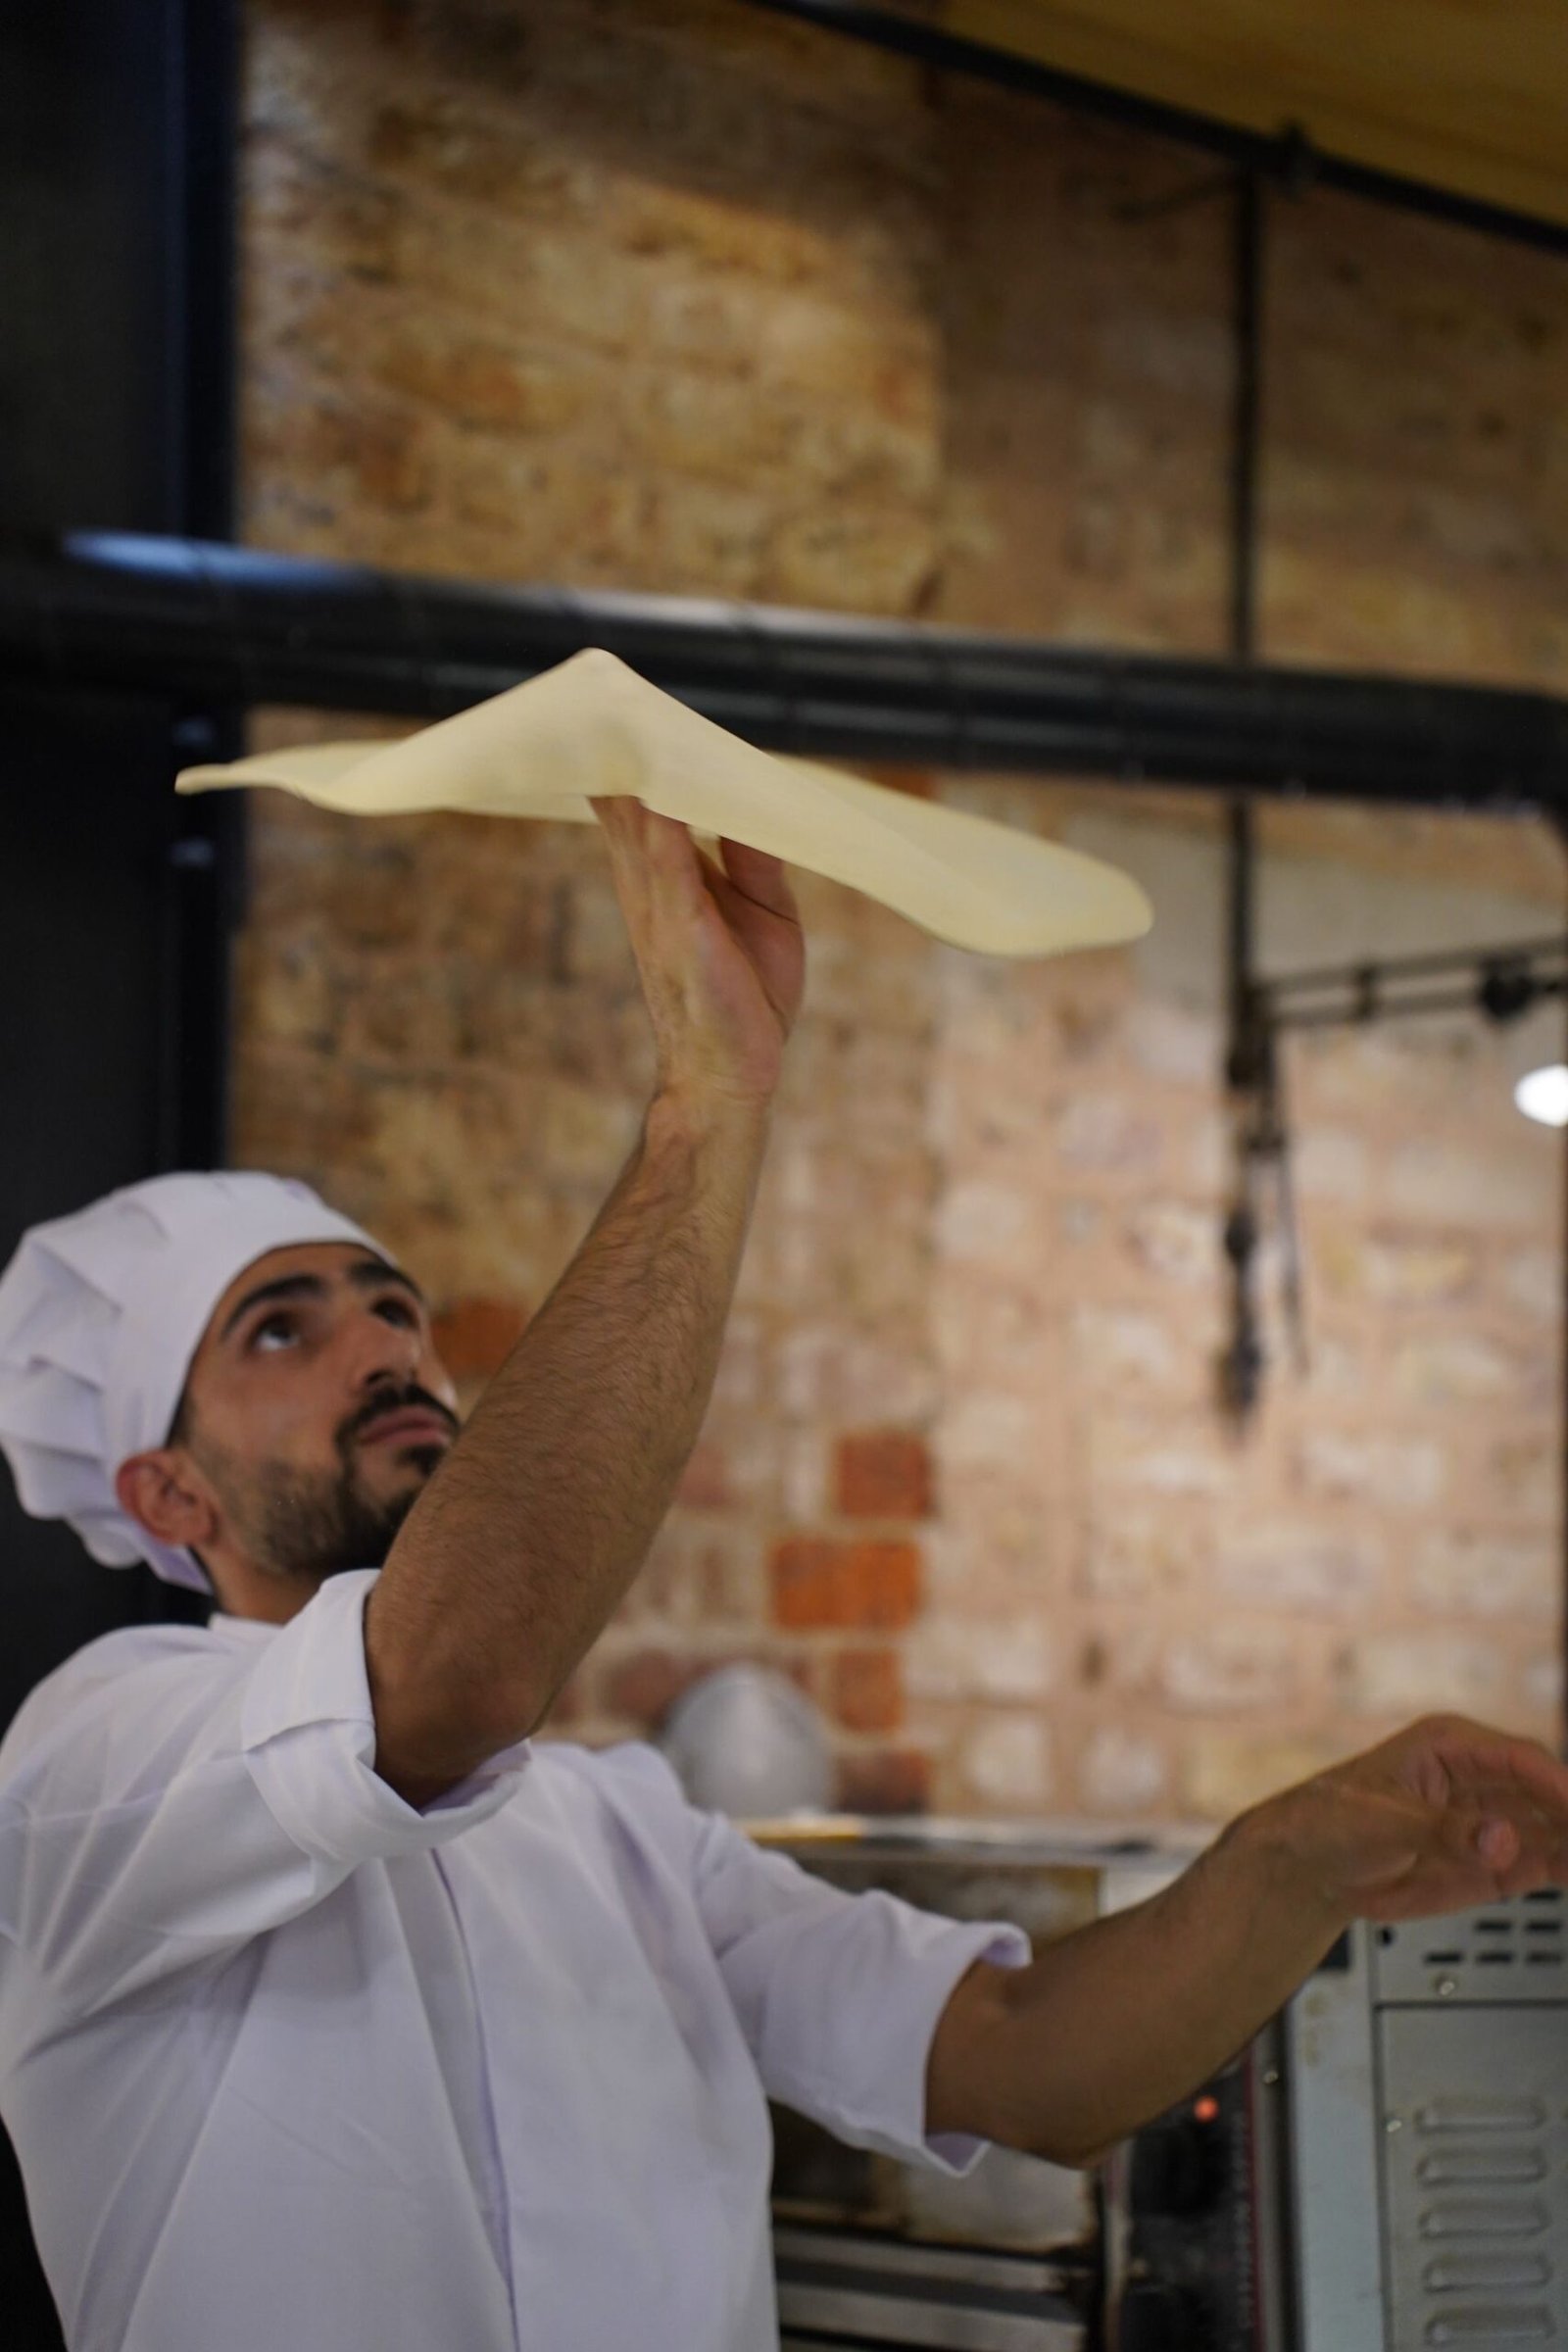
Finally, technique matters as much as dough condition. Fingertips are the enemy: ten small points of pressure dig into the dough and create weak spots, while flat knuckles and the backs of the hands distribute pressure evenly. Tossing the dough in the air — the move everyone wants to learn — is the least important part and the most likely to end with the dough on the floor. Gravity stretching, where the dough hangs over your knuckles and its own weight does the work, achieves the same result with far less drama.
Preparing the Dough Ball: The 80 Percent Nobody Sees
Professional pizza makers spend far more time preparing dough than stretching it, and that preparation is what makes the stretching look easy. Start by taking your dough balls out of the refrigerator one and a half to two hours before you plan to bake. They should sit covered — in their proofing tray, a lightly oiled bowl with a damp towel, or individual containers with lids — so the surface does not dry out and form a skin. A dried skin cracks and tears no matter how perfect your technique is, so coverage is non-negotiable. The target temperature is ordinary room temperature, roughly 65–75°F (18–24°C). In a cold kitchen, give it the full two hours; in a warm one, an hour may be enough. The dough is ready when it looks slightly puffy, feels soft and pillowy, and a gentle poke leaves an indentation that springs back slowly.
Flour strategy comes next. You want a generous bed of flour — semolina, 00 flour, or all-purpose — on your work surface, plus a light dusting on top of the dough ball and on your hands. Semolina is the traditional choice in many pizzerias because its coarse grains act like ball bearings, letting the dough glide without sticking. The classic beginner mistake is being stingy with flour out of fear it will dry the dough. During stretching, excess flour is harmless — it brushes off before baking — while too little flour means the dough grips the counter, and every pull against a stuck spot is a potential tear.
Before the dough touches the counter, decide on your dough ball weight, because it determines your final pizza size. A 250–280 gram ball (about 9–10 ounces) opens to a 10–12 inch pizza, the standard home size. If you are learning, stay at 250 grams until the motion feels natural. When you place the floured dough ball on the floured surface, press it gently into a thick disc about an inch tall, keeping the shape roughly round from the start.
One more preparation detail: keep backup flour within reach and keep your bench scraper handy. A bench scraper slides under the dough to release it from the counter without pulling, which is far gentler than yanking a stuck edge with your fingers.
How to Stretch Pizza Dough: Step-by-Step Method
Here is the core method, broken into small steps you can follow literally the first time.
Step 1: Define the rim. With the dough disc on your floured surface, place your fingers flat about an inch inside the edge, and press down gently while rotating the dough. You are pushing air from the inner area outward into the rim, creating a distinct puffy ring. Work your way around the full circle two or three times. Do not press the rim itself flat — that ring is your future crust. This step alone prevents most center-tearing, because it establishes where the air goes before any real stretching begins.
Step 2: Press the center outward. Now, using flat fingers and the heel of your hand, press the interior of the disc and push outward toward the rim, rotating the dough a quarter turn every few presses. Think of it as coaxing rather than flattening: moderate pressure, always moving from the middle toward the edge. After a minute of this, the disc should be roughly 6–8 inches across, still fairly thick, with a clearly defined puffy rim. If the dough resists and springs back, stop — it needs more rest, not more force.
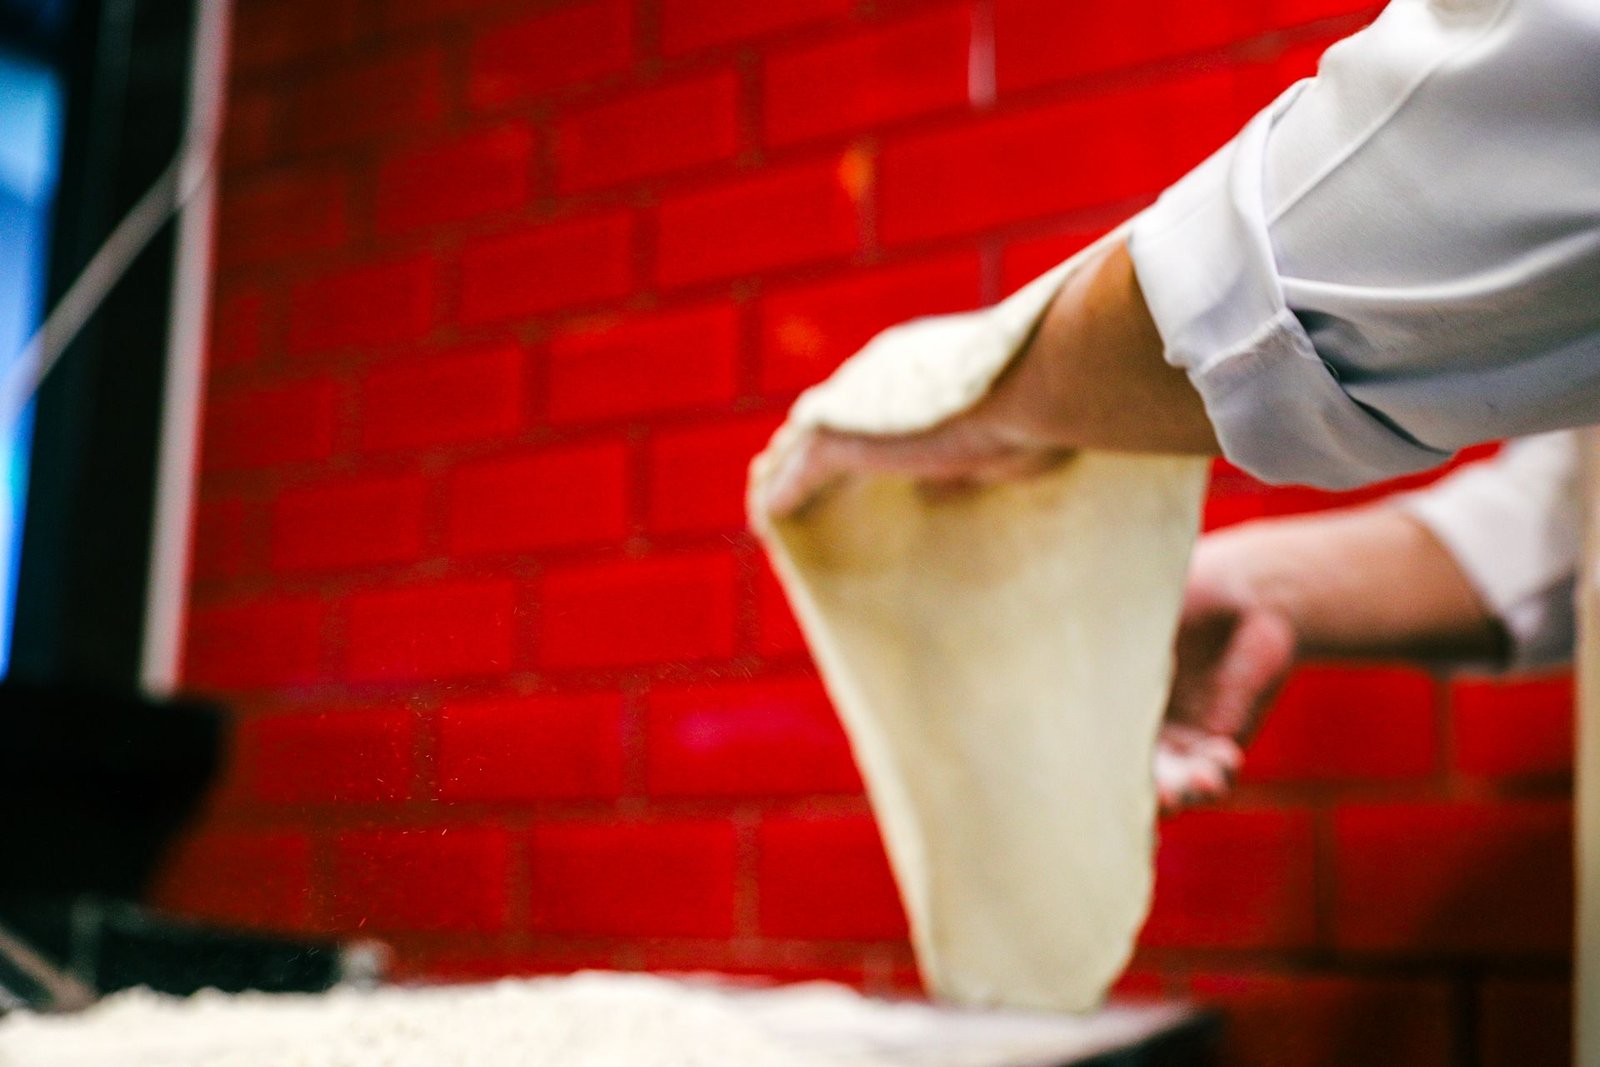
Step 3: The knuckle stretch. Drape the dough over the backs of your knuckles — both hands, fingers curled down so only the flat backs of your hands touch the dough. Hold the dough up and let it hang, then gently pull your hands apart, rotating as gravity stretches the hanging portion. The dough’s own weight does the stretching; your hands just guide and rotate. Keep the rim resting on your knuckles and never let the center take the full weight unsupported.
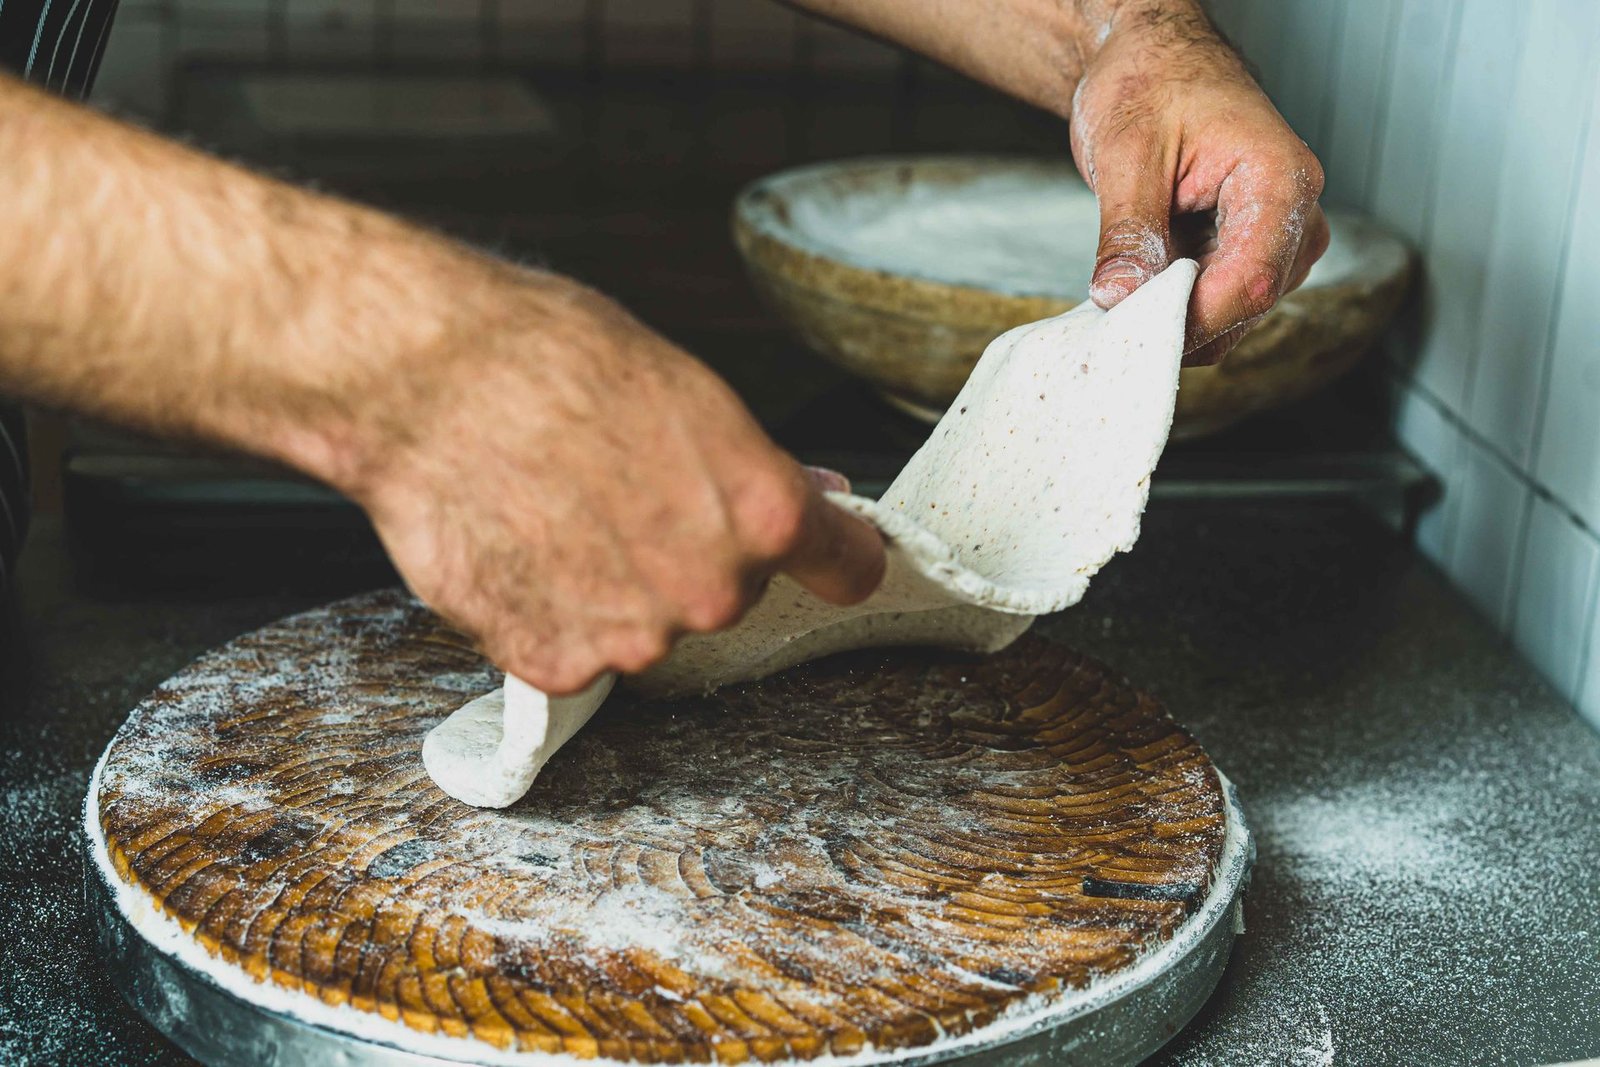
Step 4: Check thickness with the light test. Hold the stretched skin up briefly and look at it against the light. The whole interior should glow evenly, with no bright translucent patches that signal a thin spot about to tear. If you see one, stop stretching that area — rotate the dough so the thin spot rests on your knuckle and work the thicker areas instead.
Step 5: Final sizing. Lay the dough back on the floured surface and make final adjustments with flat hands, nudging thick spots outward into a round. Target about 2–3 millimeters in the center for Neapolitan-style, slightly thicker for New York style. From the moment the dough is fully stretched, move with purpose: a dressed pizza sitting on the counter keeps absorbing moisture and gets progressively harder to launch.
Resting: The Technique Behind the Technique
If this guide had one secret, it would be this: when the dough resists, rest it instead of fighting it. Gluten tightens when worked and relaxes when left alone. Every minute of stretching tightens it a little more, which is why a dough that opened beautifully to eight inches suddenly refuses to go to ten. The solution is a bench rest: cover the partially stretched dough and walk away for ten to fifteen minutes. When you return, the gluten will have relaxed and the dough will stretch further with less effort. Two or three rest cycles can take a stubborn dough from six inches to twelve without a single tear.
This applies before stretching too. Dough that was just balled is at maximum tension. Balling should happen at least one to two hours before stretching. If you ball and immediately try to stretch, the dough will fight you the entire way. Planning the timeline backward from bake time is part of the skill: dough out of the fridge two hours before, balls formed well in advance, stretching calm and unhurried.
Temperature and rest interact. Cold dough needs longer rests because the gluten relaxes slowly when cold; warm dough relaxes faster but also over-proofs faster, becoming slack and fragile. The sweet spot is dough that is fully at room temperature but not left out so long that it over-ferments — for most home doughs, two hours out of the fridge is ideal, three is the practical maximum before the dough gets gassy and delicate. If your kitchen is very warm (above 80°F / 27°C), shorten the counter time and rely on a bench rest mid-stretch instead.
There is also a rest trick for high-hydration doughs, which are stickier and more extensible. After the initial pressing, let the dough rest on the floured counter for five minutes before the knuckle stretch. The flour hydrates slightly on the surface, forming a thin dry skin that dramatically reduces sticking, while the interior stays soft. This is the same principle behind the “bench rest” used in bread baking, and it makes 65–70% hydration doughs — the kind in our hydration guide — far more manageable.
Learn to read the dough’s mood. Springing back instantly: too tense, rest it. Stretching easily but feeling fragile and bubbly: possibly over-proofed, handle gently and bake soon. Tearing at the slightest pull even when warm and rested: likely under-kneaded or a flour issue — check your flour choice and kneading.
Handling Tricky Doughs: High Hydration, Cold Ferment, and Whole Grain
Not all doughs stretch the same. High-hydration dough (65% water or more) is soft, extensible, and sticks to everything. Use more bench flour than you think you need, work faster once stretching begins, and favor the knuckle-and-gravity method over counter pressing, since pressing a wet dough into the counter just glues it down. A 50/50 mix of flour and fine semolina is especially effective for wet doughs.
Cold-fermented dough — dough that has spent 24 to 72 hours in the refrigerator — is the best-tasting dough most home bakers make and also the most temperamental to stretch. The long ferment develops wonderful flavor, but the dough is full of gas and the gluten has been slowly breaking down. Handle it gently: the rim-pressing step matters even more here, because you want to preserve those long-ferment bubbles in the rim. And the two-hour warm-up is mandatory — cold long-fermented dough is both stiff and fragile, the worst combination. Our cold ferment guide covers the timeline; the stretching takeaway is simply to be patient and gentle.
Whole wheat and whole grain doughs tear more easily because bran particles physically cut through gluten strands. With these doughs, stretch less aggressively and accept a slightly thicker, smaller pizza. A 10-inch whole wheat pizza with an intact skin beats a 12-inch one with a patched hole. Gluten-free dough is a different category entirely: with no gluten network, it cannot be stretched traditionally and must be pressed or rolled between parchment sheets — do not attempt the knuckle method.
Fixing Tears and Thin Spots Without Starting Over
Even with perfect technique, tears happen — a fingernail catches, a thin spot gives way. What matters is the recovery. For small tears (under an inch), pinch the dough together around the hole, pressing firmly to seal, then dust with a little flour. The sealed spot will be slightly thicker, which is fine. Do this before topping, and press from both sides if you can.
For thin spots that have not torn yet, the strategy is redistribution, not repair. Gently pull dough from the thicker areas toward the thin spot, or simply leave the thin spot alone and stretch only the thick parts until everything evens out. Never try to patch a thin spot by pressing extra dough onto it; laminated patches rarely bond and often separate in the oven’s heat.
Large tears — holes bigger than two inches — usually mean re-balling. Gather the dough up, form it back into a tight ball, cover it, and rest it for at least 30 minutes. Re-balled dough will never be quite as good as a fresh ball, but it will make a perfectly respectable pizza, especially stretched slightly smaller and thicker than originally planned.
Prevention, as always, beats repair. The light test catches thin spots before they become holes. Generous flour prevents the sticking that causes most mid-stretch tears. And the vast majority of tears happen in the last thirty seconds of stretching, when the pizza is almost at size and the maker rushes the final pulls — finish gently, check with the light test, and launch with confidence.
Frequently Asked Questions
Why does my pizza dough keep springing back when I try to stretch it?
Spring-back means the gluten is tense — the dough is either too cold or has not rested enough since kneading or balling. Let it sit covered at room temperature for 15–30 more minutes and try again. Repeated spring-back after proper resting can also mean the dough was over-kneaded or made with very high-protein flour; a bench rest almost always fixes it.
Should I use a rolling pin instead of stretching by hand?
A rolling pin gives you an even disc with zero skill, but it crushes the gas bubbles out of the rim, producing a flat, dense crust instead of a puffy one. For cracker-style pizza, a pin is fine. For any style with an airy rim, hand stretching preserves the texture that makes the crust good.
How thin should I stretch pizza dough?
For Neapolitan-style, the center should be about 2–3 millimeters — thin enough to see light through, but even. For New York style, slightly thicker, around 3–4 millimeters, to support heavier toppings and stay foldable. Thicker styles like Sicilian or pan pizza are pressed into pans rather than stretched thin. When in doubt, leave it a touch thicker; a slightly thick intact pizza beats a thin torn one.
Can I stretch pizza dough straight from the fridge?
You can, but you should not. Cold dough is stiff, tears easily, and springs back aggressively. Give refrigerated dough 1–2 hours at room temperature (65–75°F / 18–24°C) before stretching. The only exception is very warm kitchens, where an hour may suffice — but never stretch dough that still feels cold to the touch.
What flour should I use on the counter for stretching?
Fine semolina is the pizzeria standard because its coarse grains prevent sticking without being absorbed into the dough. All-purpose or 00 flour also works; just use it generously. Avoid using only rice flour or very fine starches alone, which can make the crust gummy. A 50/50 blend of flour and semolina is an excellent all-purpose bench mix.
How do I fix a dough that sticks to the counter mid-stretch?
Slide a bench scraper underneath to release it without pulling, dust more flour or semolina under the stuck area, and continue. Do not yank it free with your fingers — that is how tears happen. To prevent sticking, flour the surface generously at the start and avoid pressing wet, high-hydration dough flat against the counter for long periods.