

Let us answer the question directly: yes. Pizza in home oven setups can be genuinely great — not “good enough,” not “a sad compromise,” but great. Some of the best pizza many people will ever eat comes out of ordinary kitchen ovens. The catch is that making pizza in a home oven requires a different strategy than a dedicated pizza oven: you are working with lower maximum temperatures and longer bake times, so success comes from setup, dough formulation, and technique rather than raw heat.
This guide is the complete playbook. You will learn what actually limits a home oven (and what does not), the exact setup that squeezes maximum performance from it, how to adapt your dough for lower-temperature baking, the bake technique including the broiler finish, which pizza styles shine in a home oven and which ones to leave to the professionals, and how to troubleshoot the common failures. Everything here has been tested in ordinary kitchens with ordinary ovens — no specialty equipment beyond a steel or stone, no culinary degree required.
If you are weighing whether to buy a dedicated oven at all, read our home pizza oven buying guide alongside this — you may find your kitchen oven, properly set up, already does what you need. And for the science of heat across all setups, our pizza oven temperature guide is the companion reference.
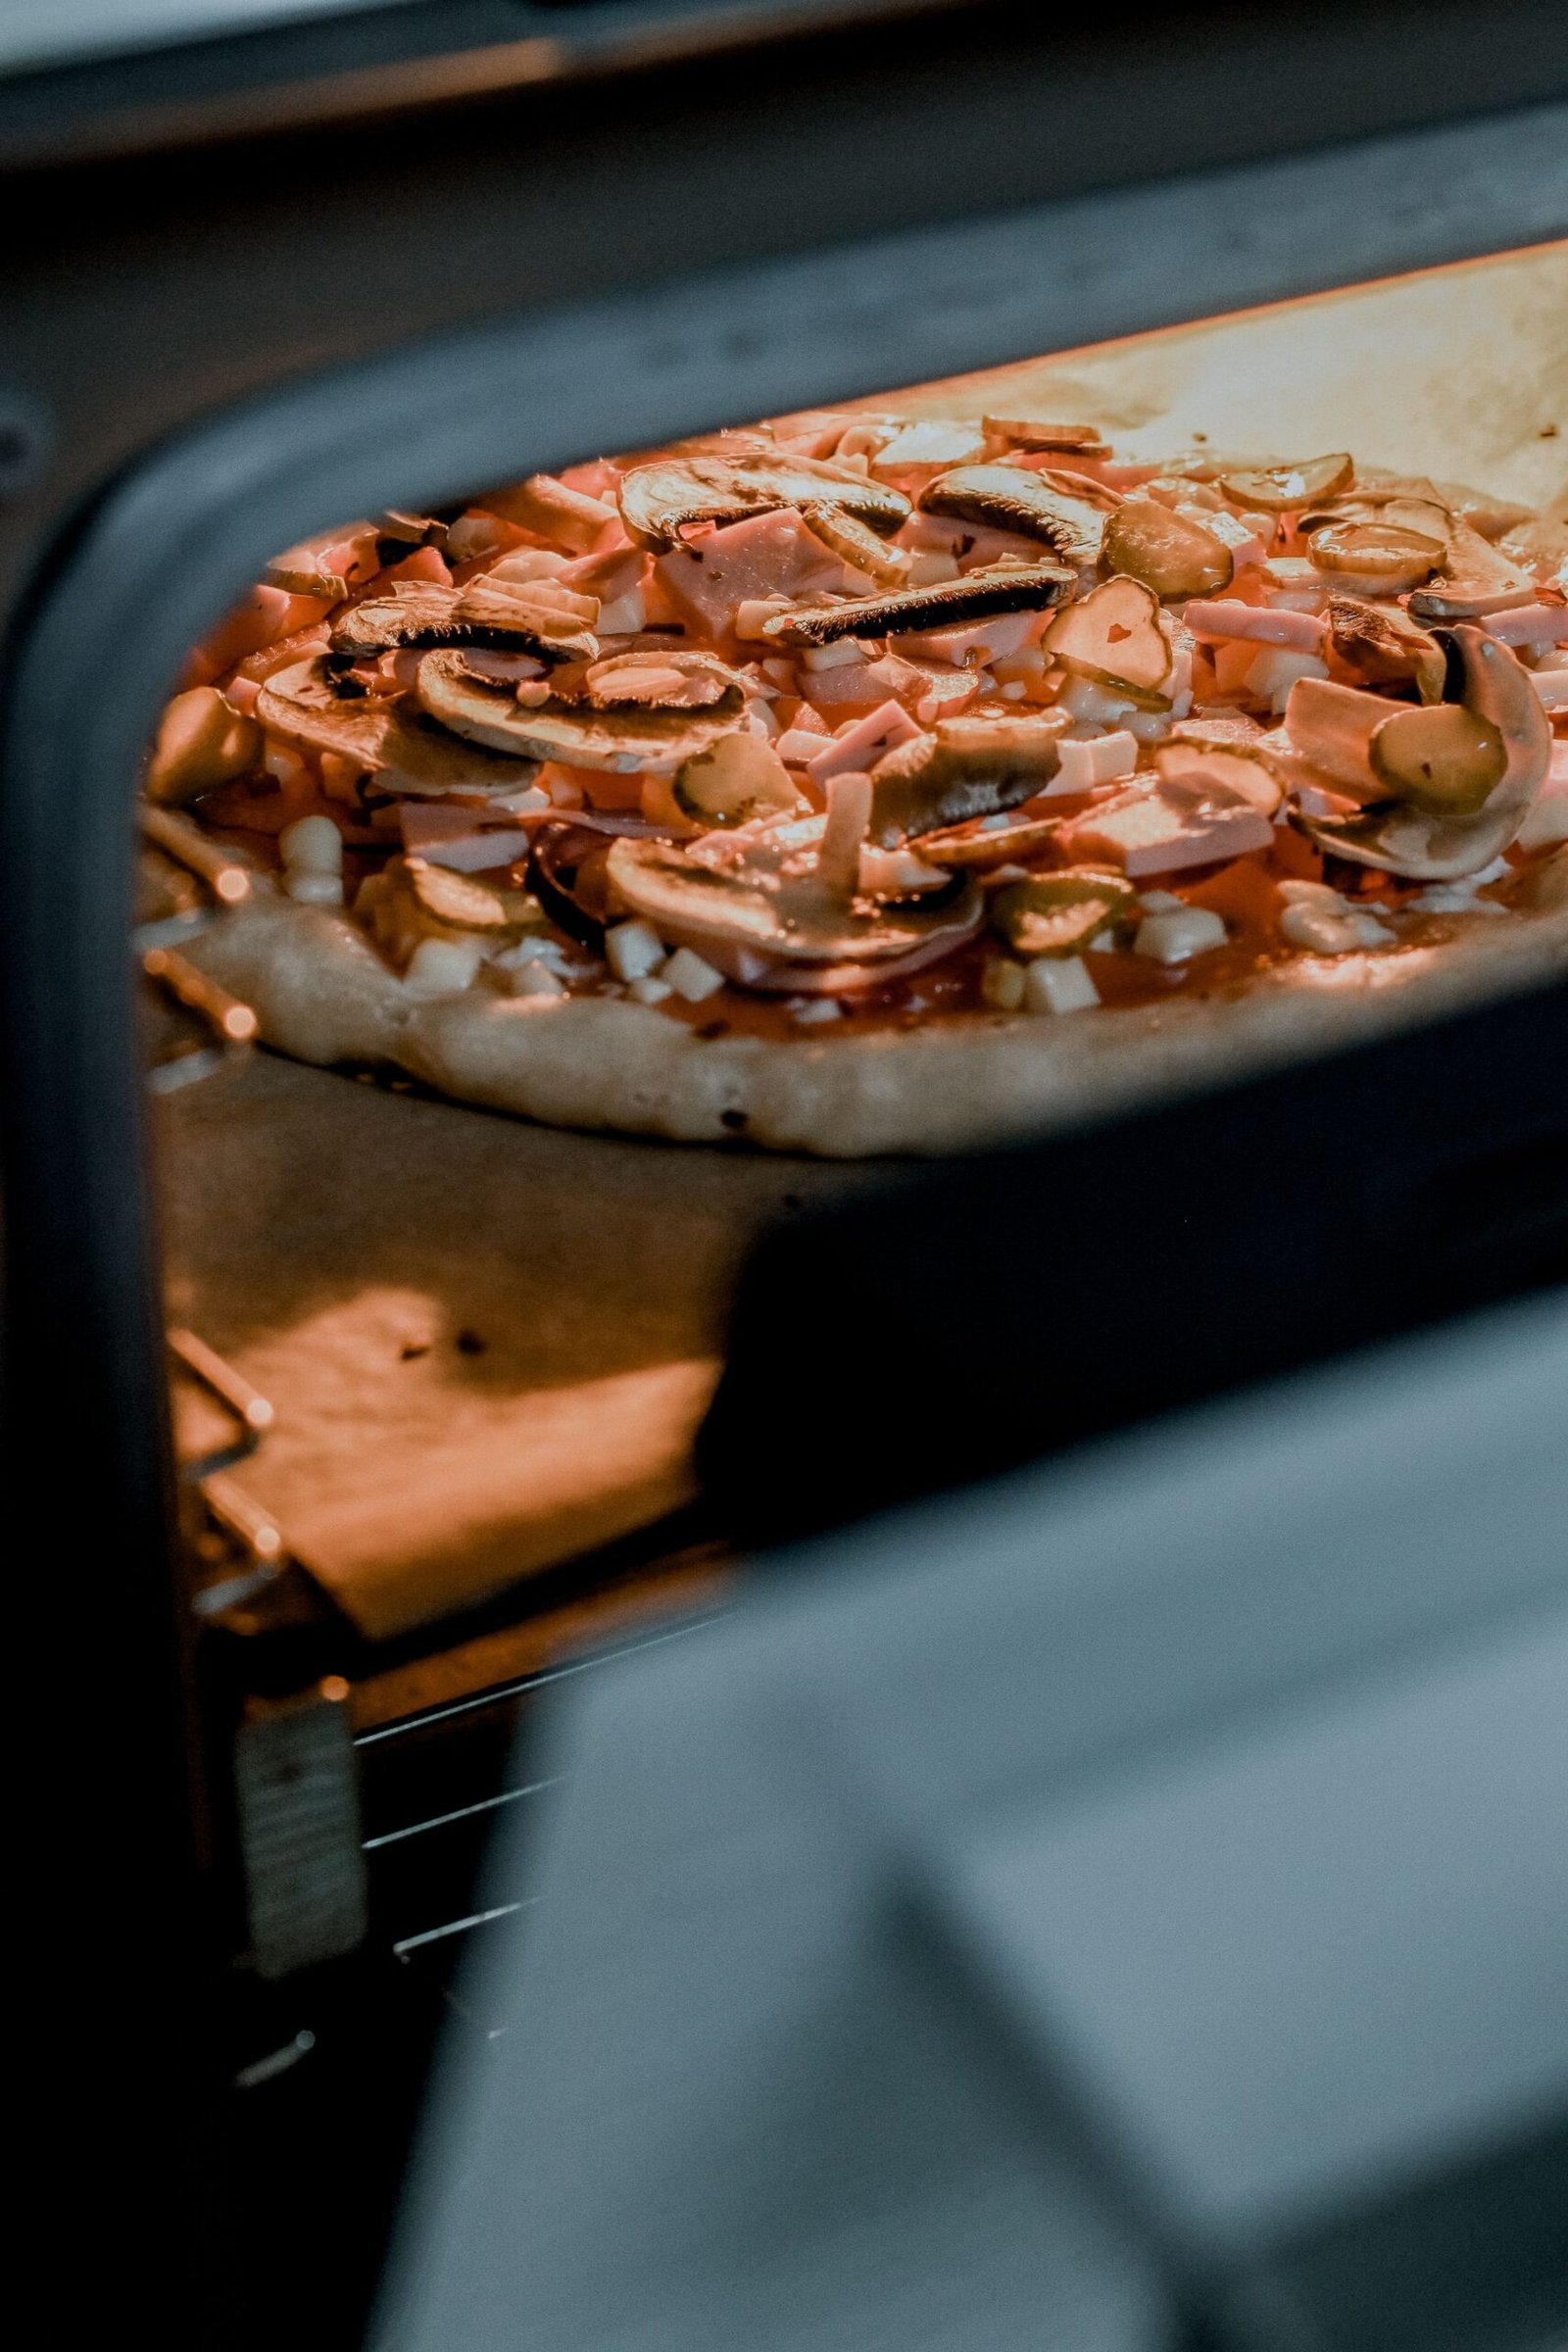
🍕 Key Takeaways
- Yes — a regular home oven makes excellent New York-style, pan, Detroit, and Sicilian pizza with the right setup.
- The non-negotiable upgrade is a pizza steel or stone, preheated for a full 45–60 minutes at maximum temperature.
- Adapt your dough for lower heat: a little sugar and oil in the dough dramatically improves browning at home-oven temperatures.
- Rack position and a broiler finish compensate for the home oven’s weaker top heat.
- True Neapolitan pizza (60–90 second bakes at 450°C+) is the one style a home oven cannot fully replicate — everything else is fair game.
- Most home-oven failures come from under-preheating, not from the oven itself.
What Actually Limits a Home Oven
A typical home oven maxes out at 260–290°C (500–550°F) — roughly half the temperature of a wood-fired pizza oven, and the single biggest difference between the two environments. That single fact shapes everything. At lower temperatures, bakes take longer (6–10 minutes instead of 60–90 seconds), which changes the texture: longer bakes drive off more moisture, producing a crisper, drier crust rather than the pillowy, leopard-spotted softness of Neapolitan pizza. This is not worse — New York-style pizza is baked exactly this way and nobody calls it a compromise.
The second limitation is heat direction. Home ovens heat primarily from a bottom element (or top, depending on the cycle), with relatively weak radiant heat from above compared to a pizza oven’s flame-licked dome. The result: bottoms often cook faster than tops, or tops stay pale while bottoms char. Managing this imbalance — through rack position and the broiler — is the central technical skill of home-oven pizza, and it is entirely learnable.
The third limitation is recovery. Opening the door dumps a huge fraction of the oven’s hot air, and home ovens recover slowly. Baking pizzas back-to-back without rest time means each successive pizza bakes in a cooler oven. The fix is simple: give the oven five to ten minutes between pizzas to recover, and keep the door closed as much as possible.
None of these limitations prevent great pizza. They just define which styles to target and which techniques to use — which is what the rest of this guide covers.
The Setup: Squeezing Maximum Performance From Your Oven
Get a steel or stone — this is not optional
If you take one thing from this guide, take this: baking directly on the oven rack, or on a thin baking sheet, is the single biggest handicap in home-oven pizza. A pizza steel or stone stores heat and delivers it aggressively to the dough bottom, crisping and browning the underside in a way that hot air alone cannot. For home ovens specifically, steel has the edge — its superior heat transfer compensates best for the oven’s lower maximum temperature. Either one transforms results; the steel transforms them slightly more.
Preheat longer than you think necessary
Your oven’s “preheated” beep lies — it measures air temperature, which recovers in 10–15 minutes. Your steel or stone needs 45–60 minutes at maximum temperature to become fully saturated with heat. A surface that has preheated for only 20 minutes feels hot but lacks the stored energy to crisp a pizza bottom before the top overcooks. Set a timer, walk away, and do not shortcut this. More home-oven pizzas are ruined by under-preheating than by any other single mistake.
Rack position: start upper-middle
Place the steel or stone on a rack in the upper-middle of the oven — close enough to the top element for decent top heat, with room above to launch the pizza. If your oven runs hot from below and bottoms burn before tops brown, move down a rack. If tops stay pale, move up. Every oven has its own personality; treat the first two or three bakes as calibration and take notes.
Know your broiler
Most home ovens have a broiler — an intense top heating element — and it is your secret weapon for finishing. A 60–90 second broiler blast at the end of the bake browns the top, chars pepperoni cups, and melts cheese spots beautifully. Learn where your broiler’s hot zones are (they are never even) and watch the pizza continuously during the blast: the line between perfect char and burnt is about thirty seconds. Some ovens let you run bake and broil elements together; if yours does not, the end-of-bake blast still works wonders.
Verify with an oven thermometer
Home oven thermostats are notoriously inaccurate — off by 15–30°C in either direction is common, and the dial setting is more aspiration than measurement. A cheap oven thermometer hung from the rack tells you what temperature you are actually baking at. If your oven runs cool, you will know to set it higher or preheat longer; if it runs hot, you will stop blaming your technique for the oven’s enthusiasm. This ten-dollar tool removes more guesswork than any other purchase besides the steel itself.
Convection (fan) mode: use it wisely
Many ovens offer a convection or fan setting that circulates hot air. For pizza, convection is a mixed blessing. The moving air cooks toppings faster and promotes even browning — helpful for loaded pizzas where the top lags. But it also tends to dry the crust and can cool the baking surface slightly by stripping heat from it. A practical approach: bake with conventional heat for the main bake to protect the bottom crust, then switch to convection (or the broiler) for the final minute or two to finish the top. If your oven only has convection, reduce the set temperature slightly and watch the first pizza closely to calibrate.
Adapt Your Dough for Lower-Temperature Baking
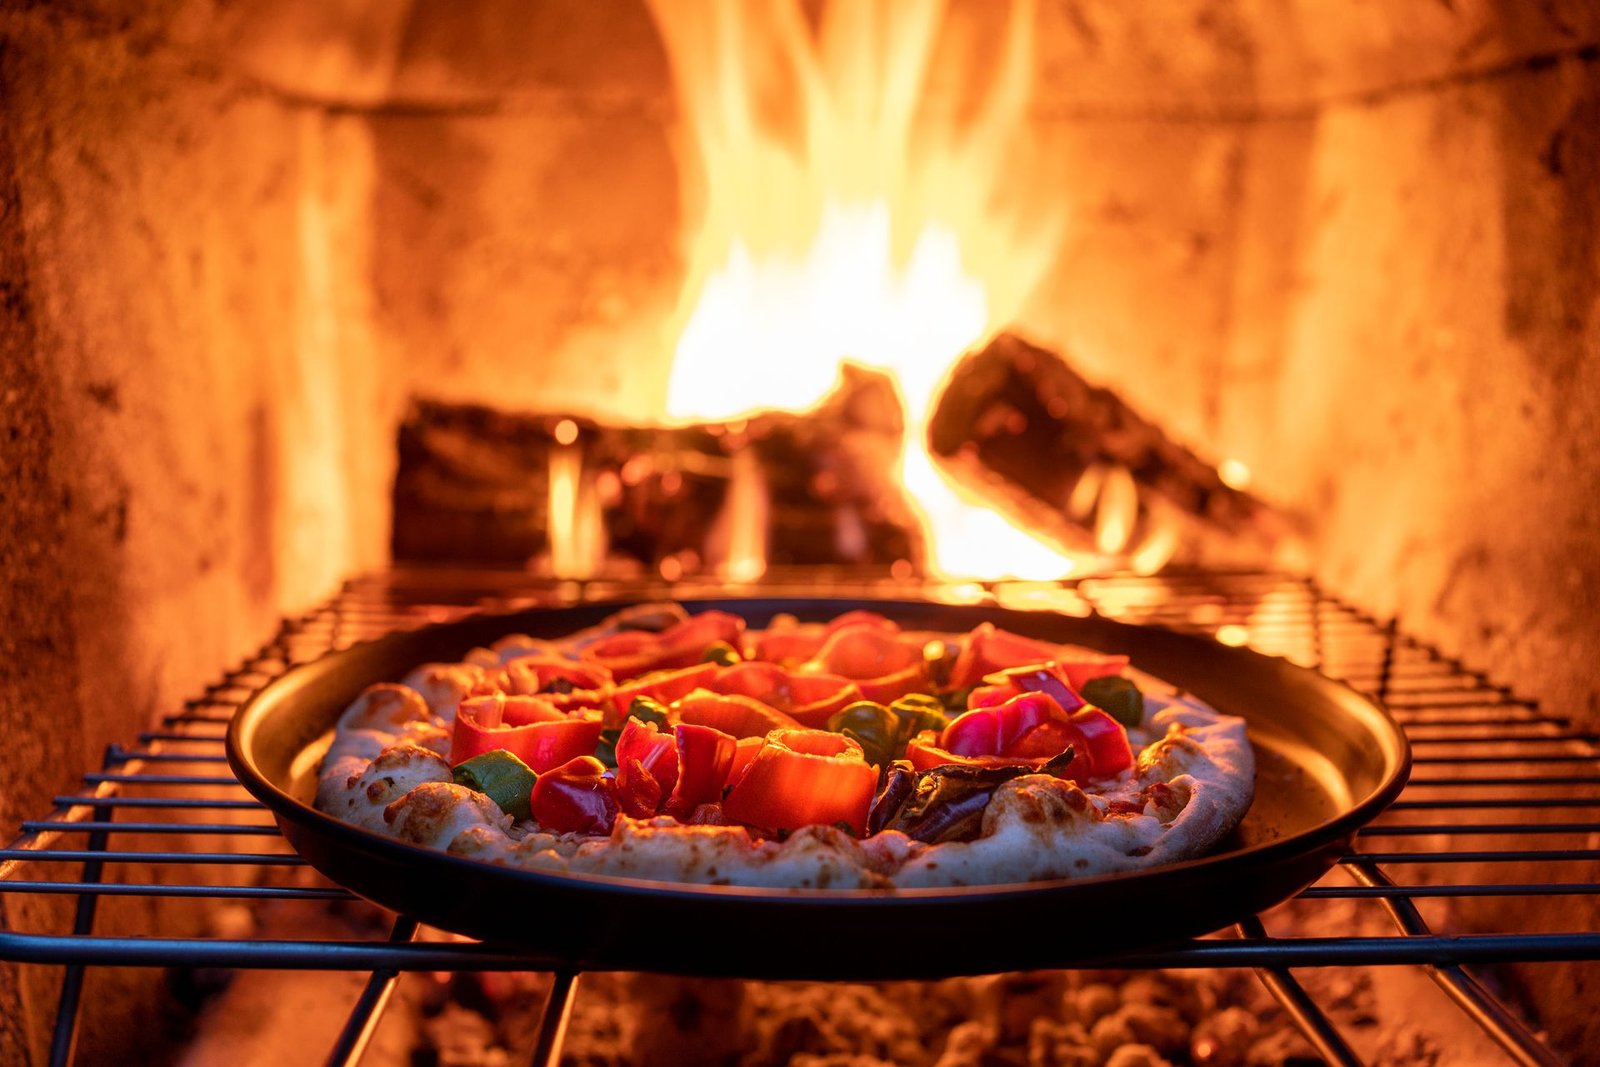
Neapolitan dough — just flour, water, salt, yeast — is formulated for 450°C+ ovens. In a home oven at 275°C, that same dough browns poorly and tastes bland, because the sugars and proteins responsible for browning need either extreme heat or help. The help comes from small formula adjustments:
Add sugar. A teaspoon or two of sugar (or honey) per dough ball gives the crust the raw material for caramelization and Maillard browning at lower temperatures. This is why New York-style dough recipes include sugar or malt — it is not about sweetness, it is about color and flavor development at 275°C.
Add oil. A tablespoon of olive oil per dough ball tenderizes the crumb, improves browning, and extends shelf life. Oil also makes the dough more forgiving to stretch — useful if your dough stretching technique is still developing.
Consider diastatic malt powder. A small amount (around 1–2% of flour weight) provides enzymes that break starches into sugars during fermentation, boosting browning naturally. It is the professional’s trick for golden crusts at moderate temperatures, and a bag lasts practically forever.
Hydration in the mid-60s. Very high hydration doughs (70%+) are harder to handle and can bake up gummy in longer home-oven bakes. A 62–65% hydration dough stretches easily, launches cleanly, and crisps well in 6–8 minutes. Save the wettest doughs for when your technique is solid.
Ferment for flavor. Longer, colder fermentation develops the complex flavors that make up for the lack of wood-fire char. A 24–72 hour cold ferment in the refrigerator produces a dough with real depth — one of the easiest quality upgrades available to a home baker. Our dough and crust guides cover fermentation in full detail.
Pizza in Home Oven: The Bake Technique
Launch decisively
A well-preheated steel is less forgiving of a hesitant launch than a stone — the intense bottom heat starts setting the dough on contact. Flour your peel well, confirm the shake test, and commit to the pull-back motion. If you are still mastering the launch, our crispy crust guide includes setup details that make launches easier.
Bake 6–10 minutes, watching the bottom
Total bake time at full home-oven heat is typically 6–10 minutes depending on thickness and toppings. Start checking at 5 minutes: lift the pizza’s edge with a peel and look at the bottom. You want deep golden-brown with darker spots — pale means more time, black means the rack is too low or the preheat was excessive. The top should be bubbling and browning in parallel; if the top lags badly, that is what the broiler finish is for.
The broiler finish
For the last 60–90 seconds, switch to the broiler (or move the pizza to a higher rack under it). This blasts the top with radiant heat, browning cheese, crisping pepperoni, and charring spots on the crust — mimicking the dome heat of a pizza oven. Watch it without blinking. Then pull the pizza and cool it on a wire rack for two to three minutes so the bottom stays crisp.
Manage back-to-back bakes
After each pizza, close the oven door and wait five to ten minutes for the steel or stone to recover its heat. Launching the next pizza onto a depleted surface produces a pale, soft bottom — the most common cause of “my first pizza was great and the rest were meh.” Use the rest time to stretch and top the next dough.
A sample home-oven pizza night timeline
Here is how the whole system fits together on a real pizza night for four people (four 12-inch pizzas):
T-minus 60 minutes: Oven on, maximum temperature, steel inside on the upper-middle rack. Walk away. Use this hour to bring dough balls to room temperature, prep toppings, and grate cheese.
T-minus 10 minutes: Check the steel with an infrared thermometer if you have one — you want it at or near the oven’s max. Flour the peel, do a final topping check.
T-minus 0: Stretch the first dough, build the pizza quickly (under three minutes on the peel), shake-test, and launch.
Bake 1 (6–8 min): Bake, turn once halfway, broiler-finish the last 60–90 seconds. Retrieve to a wire rack.
Rest 5–10 min: Door closed, oven recovering. Stretch and top pizza two.
Repeat for pizzas three and four. Total active baking time: about an hour. Total pizza: four excellent pies, with the first as good as the last because you respected the recovery rests.
The discipline that matters most in this timeline is the rest between pizzas. It feels like dead time; it is actually the difference between consistent results and a slow decline in quality across the evening.
Which Styles Shine in a Home Oven
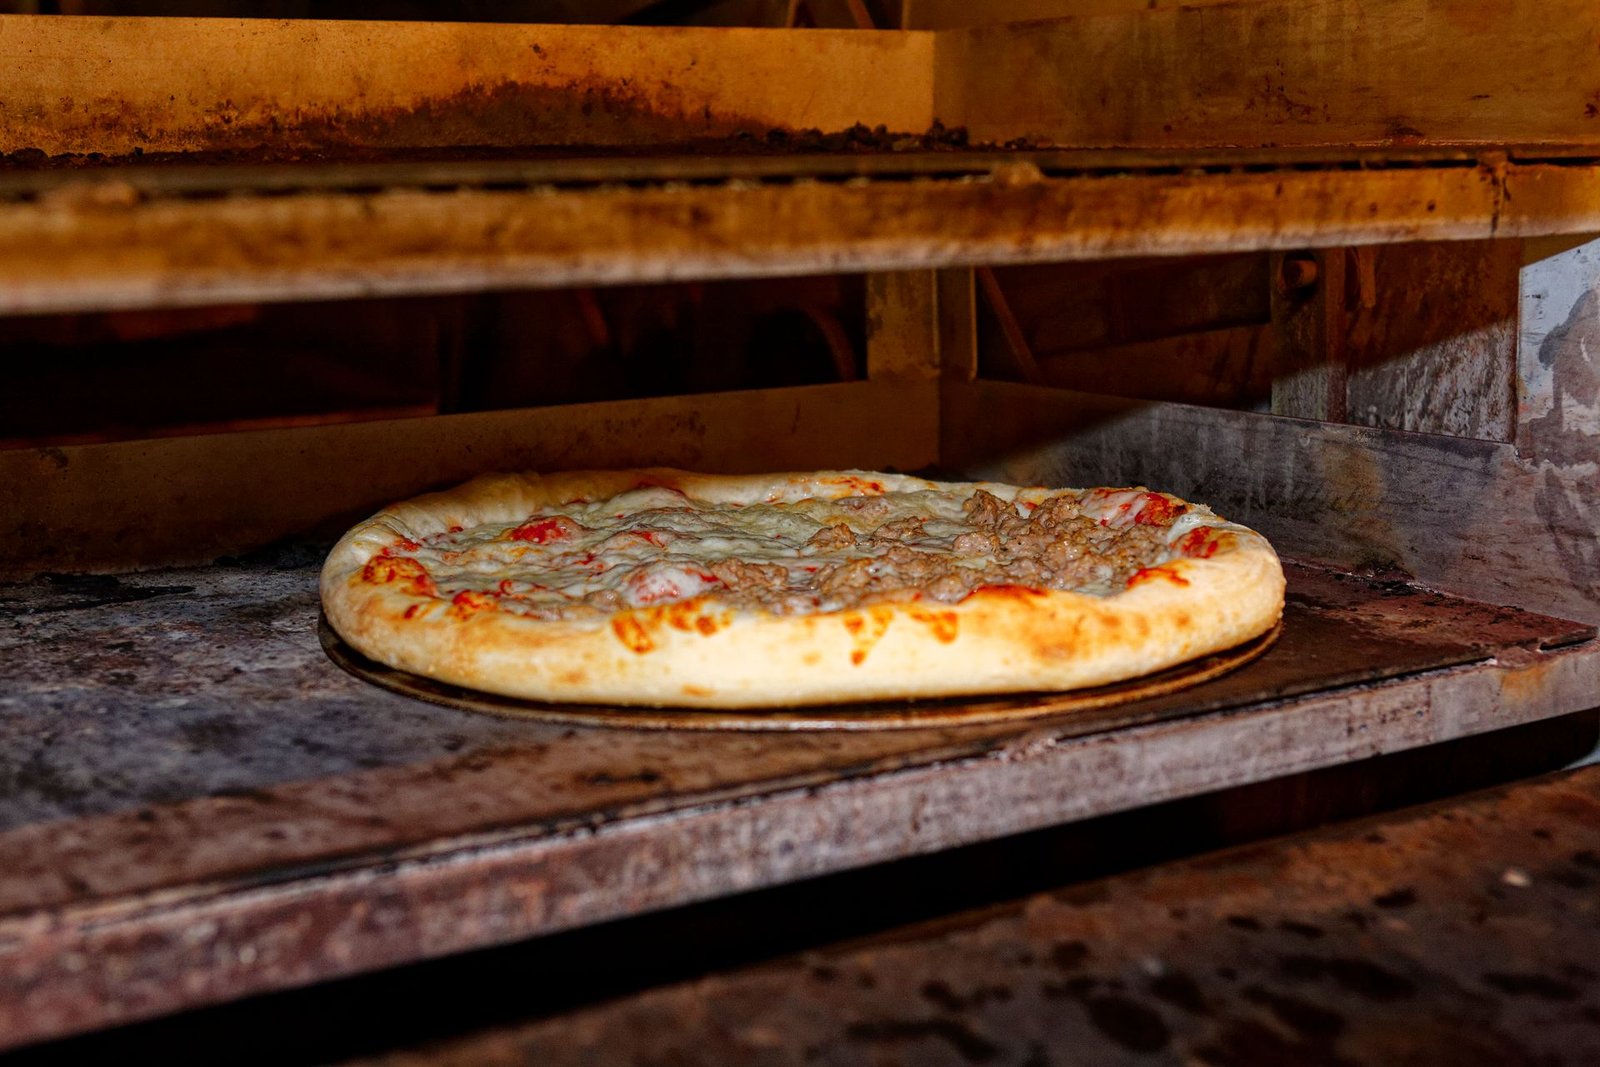
New York style is the home oven’s signature achievement. Its 6–8 minute bake at 275–300°C is exactly what a maxed-out home oven with a steel produces: crisp-yet-foldable, well-browned, with a puffy rim. Nail this and you will stop envying pizzerias.
Pan, Detroit, and Sicilian styles are arguably better suited to home ovens than to pizza ovens — their longer bakes at moderate temperatures develop the fried-cheese edges and even crumb these styles are famous for. A cast iron skillet pizza is the perfect entry point: the skillet goes from stovetop to oven, and the results are spectacular with zero special equipment beyond the pan.
Thin and cracker styles (St. Louis, tavern-style) also thrive, since their crispness comes from thin dough and longer bakes rather than extreme heat.
Neapolitan is the honest exception. True Neapolitan pizza — 60–90 seconds at 450°C+, soupy-soft center, leopard-spotted cornicione — cannot happen at 275°C no matter the technique. You can make a delicious Neapolitan-inspired pizza in a home oven (many do), but the texture will be closer to New York than Naples. If Neapolitan is your dream, that is the legitimate reason to buy a dedicated oven — not a failure of your kitchen. Until then, lean into the styles your oven does brilliantly rather than mourning the one it cannot.
Troubleshooting Home-Oven Pizzas
Every problem below has been experienced by nearly every home pizza maker, usually in the first month. Work through them systematically — change one variable at a time, keep notes on what you adjust, and you will converge on great results within a few sessions. The oven is rarely the real problem; the setup or the technique almost always is.
Pale, soft bottom. Almost always under-preheating. Give the steel or stone the full 45–60 minutes. If the preheat is honest and bottoms are still pale, your dough may be too thick in the center, or the rack is too high — move the surface down.
Burnt bottom, pale top. The surface is too close to the bottom element or running too hot relative to top heat. Move the steel or stone up a rack, and use the broiler finish to bring the top along.
Soggy center. Too much sauce, wet toppings, or overloading — the usual suspects, amplified by the longer bake. Use less sauce, pre-cook watery vegetables, and keep toppings in a single layer.
Crust browns but tastes bland. Under-fermented dough. Give your dough a 24–72 hour cold ferment and make sure your salt level is right (around 2–2.5% of flour weight). Fermentation is flavor.
Cheese burns before the crust is done. Too much top heat or cheese placed too early under the broiler. Add cheese slightly later in the bake, use low-moisture mozzarella, or shield with a light topping layer. And check that broiler blast timing — 60 seconds is often enough.
Frequently Asked Questions
What temperature should I bake pizza in a home oven?
As hot as your oven goes — typically 260–290°C (500–550°F). Use the maximum setting with the steel or stone preheated for 45–60 minutes. For pizza in home oven baking, there is no benefit to going cooler; lower temperatures just extend the bake and dry out the crust.
Do I need a pizza stone if I have a baking sheet?
A baking sheet works in a pinch, but a steel or stone performs dramatically better because of thermal mass — it stores far more heat and delivers it faster to the dough bottom. If you make pizza more than a couple of times a year, the upgrade pays for itself in the first month, and you will wonder why you waited so long.
Why does my pizza stick to the stone?
Usually a cold or under-preheated surface, or wet dough. A fully preheated stone or steel rarely sticks; dough grabs a lukewarm surface. Also check your peel technique — most “stuck to the stone” incidents are actually “never released from the peel cleanly.” Flour the peel generously and do the shake test.
Can I make pizza in a home oven without any special equipment?
Yes — a cast iron skillet pizza needs nothing but the skillet, and an upside-down heavy baking sheet preheated in the oven approximates a stone crudely. You will make good pizza. But a $50–100 steel or stone is the highest-leverage purchase in home pizza making, and it lasts for years.
How do I get a crispy crust in a home oven?
The full formula: pizza steel, 45–60 minute preheat at maximum temperature, dough with a little sugar and oil, thin sauce, moderate toppings, 6–8 minute bake, broiler finish, and cooling on a wire rack. Every element contributes; skip the preheat and none of the rest can compensate. If you implement only three things, make them the steel, the long preheat, and the wire-rack cooling — those three alone fix the majority of soft-crust complaints.
Is a home oven better for some pizza styles than a pizza oven?
Genuinely yes. Pan, Detroit, Sicilian, and deep-dish styles with their longer, moderate bakes are easier and often better in a home oven than in a blazing pizza oven, where their thick structures would char outside before cooking through. Match the tool to the style.
Should I use convection/fan mode for pizza?
It depends on the moment. Conventional heat protects the bottom crust during the main bake; convection helps finish the top faster. Many bakers use conventional for most of the bake, then switch to convection or the broiler for the final minute or two. If convection is your only option, lower the set temperature slightly and calibrate with the first pizza.
How many pizzas can I bake in a row in a home oven?
As many as you like, provided you rest 5–10 minutes between pizzas with the door closed so the steel or stone recovers. Without rests, each successive pizza bakes on a cooler surface and the quality visibly declines. Plan the rests into your evening and the tenth pizza in home oven baking will be as good as the first.
[…] need on pizza night. For the full rundown of keeping your equipment in top shape, see our home pizza oven guide and the broader ovens and equipment […]