

Some of the best pizza in America never sees a pizza oven — it comes out of a cast iron skillet, with a deeply browned, almost fried bottom crust and a ring of caramelized cheese fused to the pan’s edge. This cast iron skillet pizza recipe delivers exactly that: a thick, chewy, pan-style pizza with shattering-crisp edges and a tender, airy interior, all from a regular home oven and a skillet you probably already own.
The magic is heat transfer. Cast iron holds an enormous amount of thermal energy and releases it steadily into the dough, essentially frying the bottom of the crust in a thin film of oil while the oven’s ambient heat cooks the top. The result is a texture contrast no pizza stone can replicate — crackly and golden underneath, puffy and soft above, with those coveted crispy cheese edges (the frico effect) where cheese meets screaming-hot iron.
This recipe covers the full method: a slightly enriched dough formulated for pan baking, the oil-and-heat sequence that guarantees a crisp bottom, topping order for deep pan pizzas, and the safe handling every cast iron cook needs to know. One 12-inch skillet makes a pizza that serves 3–4, and the whole project takes about 2½ hours including the rise — most of it hands-off.
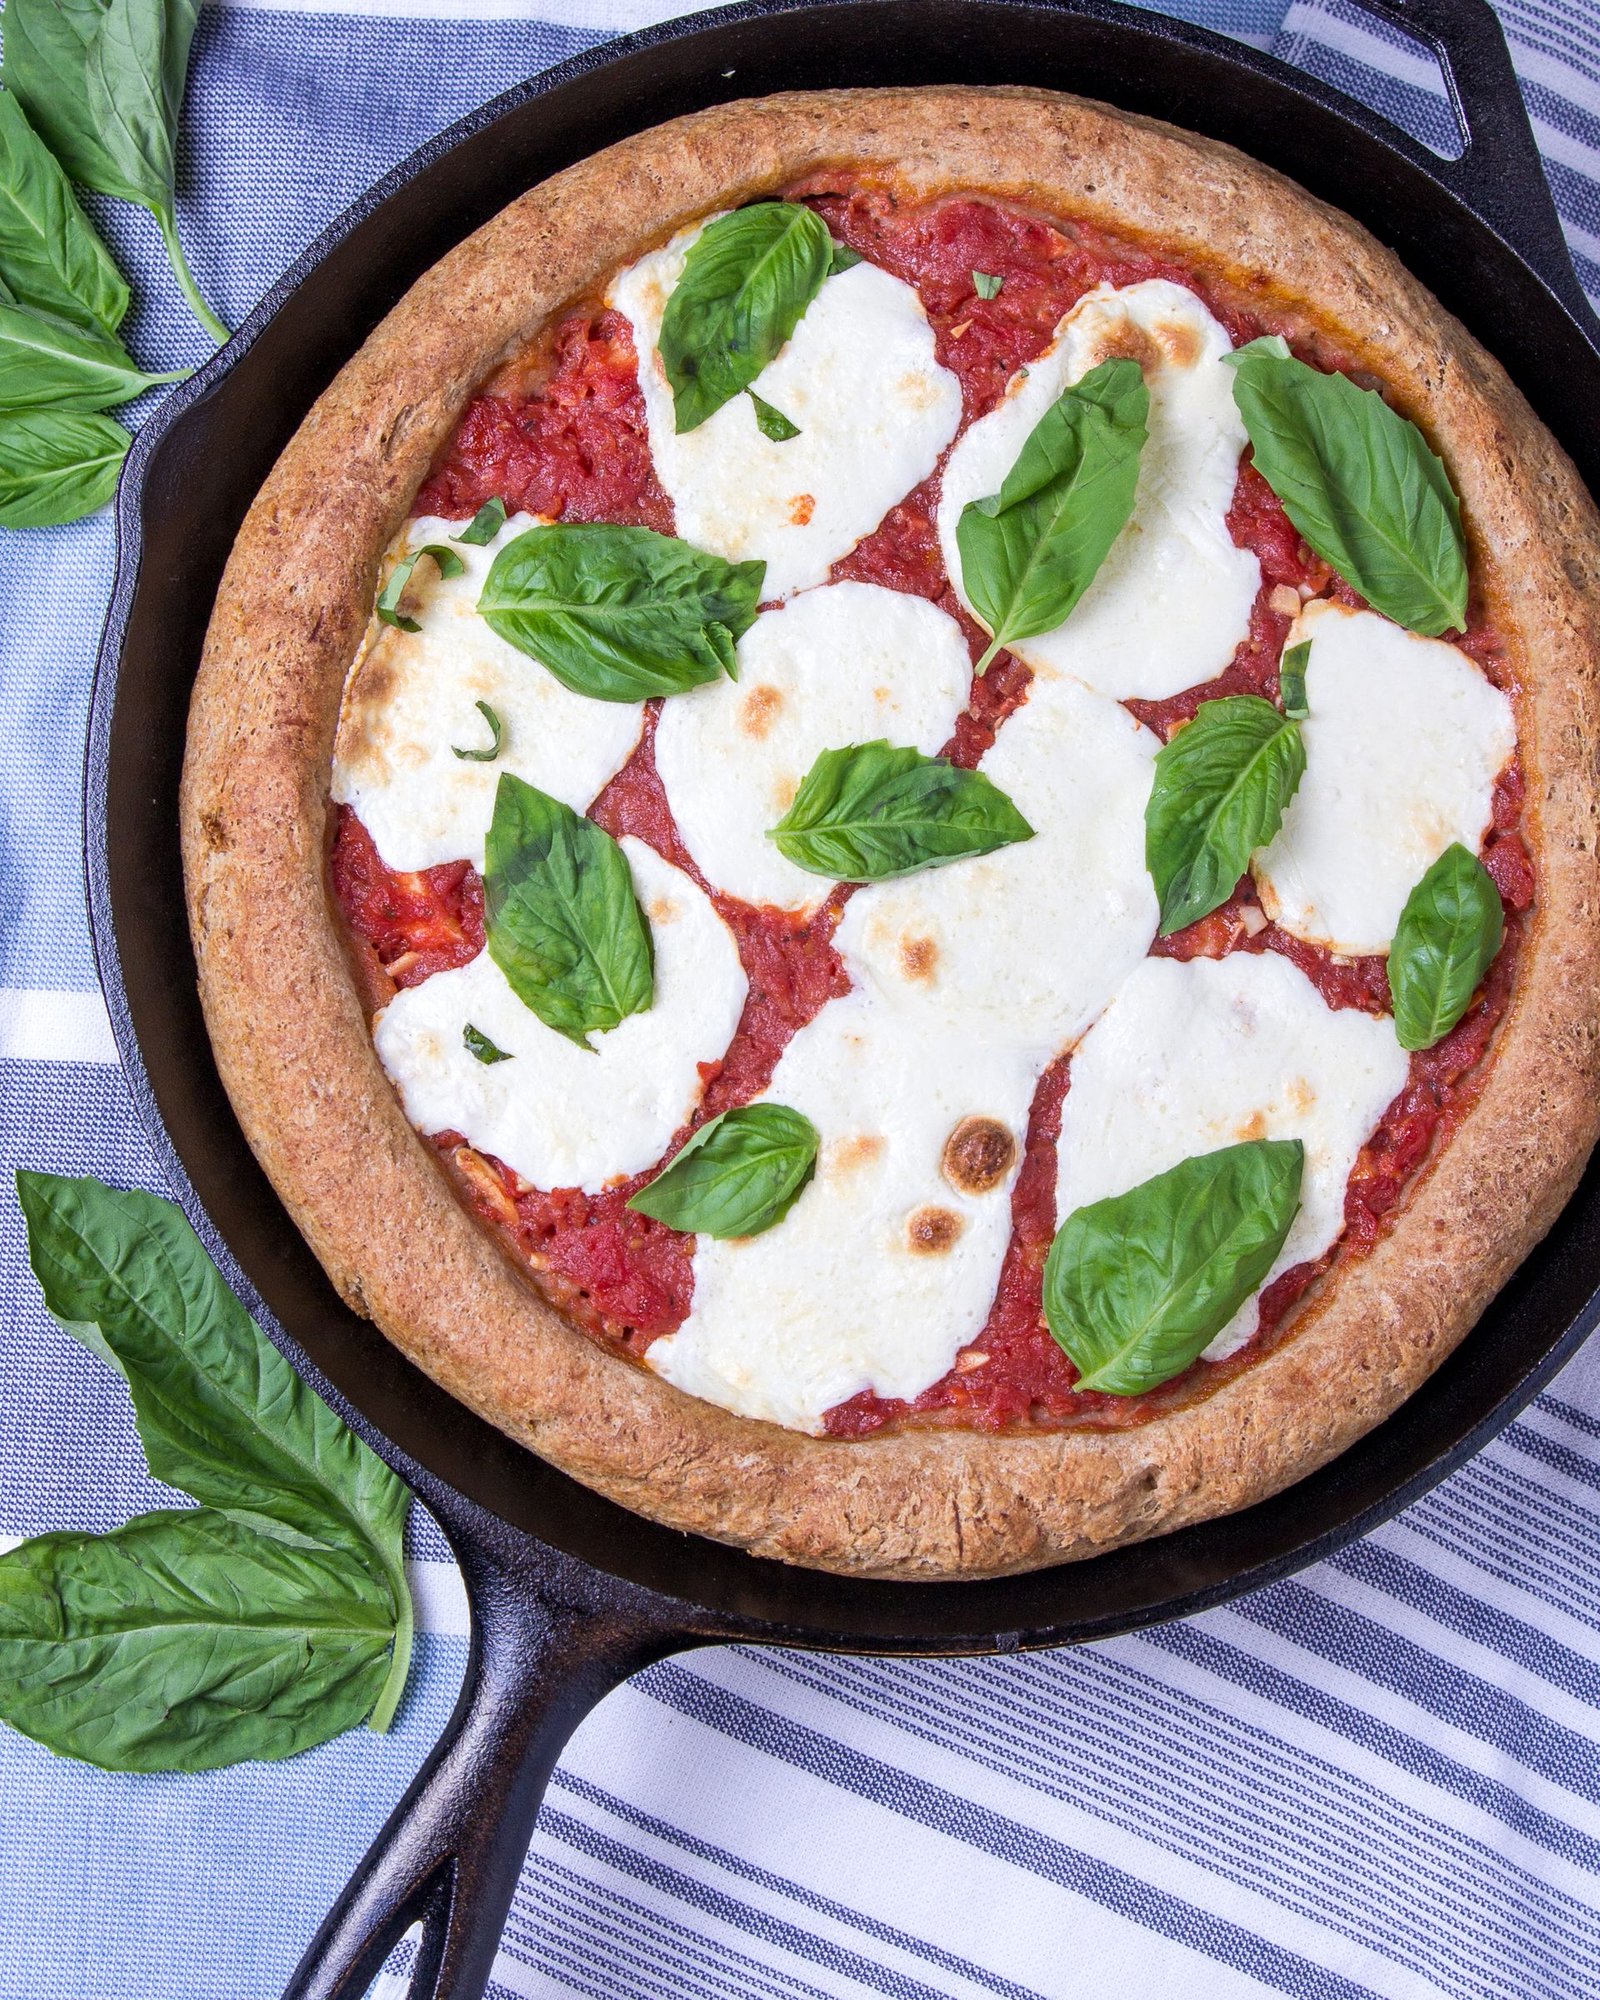
🍕 Key Takeaways
- Preheat the oiled skillet in the oven — dropping dough into a hot pan is what fries the bottom crust crisp.
- Use 2–3 tablespoons of oil in the skillet; it is not greasy, it is the crisping medium. Olive oil or neutral oil both work.
- Push cheese all the way to the pan’s edge for caramelized, lacy crispy cheese borders.
- Proof the shaped dough in the skillet 30–45 minutes before topping for a puffy, airy crumb.
- Bake at 475–500°F (245–260°C) for 15–20 minutes until deeply golden; rest 5 minutes before slicing.
- Handle the screaming-hot skillet with dry oven mitts or silicone grips — the handle stays dangerously hot long after baking.
Why Cast Iron Makes Extraordinary Pizza
To understand why a $30 skillet outperforms fancy equipment here, think about what pan pizza actually is: it is fried as much as it is baked. In a pizzeria deck oven, the deck’s stored heat does the same job. At home, a preheated cast iron skillet is the closest thing to that deck — it stores roughly five times more heat energy than an equivalent aluminum pan and releases it evenly, without hot spots, directly into the dough’s underside.
That stored heat does three things simultaneously. First, it flash-sets the dough’s bottom on contact, creating a crisp foundation that will not go soggy under sauce. Second, the oil in the pan fries the exterior of the dough as it bakes, producing the shattering, almost cracker-like bottom that defines great pan pizza.
There is also a practical advantage: no peel, no launching, no stone to preheat for an hour. The dough proofs right in the pan, toppings go on, and the whole thing slides into the oven. If you have ever been intimidated by the choreography of stretching dough and launching it onto a stone, skillet pizza removes every anxious moment. And the style it produces — thick, cheesy, with those caramelized edges — is a close cousin of Detroit-style pizza, which is itself a pan pizza tradition.
The Dough: Formulated for the Pan
Skillet pizza wants a slightly different dough than thin-crust styles: a touch richer, a bit higher hydration for an open crumb, and enough strength to rise tall without collapsing. This recipe makes enough for one 12-inch skillet pizza (about 650 g of dough).
Ingredients — skillet dough
- 400 g (about 3¼ cups) bread flour
- 280 ml (about 1 cup + 3 tablespoons) lukewarm water (100–110°F / 38–43°C) — about 70% hydration
- 7 g (2¼ teaspoons) instant dry yeast
- 8 g (1½ teaspoons) fine sea salt
- 10 g (2 teaspoons) granulated sugar or honey
- 30 ml (2 tablespoons) extra-virgin olive oil, plus more for the bowl
Ingredients — for the pan and toppings
- 30–45 ml (2–3 tablespoons) olive oil or neutral oil, for the skillet
- 120 ml (½ cup) pizza sauce — a simple homemade pizza sauce is ideal
- 225 g (about 2½ cups) shredded low-moisture mozzarella
- 50 g (½ cup) grated parmesan
- Toppings of choice (see topping strategy below)
- Dried oregano, red pepper flakes, fresh basil for finishing
Method — dough
- Whisk flour, yeast, salt, and sugar in a large bowl. Add water and olive oil; stir into a shaggy mass.
- Knead 8–10 minutes until smooth, elastic, and slightly tacky. The higher hydration makes it stickier than standard dough — resist adding much extra flour; a bench scraper is your friend.
- Place in an oiled bowl, cover, and rise 1–1½ hours until doubled.
- Pour 2–3 tablespoons oil into a 12-inch cast iron skillet, coating the bottom and halfway up the sides.
- Turn the dough into the skillet and press it gently to fill the pan, pushing it slightly up the sides. If it springs back, rest 10 minutes and press again — the gluten needs to relax.
- Cover loosely and proof in the pan 30–45 minutes until puffy. Meanwhile, preheat the oven to 475°F (245°C) — or 500°F (260°C) if your oven runs cool.
The Bake: Step by Step
Step 1 — Heat the skillet (the preheat decision)
You have two options, and both work. The simplest: assemble the pizza in the room-temperature oiled skillet after proofing, then bake — the pan heats with the pizza and the bottom still crisps beautifully thanks to the oil layer. The advanced move: preheat the empty oiled skillet in the oven for 10 minutes, then carefully press the proofed dough into the hot pan (it will sizzle — that is the sound of crisp happening). The preheated method gives a measurably crisper, more fried bottom. Use dry, heavy oven mitts and keep a clear landing zone; a 500°F skillet is unforgiving.
Step 2 — Sauce strategically
Spread the sauce over the proofed dough, but keep it thinner in the center and slightly thicker toward the edges — the center of a deep pizza is where sogginess starts. Use about ½ cup total; this is not the place for a heavy sauce ladle. For a Detroit-style touch, some makers put cheese down first and stripe sauce over the top after baking — both orders work in cast iron.
Step 3 — Cheese to the very edge
Here is the signature move: push the shredded mozzarella all the way to the skillet’s walls, letting it touch the iron. As it bakes, the edge cheese fries against the hot pan into a lacy, caramelized, deeply savory crust — the famous frico edge. Do not be shy; cheese that stops short of the edge just makes a regular pizza, while cheese that reaches the iron makes a memorable one. Scatter the parmesan over the top for extra browning.
Step 4 — Top with restraint
Add your toppings over the cheese. Because this is a thick pizza with a longer bake, raw vegetables will cook through — but dense or very wet toppings should still be pre-cooked. Pepperoni cups and crisps gloriously in the pan’s ambient heat; sausage should be browned first; mushrooms should be sautéed dry. Keep the total topping layer moderate — a mountain of toppings insulates the center and leaves it doughy.
Step 5 — Bake 15–20 minutes
Bake at 475–500°F (245–260°C) for 15–20 minutes, until the cheese is deeply golden with browned spots, the edge cheese is dark and lacy, and the crust has pulled slightly away from the pan’s sides. If the top browns before the bottom crisps (rare in cast iron, but possible in fierce ovens), move to a lower rack. The pizza is done when a thin spatula slid under the edge reveals a deep golden-brown bottom.
Step 6 — Rest, release, slice
This step is not optional: rest the pizza in the skillet for 5 minutes. The cheese sets, the structure firms, and the pizza releases more cleanly. Then run a thin spatula or butter knife around the edge, slide it under, and transfer to a cutting board. Slice with a large chef’s knife or sharp wheel — the thick crust deserves decisive cuts. Finish with fresh basil, red pepper flakes, or a drizzle of good olive oil.
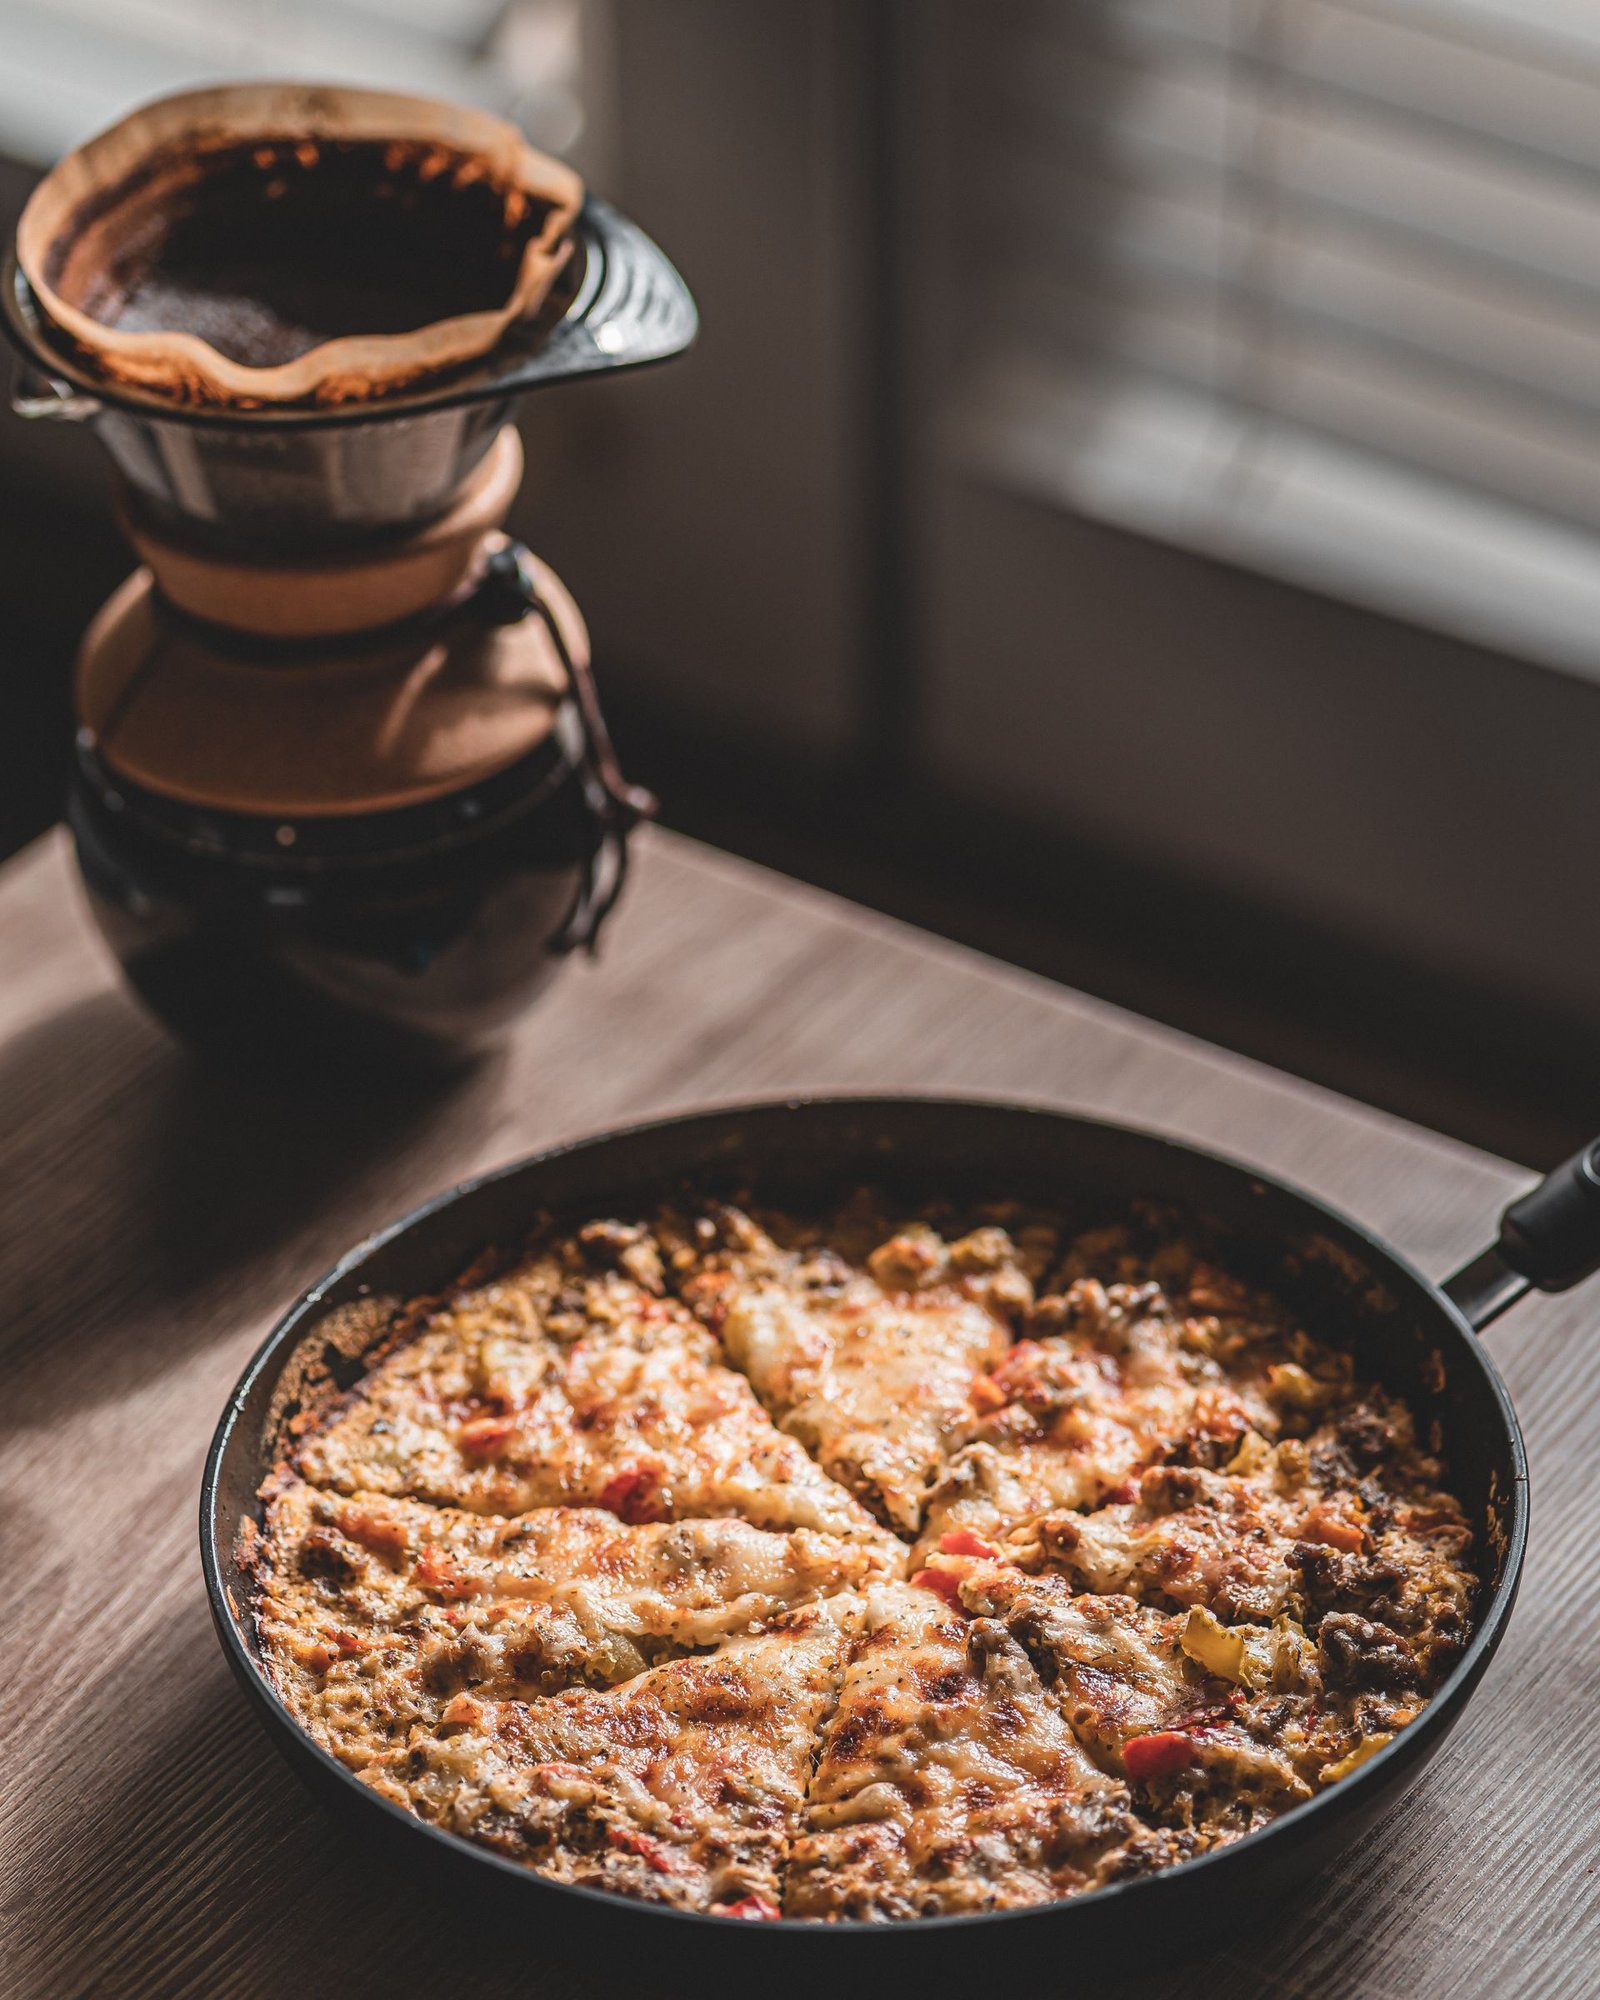
Cast Iron Skillet Pizza: Pro Tips for Perfection
Seasoning matters more than brand
A well-seasoned skillet releases pizza cleanly; a stripped or new one may grip. If your pan is newly seasoned or of unknown state, do a “seasoning bake” first: wipe the thinnest possible film of neutral oil over the whole pan, bake upside-down at 450°F (230°C) for an hour, and cool. And always use the full 2–3 tablespoons of oil for the pizza itself — it is insurance and crisping medium in one.
The stovetop finish for extra-crisp bottoms
If your pizza emerges with a perfect top but a bottom that is golden rather than deeply browned, you have a fix: set the skillet over medium heat on the stovetop for 2–3 minutes after baking, listening for sizzle. Check by lifting an edge — you are looking for a deep, even mahogany color with darker freckles where the dough contacted the hottest iron. This works because the toppings are already cooked — you are just finishing the fry on the crust. Keep the heat at medium, not high: cast iron holds heat so well that high burner settings can scorch the bottom in under a minute. It is the skillet-pizza equivalent of a chef’s kiss, and it rescues pizzas from ovens with weak bottom elements.
Do not use soap debates as an excuse
Wash your skillet. Modern dish soap does not strip polymerized seasoning — that is a myth from the lye-soap era. What actually damages seasoning is soaking and dishwashers. For pizza, none of that applies: wash with hot water and a little soap, dry thoroughly on heat, and wipe the faintest film of oil while warm.
Proof in the pan, not on the counter
Proofing the shaped dough directly in the oiled skillet does two jobs: the dough relaxes into the pan’s exact shape (no transfer needed), and the bottom begins absorbing a whisper of oil that jump-starts crisping. Cover loosely with plastic or a damp towel so the surface does not dry out and form a skin, which would inhibit rise.
Temperature honesty
Most home ovens lie by 15–25°F, and at 500°F that margin matters. An infrared thermometer pointed at the skillet tells you the truth about your pan’s heat. The visual cues — deep golden cheese, lacy dark edges, browned bottom — are the final authority regardless of what the dial claims.
Cast Iron Safety Essentials
A 500°F cast iron skillet is one of the hottest, heaviest objects in a home kitchen. Respect it:
- Dry mitts only. Damp mitts conduct heat instantly and cause burns. Use heavy, dry oven mitts or silicone grips rated for high heat, and grip the handle plus support the far side.
- The handle stays hot. Cast iron holds heat for 20+ minutes after leaving the oven. Warn everyone in the kitchen, and never leave the handle jutting where someone might grab it.
- Thermal shock is real. Do not plunge a screaming-hot skillet into cold water or onto a wet surface; rapid contraction can warp or crack the iron. Cool on a dry trivet or wooden board.
- Clear your landing zone before the pizza comes out. Decide where the skillet is going while it is still in the oven, not while you are holding 8 pounds of 500°F iron.
- Keep kids and pets clear of the oven-to-counter path during transfer.
Toppings & Variations
Thick crust plus long bake changes the topping calculus. Here is what thrives — followed by four variations that show how adaptable the skillet method is.
- Pepperoni: The long bake cups and crisps it perfectly. Layer it over the cheese so the cups hold little pools of rendered flavor.
- Sausage: Brown and crumble first, drain well. Raw sausage will not cook through reliably in the time the cheese needs.
- Mushrooms: Sauté until deeply golden and dry — the technique from our mushroom pizza applies directly.
- Onions and peppers: Slice thin so they soften in the bake; or caramelize/sauté first for deeper flavor.
- Fresh mozzarella: Use sparingly and in small torn pieces, well-drained. Too much fresh mozzarella floods a deep pizza — low-moisture is the workhorse here.
- Post-bake toppings: Fresh basil, arugula, prosciutto, and drizzles of hot honey all go on after the bake, so their freshness survives.
Avoid watery overload: a deep pizza already fights moisture in its center, so this is not the build for a pound of fresh tomatoes or a triple layer of vegetables. If you love loaded pizzas, pre-cook every vegetable until dry — keeping toppings from making the crust soggy is essential reading for pan bakes.
More Variations to Try
Detroit-style in the skillet
The cast iron skillet is a natural Detroit-style pan. Use brick cheese if you can find it (or a 50/50 blend of mozzarella and Monterey Jack), cheese all the way to the edges, sauce ladled in stripes over the top after baking. The caramelized cheese perimeter this produces is the entire point of the style — and the skillet does it brilliantly.
White skillet pizza
Skip the red sauce: brush the proofed dough with garlic-infused olive oil, top with ricotta dollops, mozzarella, and parmesan, and finish after baking with lemon zest, fresh herbs, and cracked pepper. The rich, creamy profile pairs beautifully with the fried-crisp crust.
BBQ chicken skillet pizza
Spread a thin layer of barbecue sauce, top with pre-cooked diced chicken, red onion, mozzarella, and smoked gouda. Finish with fresh cilantro and a barbecue drizzle after baking. Because the chicken is pre-cooked (a food-safety must — see below), the bake is only about melting and browning.
Breakfast skillet pizza
Proof the dough in the pan, par-bake 10 minutes, then add cheese, pre-cooked bacon or sausage, and crack eggs over the top for a final 6–8 minute bake — the same two-stage logic as our breakfast pizza recipe, in deep-dish form. Serve straight from the skillet at the table (on a trivet!) for maximum drama.
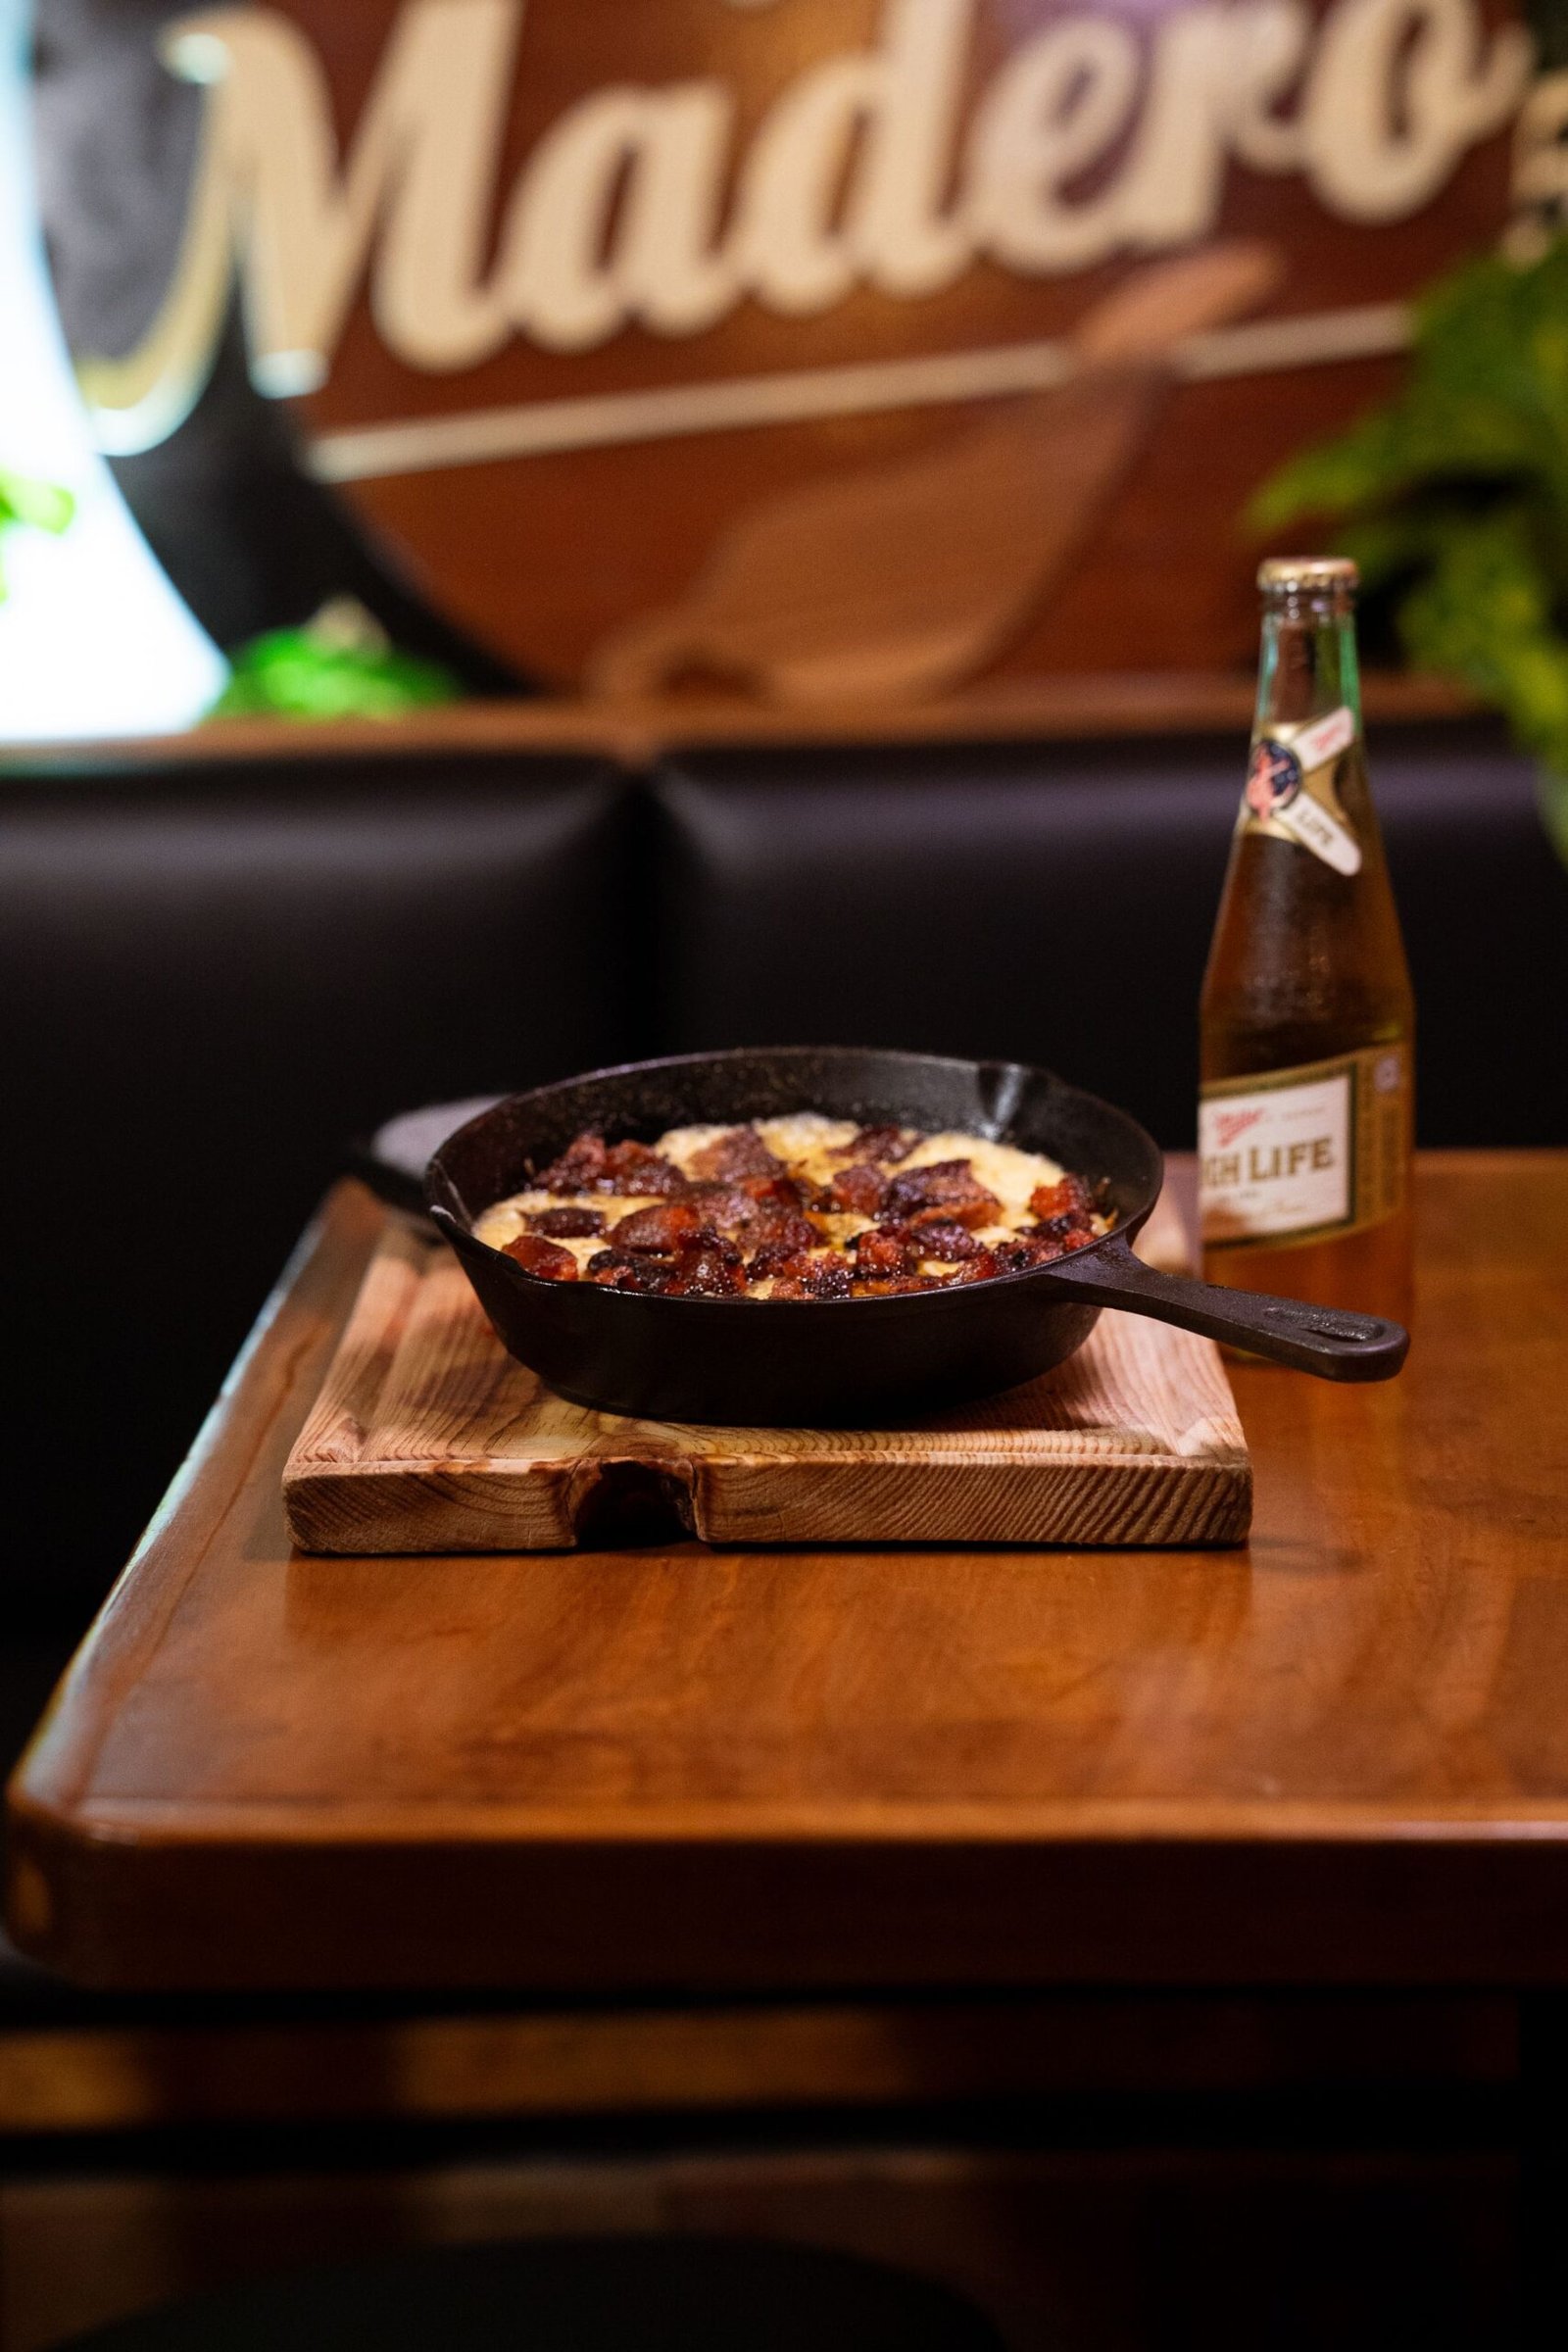
Storage, Reheating & Food Safety
Storing leftovers
Cool slices to room temperature within 2 hours, then refrigerate airtight for up to 3–4 days. Thick pan pizza actually stores better than thin — the crumb stays moist and the crust reheats crisply. Do not leave meat-topped pizza at room temperature beyond the 2-hour mark.
Reheating
The skillet reheats its own pizza beautifully: place slices back in the dry skillet over medium heat with a lid for 4–5 minutes — the bottom re-crisps while the lid steams the top. The oven at 375°F (190°C) for 10 minutes works for larger quantities. The air fryer (350°F/175°C, 3–4 minutes) is excellent for a slice or two. Microwave only as a last resort; it turns the prized crisp bottom chewy. More methods are ranked in our reheating guide.
Food-safety notes
Any meat topping — sausage, bacon, chicken, pepperoni-adjacent cured meats aside — must reach 165°F (74°C) internal temperature. The practical move is pre-cooking meats before they go on the pizza and verifying with a food thermometer, since cheese browning is not a doneness indicator. Eggs (for breakfast builds) need fully set whites. Cool and refrigerate leftovers within 2 hours, and reheat to steaming hot throughout. Raw flour in the dough should never be tasted raw — it bakes out in the oven, which is the whole point.
Frequently Asked Questions
What size cast iron skillet is best for pizza?
A 12-inch skillet is the sweet spot — it makes a generous pizza for 3–4 people and fits standard ovens easily. A 10-inch skillet works with about two-thirds of the dough recipe here (roughly 430 g). Avoid skillets smaller than 10 inches for this dough quantity; the crust gets too thick and the center stays doughy.
Do I need to preheat the skillet before adding dough?
It is optional but beneficial. Assembling in a room-temperature oiled skillet and baking works well — the oil still fries the bottom as the pan heats. Preheating the oiled skillet for 10 minutes before pressing in the dough gives a crisper, more blistered bottom. Either way, use the full amount of oil and a hot oven.
Why did my skillet pizza stick?
Three usual causes: insufficient oil, under-seasoned iron, or cutting the rest short. Use 2–3 tablespoons of oil, make sure your seasoning is intact (do a seasoning bake if unsure), and rest the full 5 minutes before attempting release — the cheese needs to set before it lets go of the pan. A thin metal spatula or fish turner releases edges more cleanly than a thick plastic one.
Can I use a regular nonstick or stainless pan instead?
Nonstick skillets cannot safely take 500°F — most are rated to 400–450°F, and overheating damages the coating. Stainless works thermally but pizza bonds to it aggressively even with oil. Cast iron is genuinely the right tool here; carbon steel is the only close substitute. If you have neither, a heavy baking sheet with a generous oil slick makes a respectable pan pizza.
How do I get those crispy cheese edges?
Push shredded low-moisture mozzarella all the way to the skillet wall so it touches the hot iron, and make sure the oven is fully preheated. The cheese fries against the pan into a lacy, caramelized border. Brick cheese or a mozzarella–Monterey Jack blend caramelizes even better than pure mozzarella if you want the full Detroit-style effect.
[…] is deeply satisfying, and “my own pan” ownership makes kids eat with extra gusto. (Our cast iron skillet pizza recipe scales down […]