

There are nights when the pizza craving hits and the yeast packet is empty, expired, or simply nowhere to be found. That’s exactly when pizza dough without yeast earns its place in your kitchen. This no-yeast pizza dough goes from flour bag to oven-ready in about 30 minutes — no proofing, no waiting, no planning ahead. Just mix, knead briefly, shape, and bake.
Let’s be honest about what it is and isn’t. Without yeast there’s no fermentation, which means none of that complex, slightly tangy flavor that a slow-risen dough develops, and none of the dramatic oven spring that gives Neapolitan-style crusts their leopard-spotted puff. What you get instead is a tender, biscuit-like crust with a pleasant chew — closer to a flatbread or a cracker-crisp thin crust, depending on how you roll it. Made well, it’s genuinely delicious. Made carelessly, it’s dense and tough. This guide makes sure you land in the first camp.
Below you’ll find the full recipe with baker’s measurements, the science of why it works, step-by-step shaping for thin or thick crusts, pro tips for the best texture, topping strategies that suit a quicker-baking crust, variations, storage, and food-safety notes. When you need pizza tonight — not tomorrow — this is your dough.
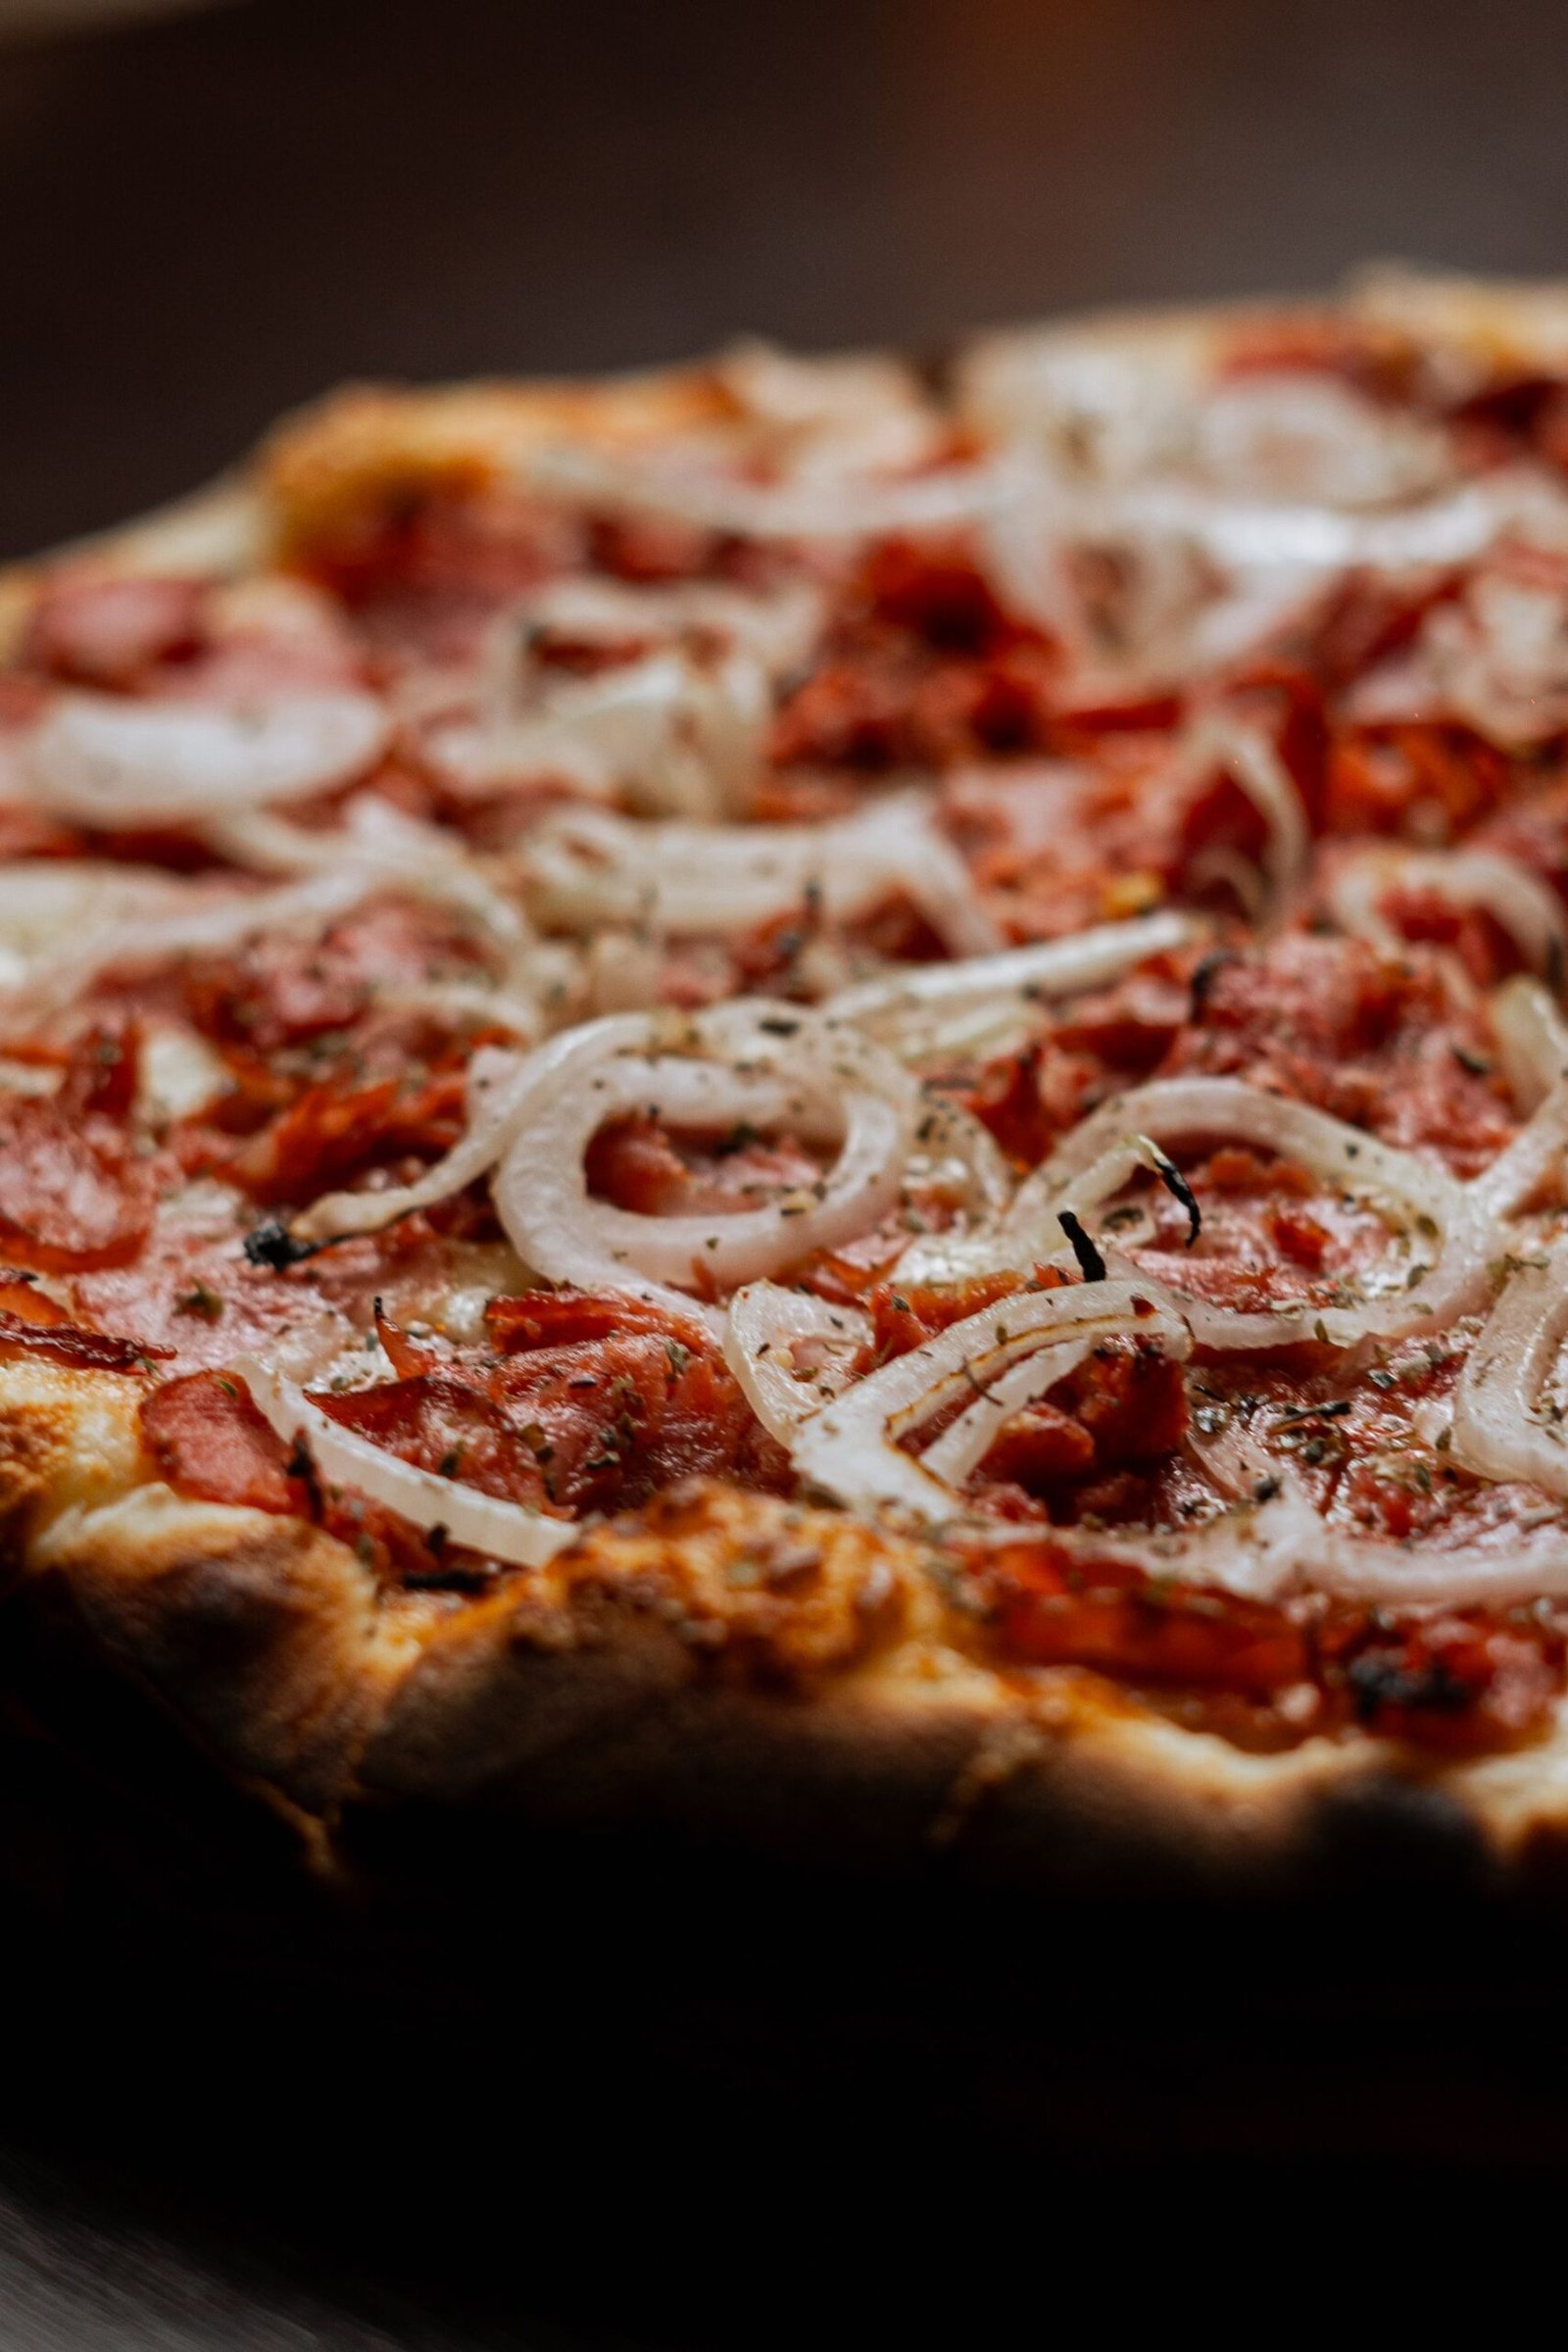
🍕 Key Takeaways
- No-yeast pizza dough is leavened with baking powder, not fermentation — ready in 30 minutes with zero rise time.
- Handle it gently and don’t over-knead: 2–3 minutes is enough, since there’s no gluten network to build for trapping gas.
- Roll it thinner than yeasted dough for the best texture — thin and crisp is where this dough shines.
- Use a hot oven (450–475°F) and a preheated stone or steel to get browning without drying it out.
- It doesn’t keep raw — bake it the same day, or freeze the shaped dough for later.
- Top it a little lighter than usual; this crust bakes faster and can’t support a heavy load as well as slow-fermented dough.
How No-Yeast Pizza Dough Works
Understanding the “why” makes the “how” foolproof. Yeasted dough rises because living yeast eats sugars and exhales carbon dioxide over hours, inflating the gluten network like thousands of tiny balloons. Pizza dough without yeast skips biology entirely and uses chemistry: baking powder contains both an acid and a base, and when they get wet — and again when they get hot — they release carbon dioxide bubbles that lighten the dough.
That double action is why baking powder is specified rather than baking soda. Baking soda needs an external acid (like buttermilk or yogurt) to activate fully, and it reacts once; double-acting baking powder reacts when mixed and again in the oven’s heat, giving you lift at both stages. It’s the more reliable choice for a dough with no acidic ingredients.
The trade-off is structural. Yeast fermentation builds flavor compounds and strengthens gluten over time; a chemical leavener just makes bubbles. So this dough will never taste like a 72-hour cold-fermented dough — and that’s fine. It’s a different product with a different job: speed. Think of it as the pizza equivalent of Irish soda bread versus a slow sourdough loaf. Both are bread; they just solve different problems.
One more thing worth knowing: because there’s no rise, there’s also no forgiveness. Overworked yeasted dough can recover during its proof; overworked no-yeast dough goes straight into the oven tough. Gentle handling isn’t a suggestion here — it’s the entire technique.
Ingredients
Makes two 10–12 inch thin-crust pizzas, or one generous thick-crust pizza.
- 320 g (about 2½ cups) all-purpose flour, plus extra for dusting
- 2 teaspoons double-acting baking powder
- 1 teaspoon fine sea salt
- 1 teaspoon sugar (helps browning)
- ¾ cup (180 ml) plain yogurt or buttermilk, at room temperature — or milk plus 1 tablespoon lemon juice rested 5 minutes
- ¼ cup (60 ml) olive oil, plus more for the bowl
- 2–4 tablespoons water, as needed
A few notes on choices. All-purpose flour is actually preferable to bread flour here — without a long fermentation, bread flour’s extra protein just makes the crust tougher. The yogurt or buttermilk does three jobs: its acidity tenderizes the crumb, its fat adds richness, and its moisture hydrates the flour. If you only have plain milk, the lemon-juice trick gets you most of the way there. And check your baking powder’s date — an opened tin older than 6 months loses potency, and flat baking powder means flat pizza. Test it: drop half a teaspoon in hot water; it should fizz vigorously.
For a deeper dive into how flour protein changes crust character, our pizza flour guide breaks down 00, bread, and all-purpose options across every dough style.
Pizza Dough Without Yeast: Step-by-Step Method
Step 1 — Whisk the dry ingredients
In a large bowl, whisk the flour, baking powder, salt, and sugar together thoroughly. This isn’t just mixing — it’s distributing the leavening evenly, which is critical when there’s no long knead or fermentation to even things out later. Whisk for a good 20 seconds. Any pocket of undispersed baking powder becomes a bitter, soapy-tasting spot in the finished crust.
Step 2 — Add the wet ingredients
Make a well in the center and pour in the yogurt, olive oil, and 2 tablespoons of water. Stir with a wooden spoon or Danish whisk until a shaggy dough comes together. If there are dry floury patches at the bottom of the bowl, add water a tablespoon at a time — different flours absorb differently, and humidity matters. You want a soft, slightly tacky dough, not a stiff one. Err on the side of slightly wetter; you can dust with flour when shaping.
Step 3 — Knead briefly — then stop
Turn the dough onto a lightly floured surface and knead gently for just 2–3 minutes, until it comes together smoothly. That’s it. You’re developing barely enough gluten to hold the dough together, not building the strong network a yeasted dough needs. The dough should feel soft and pillowy. If it starts feeling tight and springy, you’ve gone too far — stop immediately and let it rest 10 minutes before shaping.
Step 4 — Rest, don’t rise
Cover the dough and let it rest 10–15 minutes at room temperature. This isn’t fermentation — nothing is rising. The rest simply relaxes the gluten so the dough rolls out without snapping back, and lets the flour fully hydrate for a more tender crumb. You can use this window to preheat the oven and prep toppings.
Step 5 — Shape thin
Divide the dough in half. On a floured surface, roll or press each piece into a 10–12 inch round, about ⅛–¼ inch thick. Thinner is better with this dough — a thick no-yeast crust bakes up bready and dense, while a thin one turns crisp and crackly at the edges. Transfer to a parchment-lined peel or an oiled pan. If the dough resists rolling, let it rest 5 minutes and try again rather than fighting it.
Baking: Temperature and Timing
No-yeast dough bakes differently from yeasted dough, so adjust your approach. Preheat your oven to 450–475°F (230–245°C) with a pizza stone or steel inside for at least 45 minutes. That stored heat is doing the work that a long fermentation would otherwise help with — it drives rapid oven spring from the baking powder’s second reaction and sets the crust before it can dry out.
Top the shaped dough and bake directly on the hot stone or steel (parchment makes the transfer easy) for 10–14 minutes. Because there’s no thick, airy rim to cook through, the pizza is done when the bottom is golden and firm and the cheese is bubbling with browned spots. Check the bottom by lifting an edge with a peel or tongs — color there is a more reliable doneness cue than the clock.
If you’re working without a stone or steel, bake on a preheated heavy baking sheet (flip a rimmed sheet upside down and preheat it like a stone) or in a well-oiled cast-iron skillet. A skillet is genuinely excellent here: the direct conductive heat crisps the bottom beautifully, which suits this dough’s thin-and-crisp sweet spot. Our cast iron skillet pizza recipe shows the technique in detail, and it adapts perfectly to no-yeast dough — just press the dough into the oiled skillet, top, and bake.
One thing to avoid: the temptation to bake low and slow “to make sure it cooks through.” Low heat dries this dough out before it browns, giving you a cracker that’s tough rather than crisp. Hot and fast is the rule — the same principle behind getting a crispy crust at home.
Topping Strategies for a Faster-Baking Crust
This crust spends less time in the oven than a thick yeasted one, so toppings need to cooperate with a 10–14 minute bake.
Go lighter than usual
A no-yeast base can’t carry the same load as a slow-fermented one. Heavy piles of vegetables release water that a quick bake can’t drive off, leaving you with a soggy center. Two or three toppings in a moderate layer is the sweet spot. If you love loaded pizzas, pre-cook watery vegetables — sauté mushrooms, roast peppers, wilt spinach and squeeze it dry — before they go on.
Choose toppings that cook fast
Thin-sliced pepperoni, pre-cooked sausage, olives, thin onion slivers, and canned artichokes all finish in a short bake. Raw chicken or thick sausage chunks are a bad idea here: they won’t reliably reach 165°F (74°C) in 12 minutes under cheese. Always pre-cook raw meats before topping, and verify the thickest piece with a food thermometer. This matters on every pizza, but the margin for error is thinnest on a fast-baking crust.
Sauce and cheese adjustments
Use a slightly thicker sauce, or a little less of it — excess moisture is the enemy of a quick bake. A no-cook crushed-tomato sauce (just drain the tomatoes well first) is ideal. For cheese, low-moisture mozzarella shredded by hand melts evenly in the shorter window; pre-shredded works too, though the anti-caking coating means it melts a touch less smoothly. Our comparison of fresh vs low-moisture mozzarella explains why low-moisture wins for weeknight pizzas.
Pro Tips for the Best Texture
Measure flour correctly
The number one cause of tough no-yeast dough is too much flour. Scooping with the measuring cup packs in up to 30% extra. Spoon flour into the cup and level it off, or better yet, weigh it — 320 g is the target for this recipe. A kitchen scale is the single best upgrade for any baker, and it matters most in quick doughs where there’s no fermentation to mask measuring errors.
Keep everything at room temperature
Cold yogurt straight from the fridge slows the baking powder’s first reaction and makes the dough harder to mix evenly. Set the yogurt out 20–30 minutes before you start. Lukewarm — not hot — liquids are ideal; hot liquid can prematurely trigger the baking powder, spending its lift before the dough reaches the oven.
Don’t overwork it — seriously
This bears repeating because it’s the mistake almost everyone makes once. Two to three minutes of gentle kneading, then hands off. If you’re used to yeasted dough’s 10-minute knead, this will feel wrong. Trust the process: the dough should look slightly rough and feel soft, not smooth and tight. Smooth and tight now means dense and tough later.
Roll thin, dock if needed
For thin-crust pizzas, roll to ⅛–¼ inch. If you’re making one thicker pizza instead of two thin ones, dock the center with a fork (poke holes across the surface) before topping — this lets steam escape and prevents the dreaded giant bubble dome. Leave the outer inch undocked so you still get a slightly puffed rim.
Double-check your oven temperature
This dough is less forgiving of a cool oven than a yeasted one, because there’s no long bake to compensate. Many home ovens run 25°F cool, which turns “hot and fast” into “warm and drying.” A ten-dollar oven thermometer hung from the rack tells you the truth — adjust your dial until the thermometer reads a genuine 450–475°F. It’s a small step that improves every pizza you bake, not just this one.
Bake immediately after shaping
Unlike yeasted dough, which can wait, shaped no-yeast dough starts losing lift the moment the wet and dry ingredients meet. Don’t shape your pizzas and then spend 30 minutes chopping toppings. Prep everything first, shape last, top quickly, and get them in the oven. If life interrupts, you can refrigerate the mixed (not shaped) dough for an hour or two, but same-day baking gives the best rise.
Variations
Herb and garlic dough
Add 1 teaspoon each of dried oregano and basil plus ½ teaspoon garlic powder to the dry ingredients. The herbs toast in the hot oven and perfume the whole crust — excellent under a simple margherita-style topping. This is the fastest way to make the dough taste intentional rather than improvised.
Whole-wheat blend
Replace up to half the all-purpose flour with whole-wheat flour for a nuttier, heartier crust. Whole wheat absorbs more liquid, so add an extra tablespoon or two of water until the dough feels soft. Expect a denser crumb — that’s the nature of the bran cutting through the structure — but the flavor is genuinely good, especially with robust toppings like sausage and peppers.
Gluten-free no-yeast dough
Use a gluten-free all-purpose blend that contains xanthan gum, and add an extra teaspoon of baking powder to compensate for the weaker structure. The dough will be softer and harder to roll — press it into shape on parchment with oiled hands instead of rolling. Bake a touch longer, 14–16 minutes, since gluten-free doughs need more time to set. For a full treatment of gluten-free technique, see our gluten-free pizza dough guide.
Cracker-crisp bar-style crust
Roll the dough extra thin — barely ⅛ inch — dock it thoroughly, brush lightly with olive oil, and bake at 475°F. You get a shattering, cracker-like base that’s fantastic cut into squares and topped simply. It’s a fun homage to the ultra-thin tavern style, our tavern-style pizza guide if the crisp life appeals to you.
Storage and Food Safety
Here’s the honest limitation: raw no-yeast dough doesn’t store well. The baking powder begins reacting the moment it gets wet, and its power fades over hours. Mixed dough can be refrigerated for a few hours in a pinch, but don’t try to keep it overnight — you’ll get a flat, dense crust. This is a make-it-and-bake-it dough, which is fine, because the whole point is speed.
Shaped, unbaked pizzas are a better make-ahead option: shape, wrap tightly in plastic, and refrigerate for up to 4 hours, then top and bake straight from the fridge (add 1–2 minutes). For longer planning, freeze the shaped dough discs between sheets of parchment for up to a month; thaw 20 minutes at room temperature before topping and baking.
Baked pizza follows the standard rules: refrigerate leftovers within 2 hours of baking, keep 3–4 days, and reheat until steaming hot. Our leftover pizza storage guide has the full timelines. And the usual meat rule applies every time: any raw meat toppings must be pre-cooked or verified at 165°F (74°C) internal temperature with a food thermometer — color alone isn’t a reliable gauge.
Frequently Asked Questions
Can I really make pizza dough without yeast?
Yes — baking powder replaces yeast as the leavener. Pizza dough without yeast won’t have the fermented flavor or airy chew of a slow-risen dough, but it produces a tender, tasty crust in about 30 minutes total. It’s ideal for weeknights, yeast emergencies, and anyone who wants pizza now rather than tomorrow.
Why is my no-yeast dough tough?
Almost always one of three things: too much flour (measure by weight or spoon-and-level), over-kneading (2–3 gentle minutes is enough), or rolling it too thick and baking it too long. Keep the dough soft and slightly tacky, handle it minimally, roll thin, and bake hot and fast. If you’ve been making yeasted dough for years, consciously dial back the kneading — your muscle memory will fight you on this one.
Can I use self-rising flour instead?
You can, and it’s actually convenient: self-rising flour already contains baking powder and salt. Use 2½ cups self-rising flour and skip the separate baking powder and salt in the recipe, keeping the sugar. Check that your self-rising flour is fresh, since you can’t verify the leavening separately. The results are very similar to the from-scratch version.
Does no-yeast dough taste like real pizza?
It tastes like good flatbread pizza — which is real pizza, just a different style. The crust is more tender and biscuit-like than chewy, with a mild, clean wheat flavor rather than yeasty complexity. With good sauce, proper cheese, and a hot oven, most people are pleasantly surprised. If you fall in love with homemade pizza, graduate to our step-by-step yeasted dough guide when you have a couple of hours — but there’s no shame in the 30-minute version.
Can I freeze no-yeast pizza dough?
Freezing the raw mixed dough isn’t recommended — the baking powder loses potency. But you can freeze shaped, unbaked dough discs between parchment for up to a month, then thaw 20 minutes, top, and bake. Even better: bake the pizzas fully, cool, and freeze the baked pizza; reheated slices are excellent and the texture holds up well.
What’s the best flour for no-yeast pizza dough?
All-purpose flour. Bread flour’s extra protein makes this quick dough tougher without adding any benefit, since there’s no long fermentation to develop flavor or structure. Save the bread flour for your yeasted doughs, and read up on baker’s percentages when you’re ready to go deeper.