

Ask a serious pizza maker what separates good dough from unforgettable dough, and the answer is almost always time — specifically, cold time. This 72-hour cold ferment pizza dough spends three days in the refrigerator, where slow fermentation builds layers of flavor that no same-day dough can match: a nutty, wheaty depth, a whisper of tang, and a crust that browns deeper and blisters more beautifully in the oven.
Cold fermentation is not complicated, but it is precise. Yeast behaves differently at 38°F than at 78°F — it slows to a crawl while enzymes keep working, breaking starches into sugars that feed both flavor and browning. Get the yeast quantity, salt level, and temperature right, and the refrigerator does all the work while you go about your life. Get them wrong and you get either a sluggish dough that never wakes up or an overblown one that collapses.
This guide gives you the complete 72-hour method: exact formula in grams and cups, a mixing and kneading process tuned for long cold fermentation, day-by-day expectations, the critical warm-up before baking, and troubleshooting for every common cold-ferment failure. Plan three days ahead once, and you will understand why pizzerias never rush their dough.
🍕 Key Takeaways
- Use less yeast than same-day dough — just 2 g instant yeast per 500 g flour — because time does the leavening work.
- Ferment at 36–40°F (2–4°C); warmer fridges accelerate fermentation and shorten your window.
- 72 hours is the sweet spot: flavor peaks between 48–96 hours, then declines as the yeast exhausts itself.
- Warm dough balls at room temperature 2–3 hours before shaping — cold dough tears and springs back.
- Salt at 2.5–3% (slightly higher than same-day) to regulate the long fermentation and boost flavor.
- Portion into individual balls BEFORE refrigerating for the easiest bake day.
Why Cold Fermentation Transforms Dough
Fermentation is two processes running in parallel: yeast producing carbon dioxide (leavening) and enzymes breaking down starches and proteins (flavor and texture development). At room temperature, yeast races ahead — the dough doubles in two hours, but the enzymes have barely started. In the cold, the relationship flips: yeast activity drops to a fraction of its room-temperature pace, while amylase and protease enzymes keep working steadily, converting starches into fermentable sugars and relaxing proteins.
Those liberated sugars matter twice. First, they feed the yeast slowly over days, producing not just CO2 but the organic acids, alcohols, and esters that we perceive as complex flavor — the nuttiness, the faint tang, the “what IS that” depth. Second, residual sugars that the yeast never consumes remain in the dough at bake time, where they drive Maillard browning and caramelization. That is why cold-fermented crusts brown deeper and blister more dramatically than same-day doughs baked identically.
There is a structural benefit too. The long, slow gluten relaxation produces a dough that stretches almost effortlessly — anyone who has fought a springy same-day dough will feel the difference immediately. And because gas production is slow and steady, the bubble structure is finer and more even, giving a crumb that is airy without the giant irregular holes that can make toppings slide.
The tradeoff is planning. This is a three-day commitment, not a weeknight impulse. But the active work is under 20 minutes — the refrigerator provides the other 71 hours and 40 minutes. For the opposite end of the spectrum, our same-day dough gets you pizza in two hours; this guide is for when flavor is the priority.
The 72-Hour Formula
Cold-ferment formulas differ from same-day in three ways: less yeast, slightly more salt, and often slightly lower hydration for easier handling after the long rest. This recipe makes four 12-inch dough balls (about 280 g each) — the ideal size for a blistered, leopard-spotted crust with a puffy rim.
Ingredients
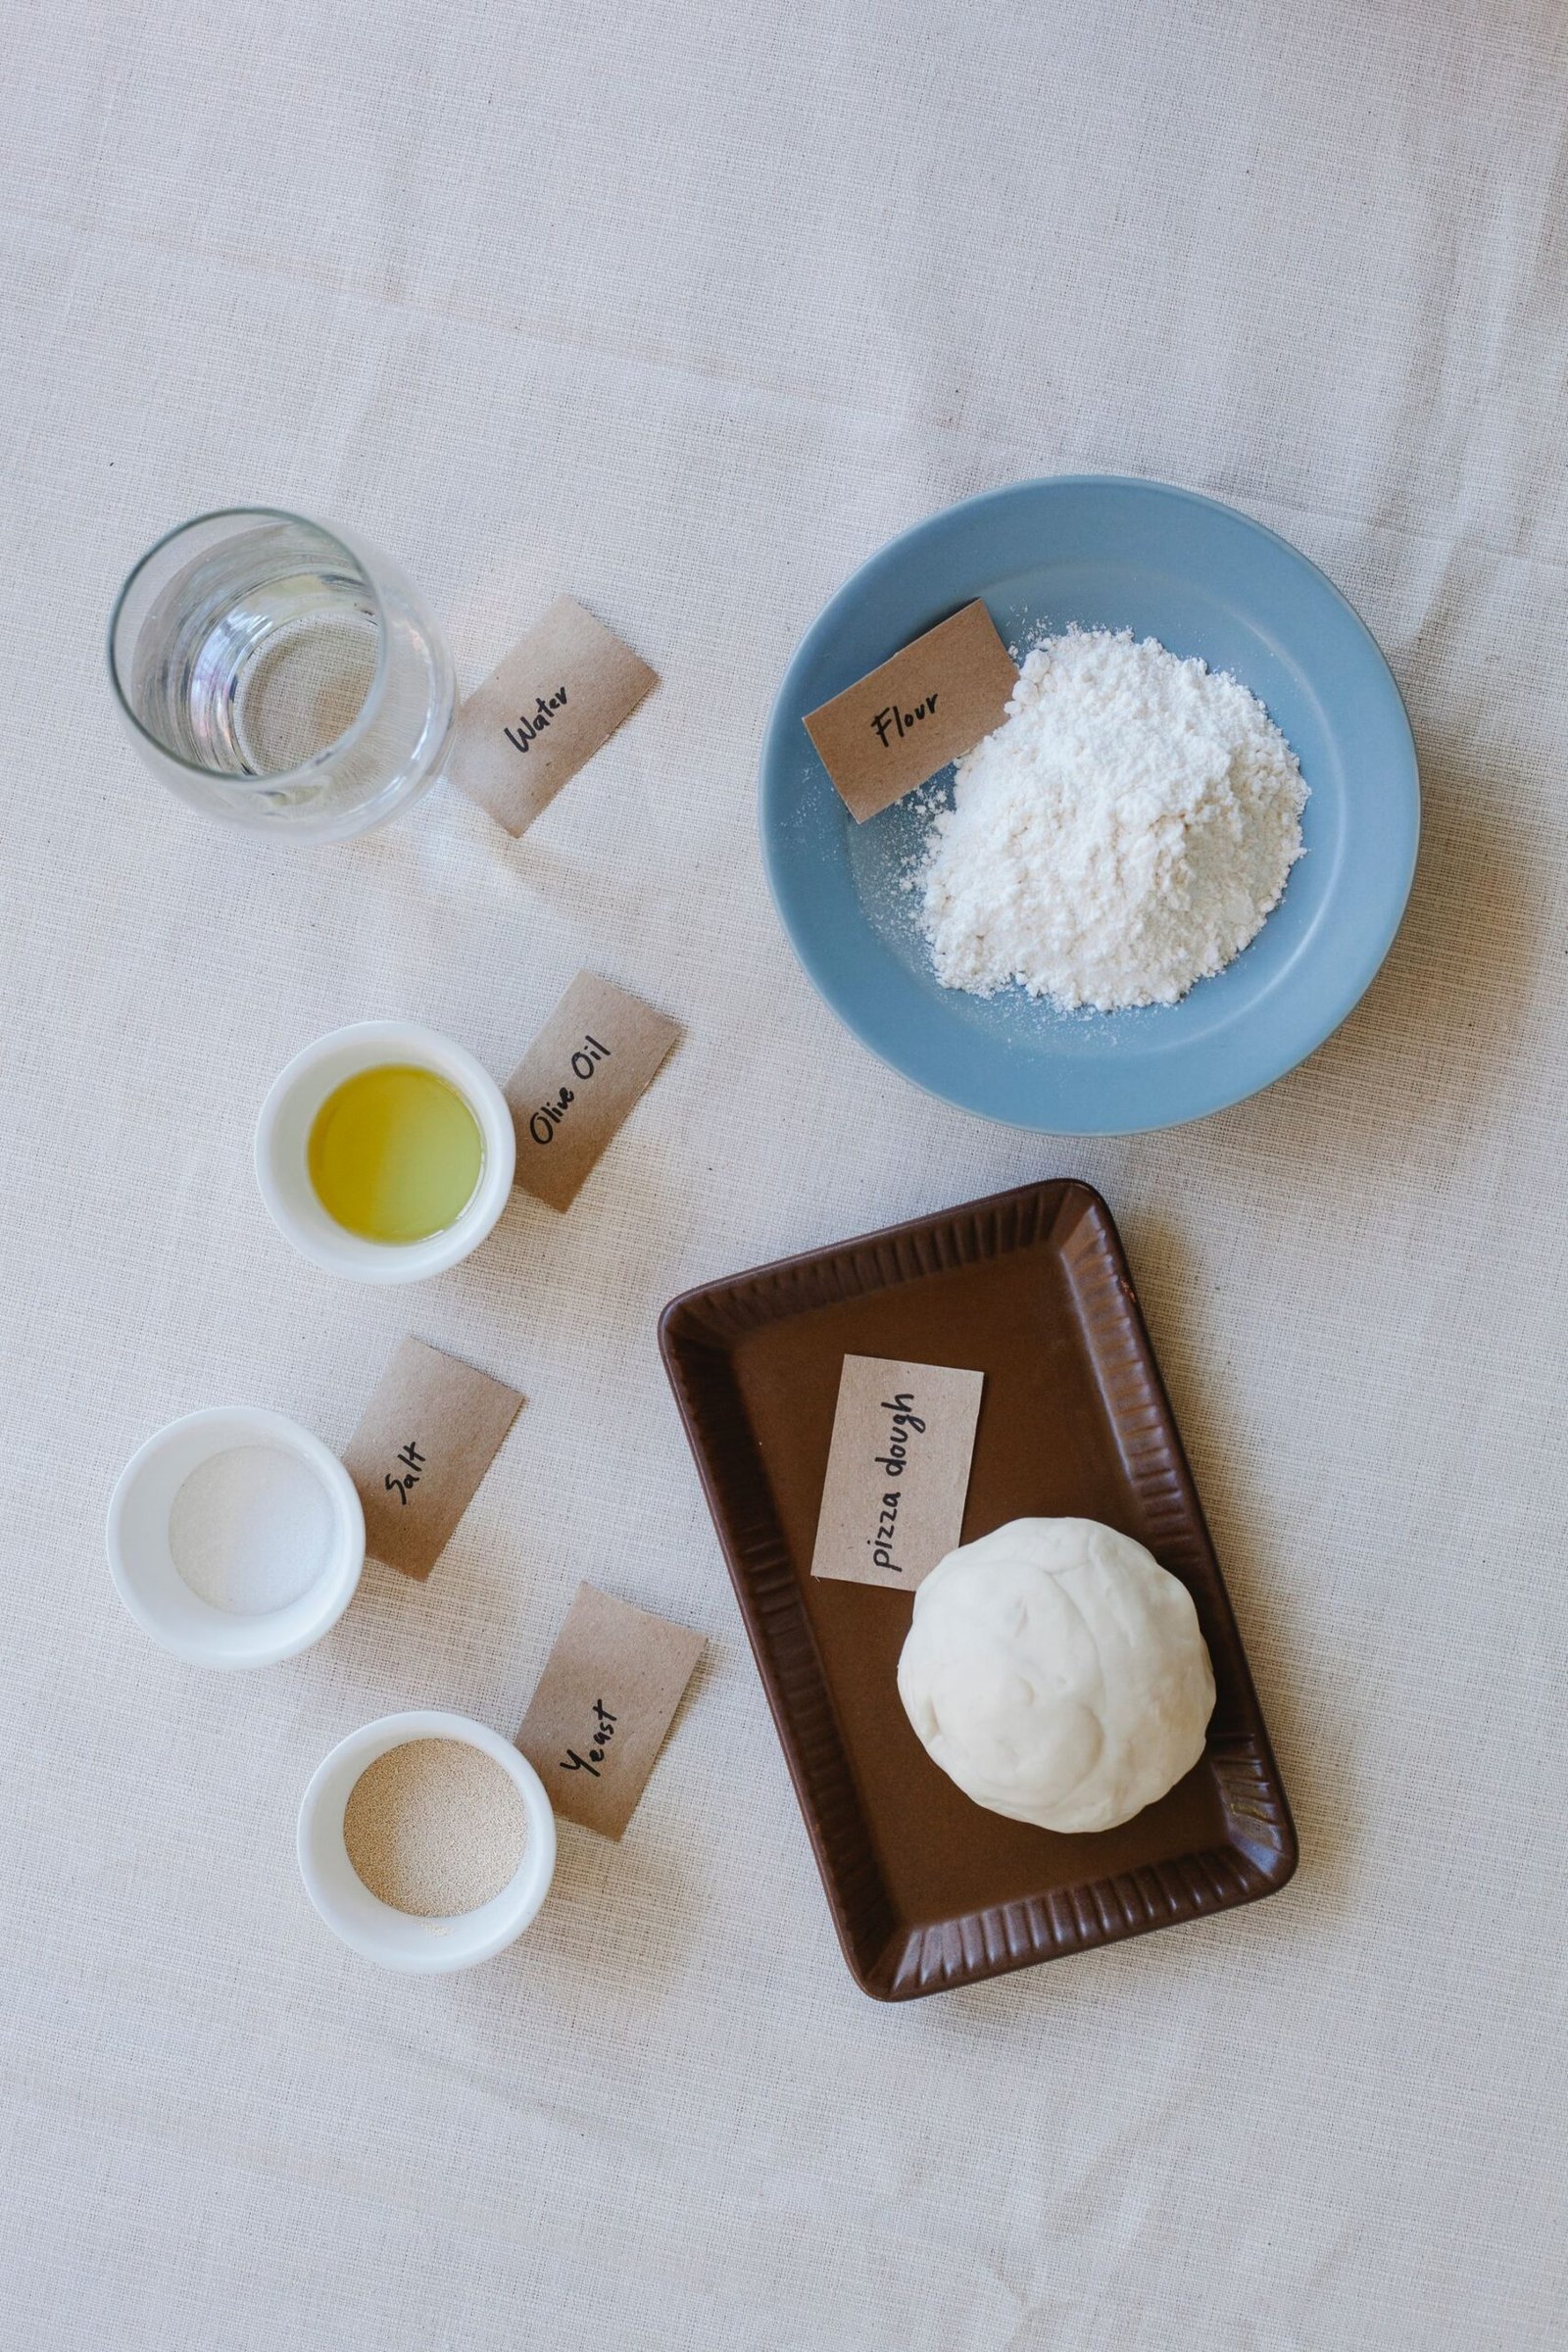
- 640 g (about 5¼ cups) bread flour — 100%
- 403 g (403 ml / about 1⅔ cups) cold water, 60–65°F (16–18°C) — 63%
- 16 g (about 2¾ teaspoons) fine sea salt — 2.5%
- 2 g (about ½ teaspoon) instant dry yeast — 0.3%
- 13 g (1 tablespoon) extra-virgin olive oil — 2%
Why these numbers
Yeast at 0.3%: A same-day dough uses around 1.4% yeast because it must do all its work in two hours. Here, time is the leavening agent — 0.3% is plenty for 72 hours, and using more risks over-fermentation (a dough that peaks on day two and collapses by day three). If your refrigerator runs warm (above 40°F/4°C), drop to 0.25%; if you are fermenting only 48 hours, you can nudge up to 0.4%.
Salt at 2.5%: Slightly higher than the standard 2% because salt regulates yeast activity over the long ferment and because the extended enzyme activity benefits from the flavor backbone. Do not exceed 3% — beyond that, salt starts inhibiting the yeast enough to stall the ferment.
Hydration at 63%: A touch lower than the 65% baseline in our from-scratch dough guide. Cold dough firms up, and long fermentation slightly weakens gluten; the marginally lower hydration keeps the dough manageable and the crust structured. Experienced bakers can push to 65–67%, but 63% is the reliable starting point.
Cold water: Starting with cool water (not warm) prevents the dough from entering the fridge already warm, which would give fermentation a head start and throw off the timing. In summer, use water straight from the fridge.
The 48-Hour Variation
Not every pizza craving gives you three days’ notice. The 48-hour cold ferment captures most of the magic — roughly 80% of the flavor complexity — with a small formula adjustment to compensate for the shorter window.
48-hour formula (four 280 g balls): 640 g bread flour, 403 g cold water, 16 g salt, 13 g olive oil, and 3 g instant yeast (about ¾ teaspoon) instead of 2 g. The extra gram of yeast accelerates the early fermentation so the dough reaches maturity by hour 48 instead of hour 72. Everything else — the 1-hour room-temperature start, portioning into balls, 36–40°F refrigeration, and the 2–3 hour warm-up — stays identical.
What you give up: The deepest bass notes of flavor — that profound wheatiness and the most dramatic blistering — need the full third day. The 48-hour crust still browns better and tastes more complex than any same-day dough; it simply does not reach the transcendent level of the 72-hour version. Think of it as the difference between very good and unforgettable.
The hybrid schedule many pizza makers actually use: Mix a double batch on day one. Bake half at 48 hours for the weekend, and the other half at 72+ hours for the start of the week. One mixing session, two distinct pizzas, and a direct side-by-side education in what the third day contributes. Once you have tasted both from the same batch, you will plan around the 72-hour version whenever the calendar allows.
Mixing and Kneading for Long Fermentation
Step 1 — Mix (10 minutes)
Whisk the flour and yeast together in a large bowl. Dissolve the salt in the cold water, then pour the salted water and olive oil into the flour. Mix until no dry flour remains. The dough will feel firmer and less extensible than a warm-water dough — normal at this stage.
Step 2 — Knead to full development (10–12 minutes)
Knead thoroughly — slightly more than you would for same-day dough. Long fermentation degrades gluten over time (protease enzymes nibble at it), so you want to start with a very well-developed network. Knead until the dough is smooth, elastic, and passes the windowpane test cleanly: stretch a small piece until light shines through without tearing. Under-kneaded cold-ferment dough turns slack and unshapeable by day three.
Mixer users: 8 minutes on speed 2 with the dough hook, then check the windowpane. Do not exceed speed 2 — friction heat is the enemy of cold fermentation timing.
Step 3 — A short room-temperature start (1 hour)
Here is a step many recipes skip: let the kneaded dough rest at room temperature for 1 hour before refrigerating. This gives the yeast a gentle wake-up — a head start that ensures fermentation is underway before the cold slows everything down. Without it, some doughs enter the fridge dormant and never fully develop. Cover the bowl during this hour.
Step 4 — Portion into balls (10 minutes)
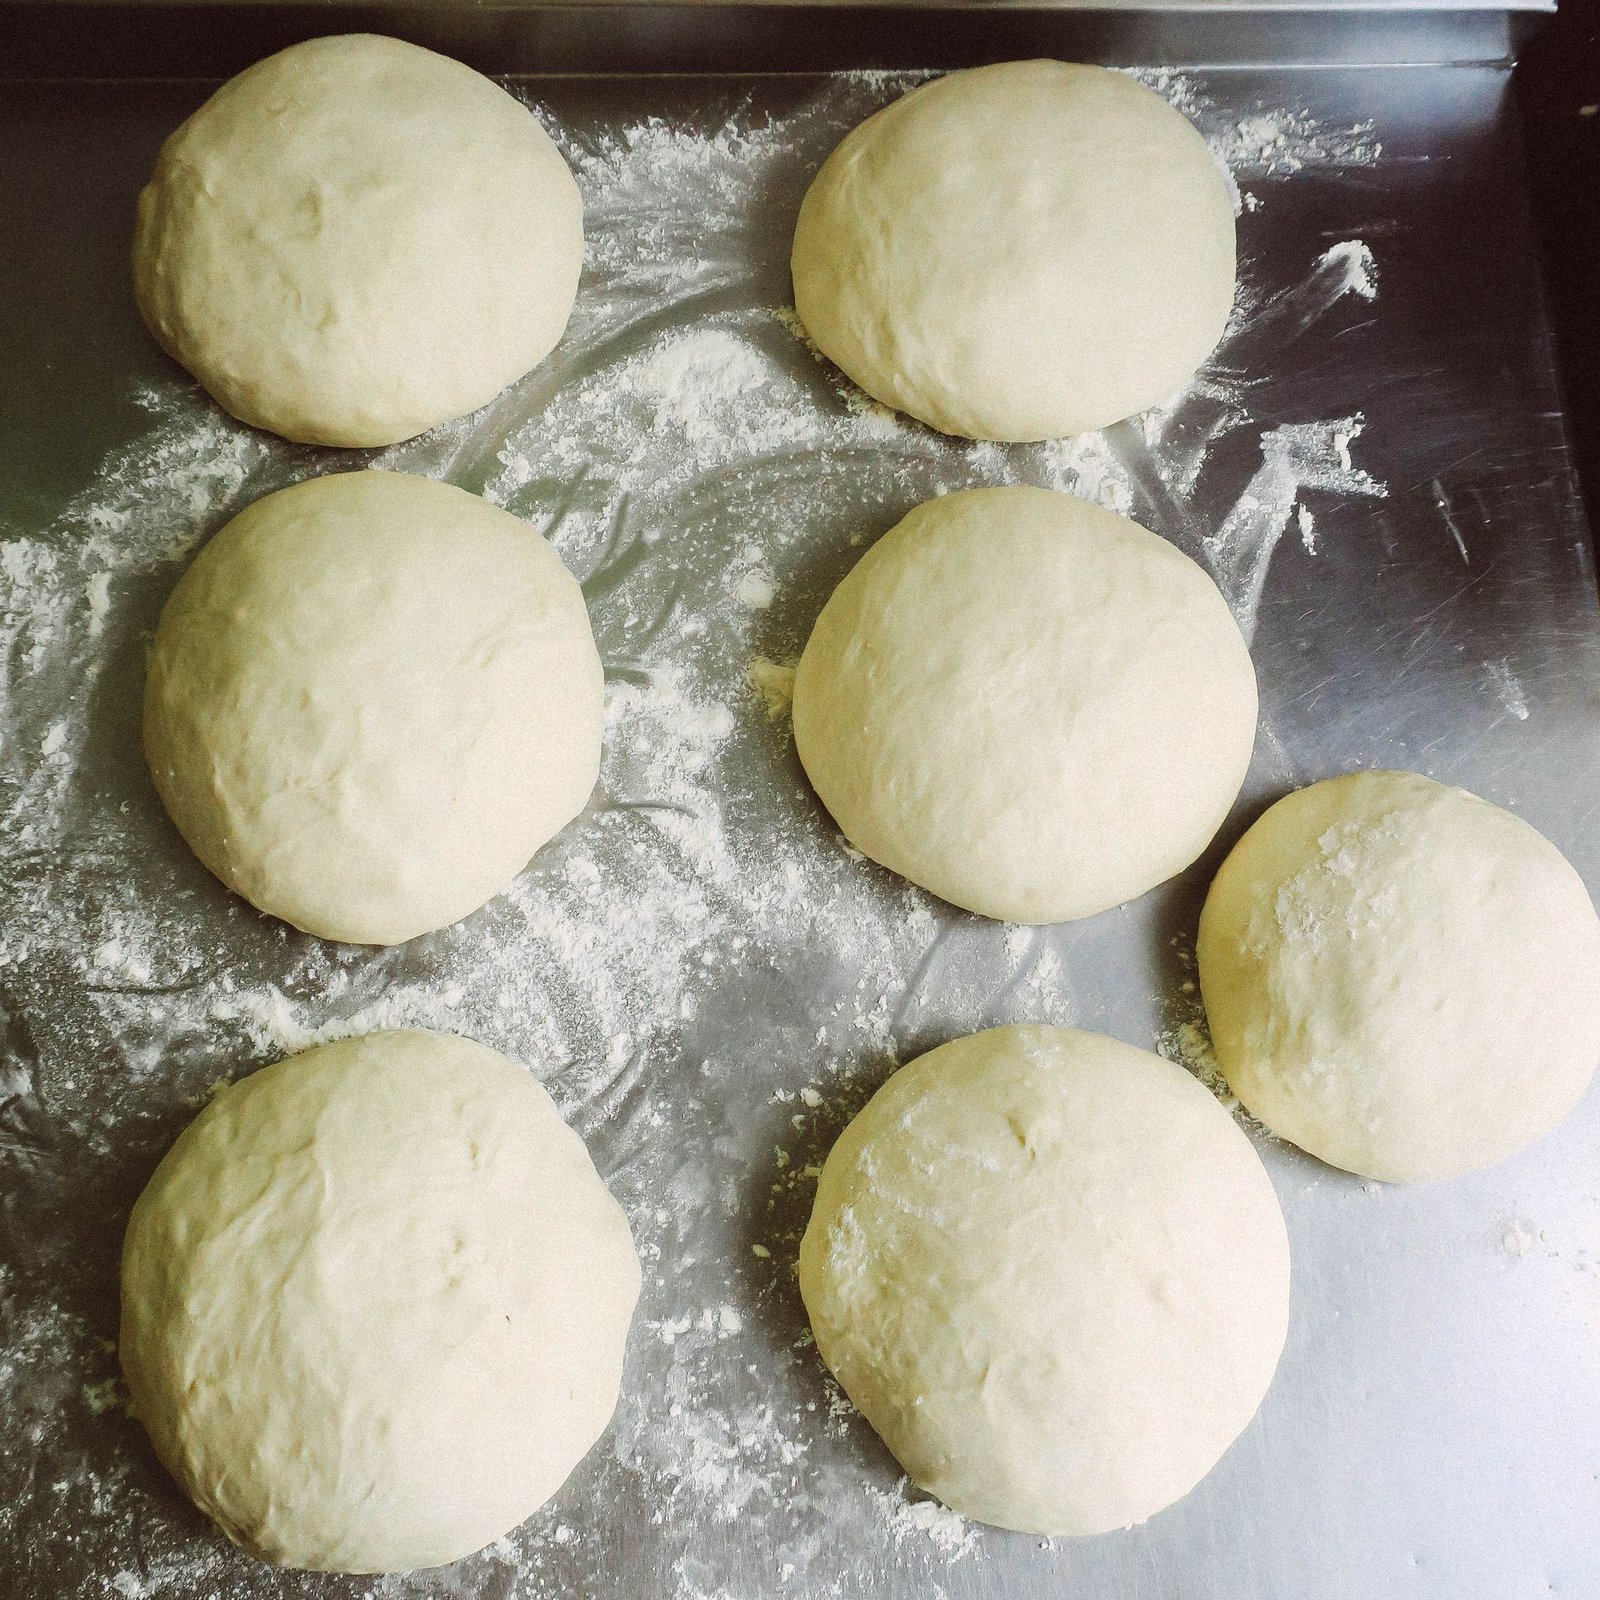
After the hour, divide into four equal balls (about 280 g each — weigh them). Shape each tightly: tuck edges under, rotating until the surface is taut and smooth. Place each ball in its own lightly oiled container with a lid, or on an oiled sheet pan covered tightly with plastic wrap. Individual containers are worth the dishes — on bake day you grab one ball per pizza with zero dividing or re-shaping, which preserves the gas structure.
Step 5 — Into the cold (72 hours at 36–40°F / 2–4°C)
Refrigerate immediately. Place the containers toward the back of the fridge where temperature is most stable — the door is the warmest, most variable spot. If you have a fridge thermometer, verify you are at 36–40°F. Above 42°F, fermentation runs meaningfully faster and your 72-hour dough may peak at 48; below 34°F, yeast nearly stalls and you may need an extra day.
The 72-Hour Timeline & Bake Day
Day 1 (hours 0–24): Quiet
The dough balls look almost unchanged — maybe slightly relaxed, a touch larger. This is normal and correct. Enzymes are working invisibly; yeast is barely stirring. Do not be tempted to “check” by warming them up. Leave the fridge closed as much as practical; temperature stability matters.
Day 2 (hours 24–48): Waking up
The balls visibly expand — roughly 1.5 times their original size. Small bubbles may appear on the surface. The dough smells faintly yeasty and sweet when you open the container. If you gently tilt a container, the dough should jiggle like set custard — a sign that gas is accumulating evenly throughout. Flavor is already noticeably better than same-day at this point; 48 hours is a legitimate stopping point if your schedule demands it, though 72 is better. Resist the urge to punch the dough down or re-shape the balls “to check” — every degassing now costs you oven spring later.
Day 3 (hours 48–72): Peak
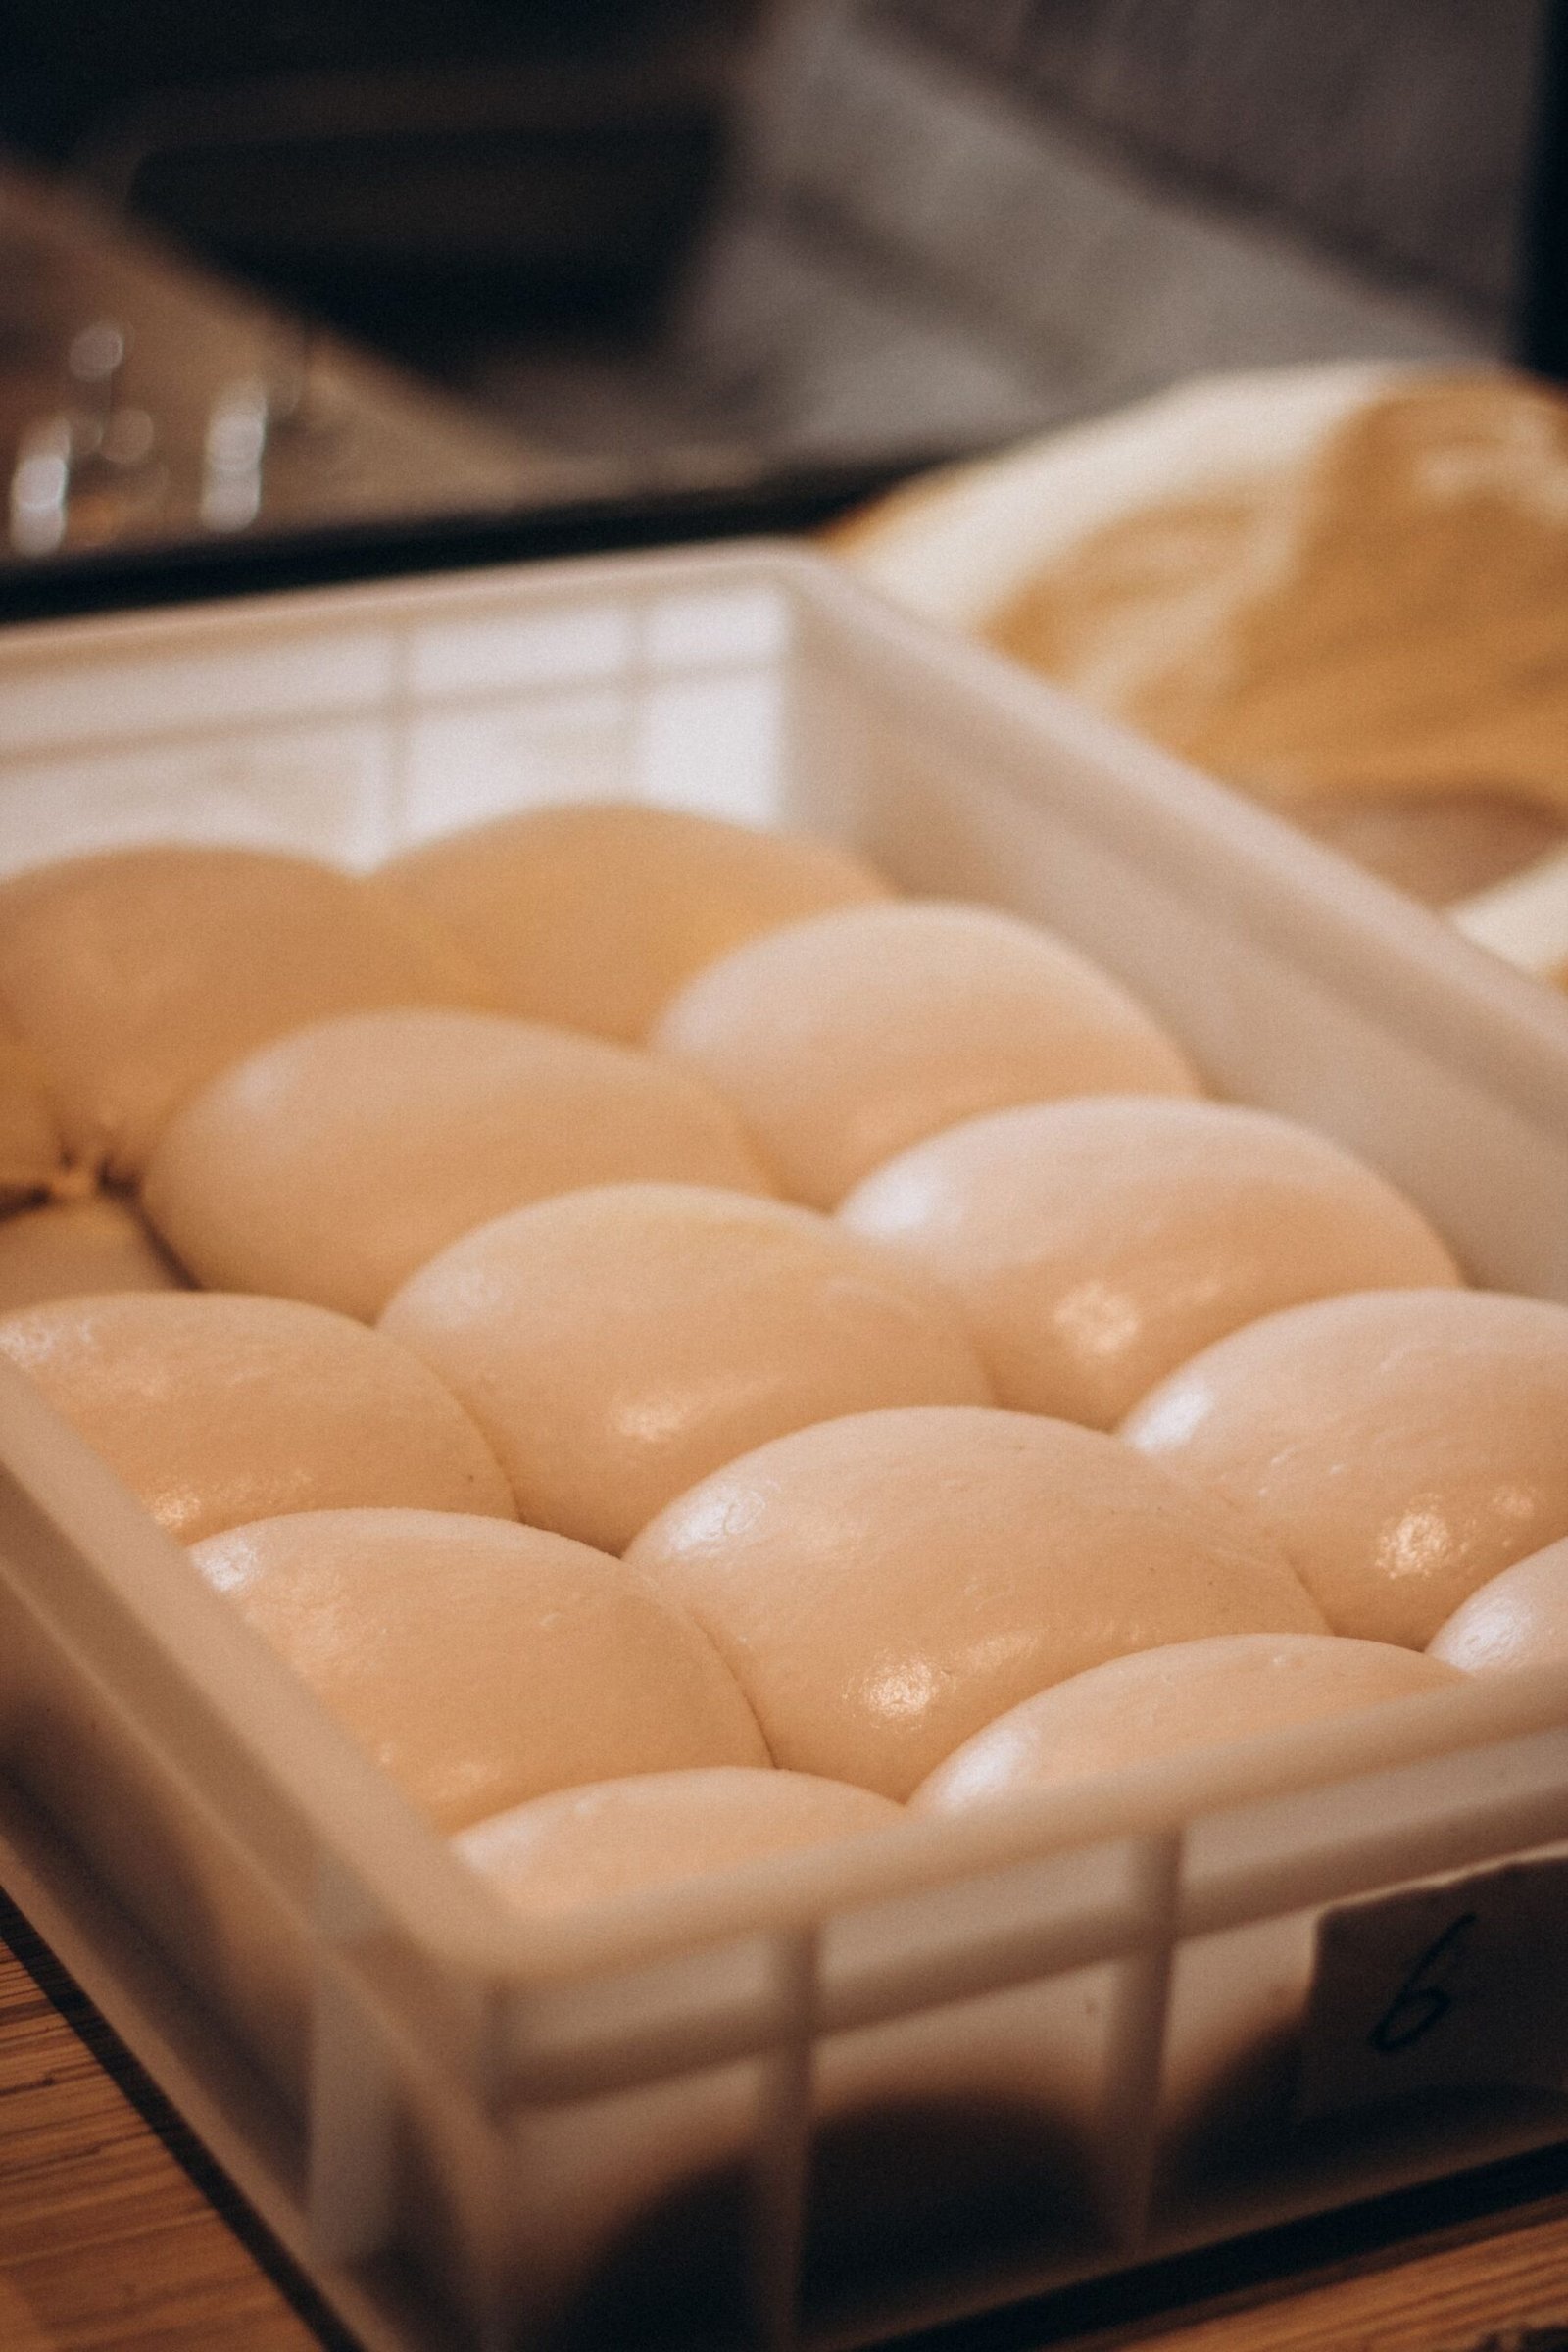
The balls are roughly doubled, domed, with visible fermentation bubbles under the surface. The aroma is complex — wheaty, faintly tangy, almost buttery. This is the window: bake between hours 60 and 84 for peak results, with 72 as the bullseye. The dough stretches like a dream at this stage — extensible, relaxed, cooperative.
Day 4+ (hours 96+): Decline
Past 96 hours, the yeast exhausts its food supply. The dough becomes slack, sticky, and overly sour; it may collapse when handled and bake up flat with a harsh acidic bite. It is not unsafe — just disappointing. If life intervenes and you cannot bake by day 4, freeze the balls (see storage below) rather than pushing the ferment further.
Bake Day: The Critical Warm-Up
This step makes or breaks the entire three-day investment. Cold dough straight from the fridge is stiff, tears when stretched, and springs back aggressively. It also bakes unevenly — the cold center stays doughy while the rim overcooks.
Warm-up protocol: Remove the dough balls from the fridge 2–3 hours before baking (3 hours in a cool kitchen, 2 in a warm one). Keep them covered — in their containers with the lids ajar, or under a damp towel. The target is dough at roughly 60–65°F (16–18°C): cool to the touch but pliable, relaxed, and slightly puffy. Do not rush this with warm ovens or hot water baths; uneven warming creates a dough that is slack outside and cold inside.
Shaping: Flour your hands and the bench. Press from the center outward, preserving the puffy rim. The long-fermented dough will stretch almost alarmingly easily — support it on your knuckles and let gravity work. It should reach 12 inches with minimal coaxing.
Baking: Launch onto a stone or steel preheated 45–60 minutes at your oven’s maximum (500–550°F / 260–290°C). Bake 7–10 minutes. Cold-fermented dough browns faster than same-day thanks to those residual sugars — start checking at 6 minutes. Expect deeper color, more blistering, and a more aromatic crust than you have ever made at home.
Troubleshooting Cold Ferment Pizza Dough Problems
Dough didn’t grow at all after 72 hours
The yeast was likely dead on arrival or the fridge is too cold (below 34°F stalls yeast almost completely). Test remaining yeast in warm sugared water — no foam means dead yeast. If the fridge is the issue, move future ferments to a slightly warmer spot and extend to 96 hours. The current batch: let it warm 4–5 hours at room temperature; if it shows life, bake it — the flavor will still be decent.
Dough over-fermented: slack, sticky, sour, collapsed
Too much yeast, fridge too warm, or fermented too long. For the current batch, handle very gently, shape without degassing more than necessary, and bake immediately — it will be flatter and tangier but edible. Next time, reduce yeast to 0.25%, verify fridge temperature, and bake by hour 72. Severely over-fermented dough (liquid on top, harsh vinegar smell) should be discarded.
Dough tears when stretching
It was shaped too cold. This is a warm-up failure, not a dough failure. Let it rest covered at room temperature another 30–60 minutes and try again. Tearing can also indicate under-kneading on day one — the windowpane test exists precisely to prevent this.
Crust browns too fast / burns before the center cooks
The residual sugars in long-fermented dough caramelize aggressively. Drop the oven to 475°F (245°C), move the pizza to a higher rack, and check early. If your oven runs hot, 450°F with a slightly longer bake gives more even results. This is a good problem — it means the fermentation worked.
Large irregular holes (tunneling) in the crumb
Usually from under-mixing or from re-shaping cold balls on bake day. Mix to full windowpane development on day one, and portion into individual balls before refrigerating so bake day involves zero re-shaping. Gentle handling preserves the fine, even bubble structure.
Sour or alcoholic smell
A mild tang is desirable; a harsh vinegar or nail-polish-remover smell means over-fermentation. Bake sooner next time, reduce yeast, or cool the fridge. A faint alcohol aroma on day three that bakes off cleanly is normal and harmless.
Storage, Freezing & Food Safety
Refrigerator limits
The usable window is roughly 48–96 hours, with 72 as the target. If you need to hold dough longer, freeze it — do not just leave it in the fridge hoping for the best.
Freezing fermented dough
Freeze at the 24–48 hour mark for best results: the yeast is active but has food remaining for the thaw. Oil each ball, seal in a freezer bag with air pressed out, and freeze up to 3 months. Thaw 24 hours in the fridge (this continues gentle fermentation — a bonus), then warm 2–3 hours at room temperature before shaping. Dough frozen at 72 hours also works but rises slightly less vigorously after thawing.
Food safety
Cold fermentation is food-safe by design — 36–40°F inhibits bacterial growth while yeast works slowly. Keep the fridge at or below 40°F (4°C); a fridge running at 45°F+ is a food-safety problem for everything inside it, not just dough. As always, do not taste raw dough (raw flour risk), cool baked pizza within 2 hours, and refrigerate leftovers promptly per our leftover safety guide.
Frequently Asked Questions
Can I cold ferment for longer than 72 hours?
You can push it to four or five days if your refrigerator runs cold and steady. The flavor keeps deepening, but the dough gets more extensible and fragile with time. Past five days the yeast runs out of food and the dough may overproof, so 72 hours is the sweet spot for most home setups.
Can I cold ferment for 24 hours instead of 72?
Yes — even 24 hours of cold fermentation noticeably improves flavor over same-day dough. Use slightly more yeast (3–4 g per 500 g flour) for the shorter window. But the jump from 24 to 72 hours is where the real magic happens: the flavor complexity roughly doubles. If you can only do one long ferment, make it the full 72.
Does cold ferment work with all-purpose flour?
It works, but bread flour is better here. The long ferment degrades gluten over time, so starting with higher-protein flour gives you more structural margin. With all-purpose, drop hydration to 60–62% and be extra diligent about kneading to a full windowpane.
Can I use sourdough starter instead of commercial yeast?
Absolutely — and it is spectacular. Replace the commercial yeast with 100–130 g of ripe, active starter (about 20% of flour weight), reduce the water slightly to compensate for the starter’s hydration, and ferment 48–72 hours cold. The combined lactic-acid complexity is the pinnacle of pizza flavor. Our sourdough pizza dough guide covers the starter-specific details.
Why is my cold-fermented dough so sticky?
Some stickiness on day three is normal — enzymes have been relaxing proteins for days. Flour your hands and bench a bit more generously than usual, and handle with confidence rather than tentativeness (hesitant handling causes more sticking). If it is truly soupy, the ferment went too long or too warm — see troubleshooting.
Can I cold ferment in bulk instead of individual balls?
You can, but balls are better. Dividing cold bulk dough on bake day degasses it and requires re-shaping, which tightens the gluten right when you want it relaxed. Balls portioned on day one need zero handling on day three — just warm, stretch, and bake. The 10 minutes of portioning effort pays off enormously.
[…] that is challenging at room temp becomes quite manageable after 48 hours cold. This is one reason cold ferment recipes often specify higher […]
[…] gluten-free pizza dough ahead of time? Yes. The dough refrigerates well for up to 48 hours — the cold rest actually improves flavor, and the dough firms up slightly, making it easier to shape. You can also […]
[…] styles and harmless for all thin pizzas. Also consider the cold-ferment advantage: a 24–72 hour cold-fermented dough at 58–60% hydration stretches thinner with less spring-back and brings deeper flavor to the crisp […]
[…] The result is a crust with a real dichotomy: the interior is open, airy, and chewy, full of irregular holes like good focaccia, while the bottom is fried in the pan’s oil to a deep golden, shattering crispness. That fried bottom is non-negotiable — it’s what separates Detroit style from a merely thick pizza. Generous oil in the pan (2–3 tablespoons) is what makes it happen. For more on building airy, flavorful doughs, see how to make pizza dough from scratch and our cold ferment pizza dough guide. […]
[…] is where the flavor comes from — then bring to room temperature for 2 hours before baking. Our cold-ferment dough guide covers the technique in full detail. Stretch to 10–12 inches, thin in the middle, leaving only a […]