

The thin crust vs thick crust debate is really a debate about dough. The same flour, water, yeast, and salt can become a shattering Roman cracker or a pillowy Sicilian slab depending on how the dough is formulated, fermented, and baked. Toppings matter, ovens matter, but the crust style is decided long before the pizza goes in the oven — it is decided in the mixing bowl, in the hydration percentage, in the proofing time, and in whether the dough meets a screaming-hot stone or a well-oiled pan.
Understanding these dough differences does more than settle arguments. It lets you look at any pizza recipe and instantly know what kind of crust it will produce, diagnose why your “thin crust” came out bready, and convert recipes between styles with confidence. The differences are specific and measurable: water ratios, yeast quantities, fat content, fermentation schedules, and bake temperatures. None of it is mysterious once you see the formulas side by side.
This guide breaks down exactly what makes thin crust thin and thick crust thick at the dough level, compares the key formulas with real numbers in grams and cups, walks through how each style is shaped and baked, and helps you choose — or convert — based on the pizza night you actually want. Along the way you will see how famous styles like New York, Sicilian, Chicago deep dish, and Detroit style each sit on the thin-to-thick spectrum.
🍕 Key Takeaways
- Thin crust doughs use lower hydration (55–60%), less yeast, and little or no oil; thick crust doughs use higher hydration (65–70%+) plus oil for tenderness.
- Fermentation differs: thin crusts often rise briefly (1–2 hours); thick crusts need long proofs (2–4 hours or overnight) to develop an open, airy crumb.
- Thin crusts bake hot and fast (500–550°F / 260–290°C) on a stone or steel; thick crusts bake moderate and longer in oiled pans.
- The pan vs. stone choice shapes the crust as much as the formula — a thick dough on a stone and a thin dough in a pan both disappoint.
- You can convert styles by adjusting hydration ±5%, yeast, and proof time — but respect each style’s bake method.
- Neither style is “better” — thin crust showcases toppings with crispness; thick crust delivers chew, air pockets, and fried-cheese edges.
What Makes Thin Crust Thin: The Dough Formula
Thin crust starts with a lean, relatively dry dough. The classic thin-crust formula sits at 55–60% hydration — that is 275–300 grams of water (about 1¼ cups) for every 500 grams (about 4 cups) of flour. At this hydration the dough is firm, smooth, and easy to handle; it stretches or rolls thin without sticking and without springing back excessively. Lower hydration also means less steam in the bake, which keeps the crust crisp rather than puffy — steam is what inflates air pockets, and thin crust wants minimal inflation.
Yeast is used sparingly in thin doughs: typically 3–5 grams of instant yeast (about 1–1½ teaspoons) per 500 grams of flour for a same-day dough, sometimes less. The goal is controlled, modest fermentation — enough to relax the gluten and develop some flavor, not enough to balloon the dough. A thin crust with too much yeast becomes bready and thick no matter how thin you roll it, because the oven spring inflates what the rolling pin flattened. Fermentation is short: 1–2 hours at room temperature is typical, and many thin-crust recipes (tavern style, St. Louis style) go straight from mixing to shaping with only a brief rest.
Fat is minimal or absent. Traditional lean thin doughs — New York style, Neapolitan — contain little or no oil: perhaps 1–2% olive oil (5–10 grams per 500 grams flour) or none at all. Oil tenderizes crumb and adds richness, which works against the crisp, snappy texture thin crust aims for. Sugar is similarly restrained: a small amount (1–2%) helps browning in home ovens that cannot reach pizzeria temperatures, but too much sugar softens the crust and pushes it toward bready. Salt stays at the standard 2% (10 grams per 500 grams flour) — flavor is non-negotiable in any style.
Shaping is the final determinant. Thin dough is stretched or rolled to 2–4 millimeters and baked on a surface that delivers intense bottom heat: a pizza stone, a pizza steel, or directly on a hot oven rack. The steel or stone, preheated for 45–60 minutes at your oven’s maximum (usually 500–550°F / 260–290°C), flash-sets the bottom of the crust before rising gas can inflate it much. Bake time is short — 6–9 minutes — which crisps without drying. Roll a thin dough and bake it on a cool pan, and you get a pale, soft cracker; the formula and the bake method are a package deal.
What Makes Thick Crust Thick: The Dough Formula
Thick crust is built on wetter, richer, longer-fermented dough. Hydration runs 65–70% or higher — 325–350 grams of water (about 1⅓–1½ cups) per 500 grams (4 cups) of flour. This wet dough is slack and extensible; it cannot be rolled paper-thin even if you try, and in the oven its abundant water turns to steam that inflates an open, airy crumb full of irregular holes. That open structure is the signature of thick crust: the chew, the lightness despite the thickness, the pockets that catch sauce.
Yeast quantities are generous and fermentation is long. A thick-crust dough might use 5–7 grams of instant yeast per 500 grams of flour and proof for 2–4 hours at room temperature, or ferment overnight in the refrigerator for even deeper flavor. The long proof does two jobs: it generates the gas that opens the crumb, and it develops the complex flavors — slight tang, wheaty depth — that make thick crust taste like more than just bread. Under-proofed thick dough bakes up dense and gummy; the proof is not optional, it is the recipe. The poke test is your guide: the dough should be visibly puffy and spring back slowly.
Fat is a defining ingredient in thick crusts. Olive oil at 3–5% (15–25 grams per 500 grams flour) tenderizes the crumb, adds flavor, and — crucially for pan styles — fries the bottom of the crust in the pan for a crisp, golden, almost fried exterior contrasting the soft interior. Detroit style takes this further with cheese baked directly against the pan edge, creating lacy, caramelized frico. Sugar or honey (2–3%) is common too, feeding the yeast for a vigorous rise and promoting the deep golden browning that makes thick crusts look as good as they taste.
The bake method completes the style. Thick doughs bake in pans — oiled sheet pans for Sicilian and grandma pies, deep seasoned pans for Chicago deep dish, blue steel pans for Detroit — at moderate temperatures, typically 450–500°F (230–260°C), for longer times: 15–25 minutes for pan pizzas, up to 30–40 for deep dish. The pan insulates the dough from direct intense heat, letting the interior bake through and the crumb set before the exterior over-browns. Put a thick dough on a screaming-hot steel and the bottom burns before the center cooks; the moderate pan bake is structural, not incidental.
Thin Crust vs Thick Crust: The Numbers Side by Side
Seeing the formulas next to each other makes the differences concrete. All scaled to 500 grams of flour (about 4 cups spooned and leveled):
Classic thin crust (New York leaning): 500 g flour; 290 g water (58%, about 1¼ cups); 7 g instant yeast (2¼ tsp); 10 g salt (2 tsp); 10 g olive oil (2 tsp); 5 g sugar (1 tsp). Mix, knead 8–10 minutes, bulk ferment 1–2 hours at room temperature, divide into 280 g balls, proof 30–60 minutes, stretch thin, bake 6–8 minutes at 550°F (290°C) on a preheated steel or stone.
Cracker-thin (St. Louis / tavern leaning): 500 g flour; 250 g water (50%, about 1 cup + 1 tbsp); 5 g instant yeast; 10 g salt; 30 g oil (2 tbsp — the fat replaces water for tenderness without puff); no sugar. Knead, rest 1 hour, roll very thin (2 mm), dock with a fork to prevent bubbling, bake 8–10 minutes at 500°F (260°C) directly on the rack or a perforated pan.
Thick pan crust (Sicilian leaning): 500 g flour; 340 g water (68%, about 1½ cups); 7 g instant yeast; 10 g salt; 20 g olive oil (1½ tbsp) plus generous oil for the pan; 10 g honey or sugar (2 tsp). Mix, knead 8 minutes, bulk ferment 2 hours with a fold halfway, press into an oiled sheet pan, proof in the pan 1–2 hours until puffy, top, and bake 18–22 minutes at 475°F (245°C).
Deep, rich pan crust (Detroit leaning): 500 g flour; 350 g water (70%); 8 g instant yeast; 10 g salt; 15 g olive oil; 10 g sugar. Long ferment — overnight cold ferment is traditional — then press into an oiled steel pan, proof 2–3 hours until airy, top with cheese to the edges, bake 15–20 minutes at 500°F (260°C).
Notice the pattern: hydration climbs from 50% to 70% across the spectrum, oil increases, fermentation lengthens, and bake temperature drops while bake time extends. These are not independent choices — they move together because they serve the same goal. More water needs longer baking to cook through; longer baking needs moderate heat to avoid burning; richer dough needs longer fermentation to develop flavor that stands up to the thickness. Change one variable and the others should follow, which is why random recipe tweaks (“I’ll just add more water”) so often disappoint.
Texture, Flavor, and the Eating Experience
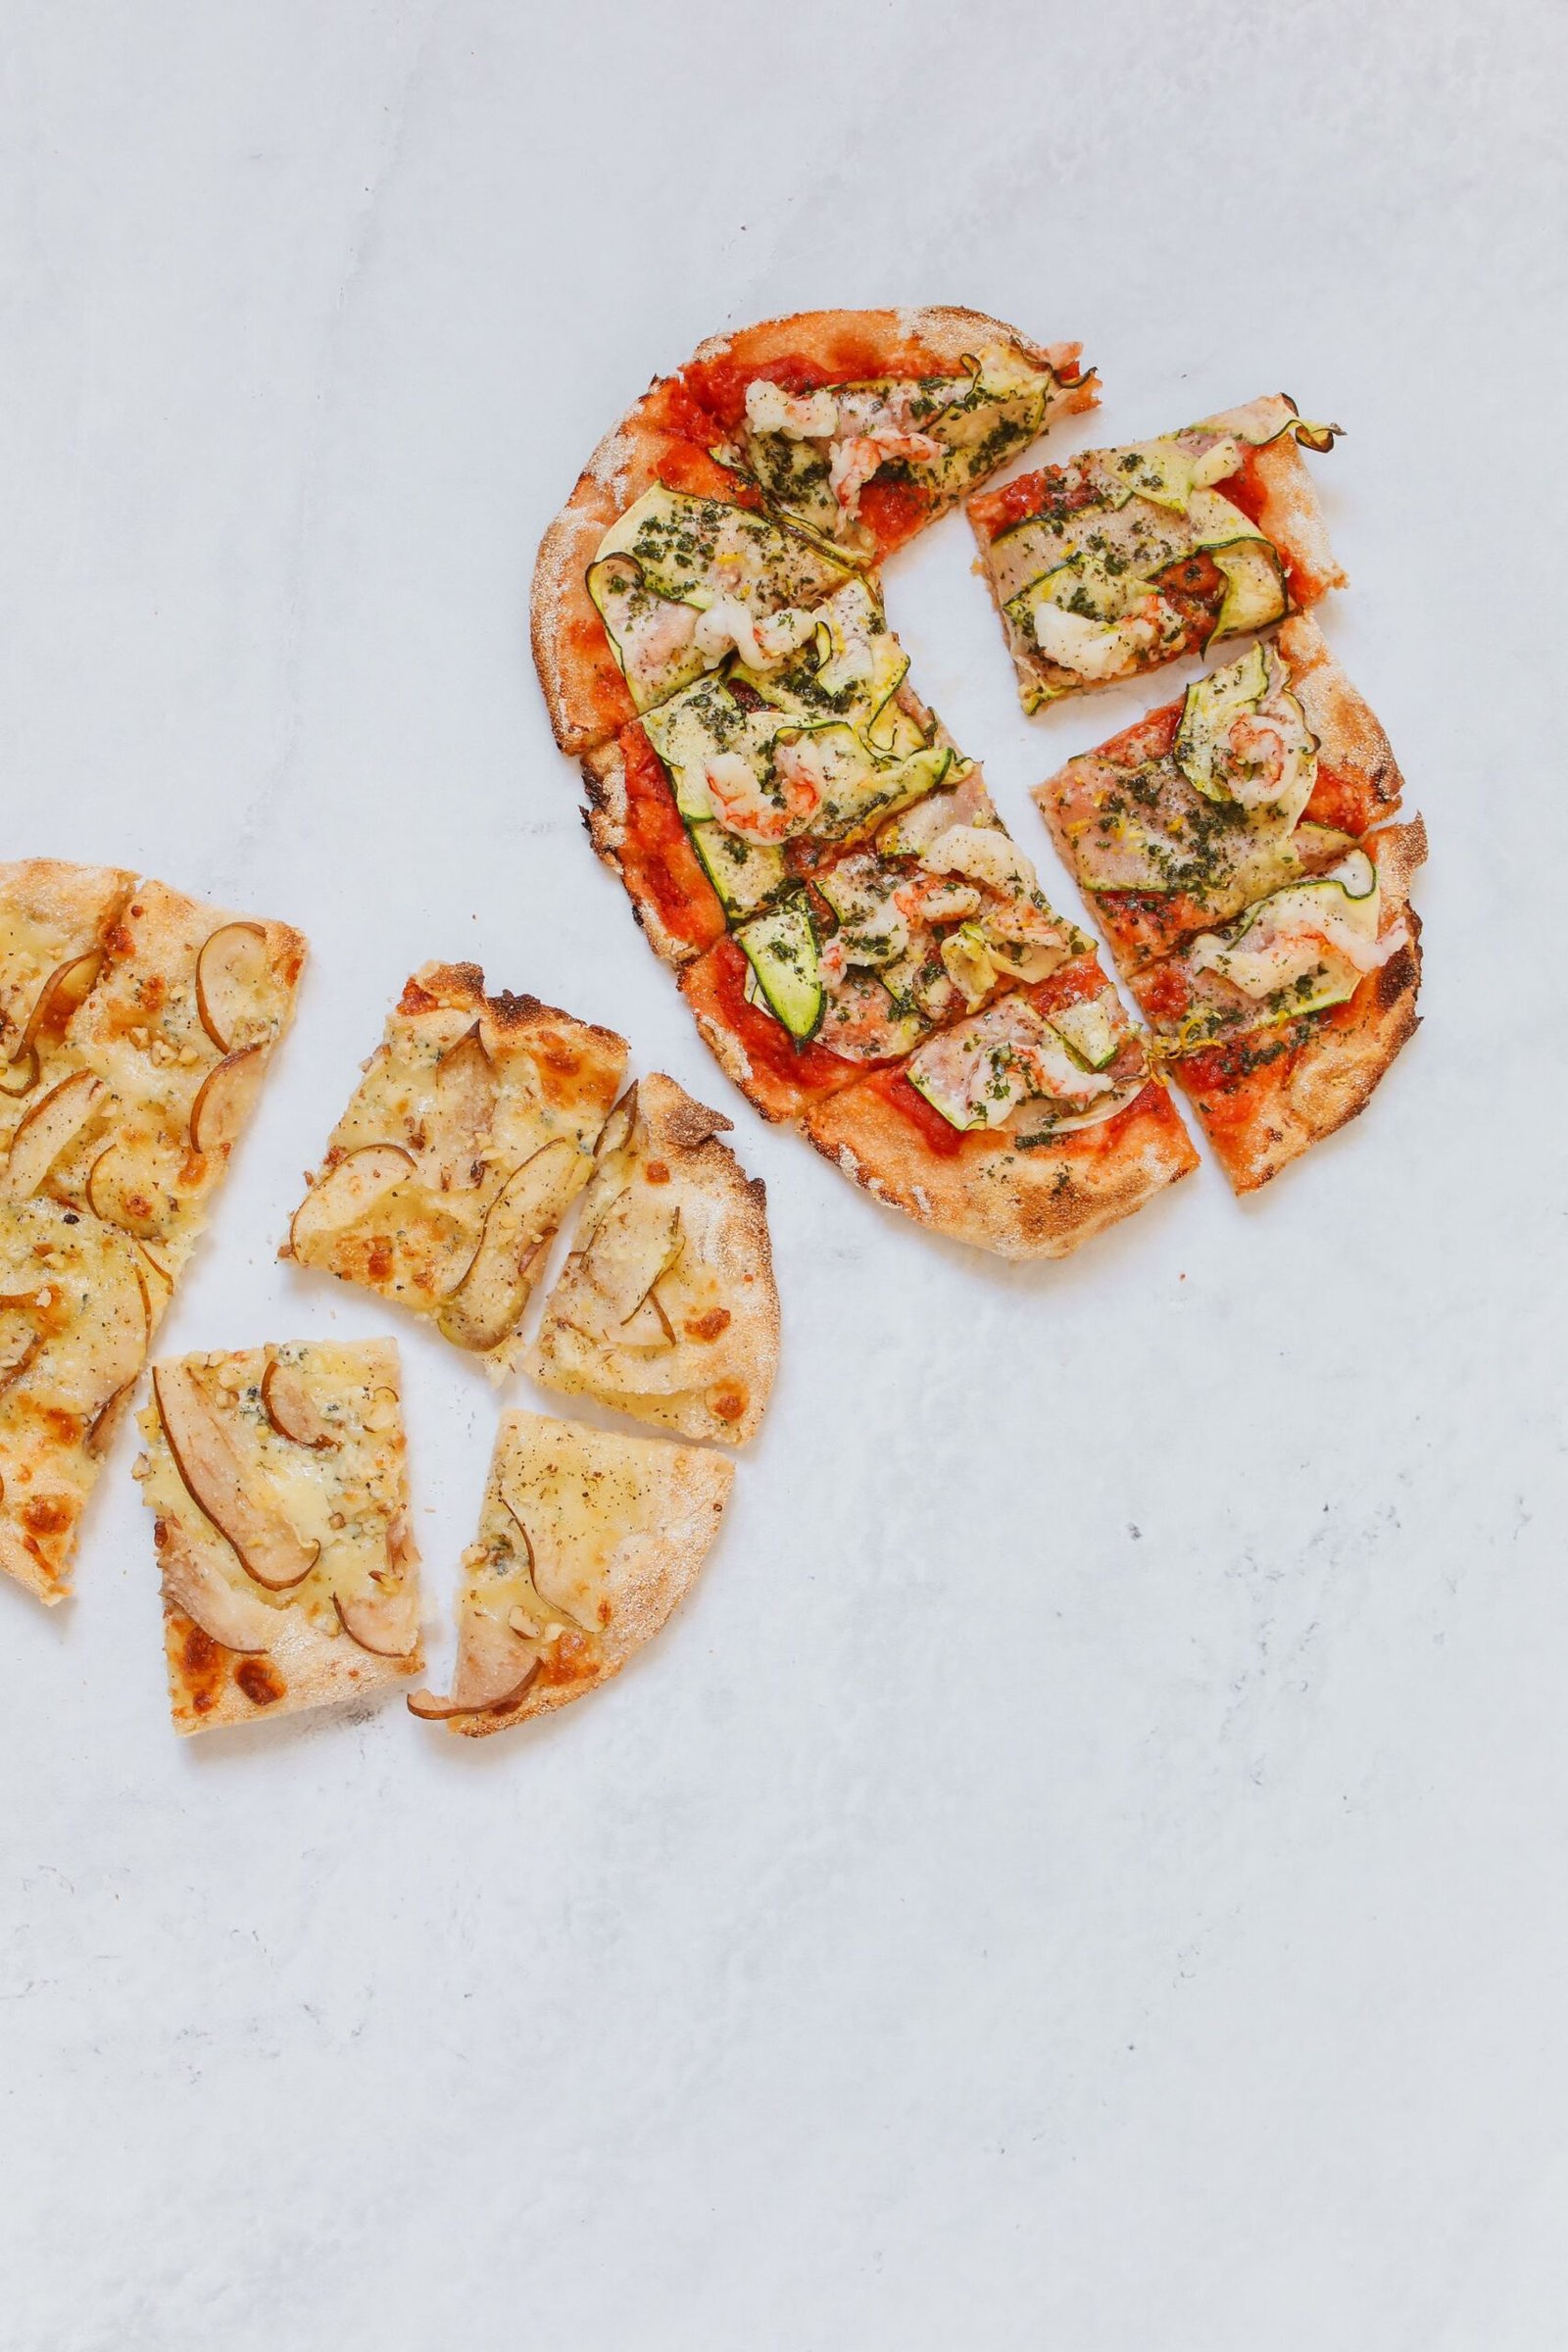
The dough differences translate directly to what you feel and taste. Thin crust is about crispness and topping focus. A well-made thin crust shatters or snaps at the edge, stays rigid enough to hold its toppings without flopping (the structural test of a New York slice is the fold — it should fold without cracking or drooping), and provides a neutral, wheaty background that lets the sauce and cheese lead. Because there is less dough, every topping choice matters more: watery vegetables will sog down a thin crust fast, which is why thin-crust topping discipline — pre-cooking wet vegetables, going light on sauce — is part of the style.
Thick crust is about the bread itself. The eating experience centers on chew, air pockets, and contrast: a crisp, sometimes fried bottom against a soft, open interior; a puffy, well-browned rim with an almost creamy crumb. Thick crust can carry heavier, wetter toppings because the dough mass absorbs moisture without collapsing — this is why deep dish can hold a full cup of chunky tomato sauce and a pound of cheese. Flavor-wise, thick crusts taste more complex: the longer fermentation develops subtle tang and depth that thin, quickly-made doughs simply do not have time to build.
Neither is objectively better; they serve different cravings and different occasions. Thin crust suits topping-forward pizzas, appetizer-style eating, and anyone who finds thick crust too filling. Thick crust suits bread lovers, hearty toppings, and feeding a crowd where a single pizza needs to satisfy. Many pizza lovers keep both in rotation — a quick thin-crust weeknight pizza and a weekend thick-crust project — because the doughs demand different timelines anyway. The right question is never “which is better” but “what do I want tonight, and how much time do I have.”
There is also a middle ground worth knowing: the medium or “hand-tossed” crust that dominates American delivery pizza. At 60–62% hydration with moderate yeast and a 2-hour proof, baked on a perforated pan or screen at 500°F, it splits the difference — not crisp like thin, not airy like thick, but familiar and versatile. If you are developing your own house style, this middle zone is the most forgiving place to start experimenting.
Choosing Your Style (and Converting Between Them)
Choose based on three factors: time, equipment, and craving. Short on time (under 3 hours start to slice)? Thin crust — the dough comes together fast, proofs briefly, and bakes in minutes. Have all day or planning ahead? Thick crust rewards the investment with flavor and texture that cannot be rushed. Equipment matters enormously: thin crust needs a stone or steel and an oven that hits 500°F+; thick crust needs pans (a heavy sheet pan works for Sicilian; deep-dish and Detroit benefit from dedicated pans) and is more forgiving of average ovens. If you own neither a stone nor a suitable pan, start with whichever you can acquire — both are inexpensive and last years.
Converting a recipe between styles is straightforward if you move the whole cluster of variables together. To thicken a thin-crust recipe: raise hydration by 5–8 percentage points (add 25–40 g water per 500 g flour), increase oil to 3–4%, lengthen the proof (double it, or move to an overnight cold ferment), bake in an oiled pan at 475°F instead of on a stone at 550°F, and extend the bake. To thin out a thick recipe, reverse the process: drop hydration to 58–60%, cut the oil to 1–2%, shorten the proof to 1–2 hours, and bake hot and fast on a steel. Adjust in this coordinated way and the conversion works; change only one variable and you get the worst of both styles — for example, high hydration baked screaming-hot on a steel gives a burnt bottom with a gummy interior.
A practical tip for experimenters: master one style completely before converting. The instincts — how the dough should feel at each hydration, what “proofed enough” looks like, how your oven behaves — transfer between styles, but only once they are actually instincts rather than guesses. Bake your chosen style five or six times, take notes on times and temperatures, and then branch out. Pizza making rewards this kind of deliberate practice far more than recipe-hopping.
Troubleshooting Each Style
Thin crust problems. If your thin crust comes out bready instead of crisp, the usual culprit is too much yeast or too long a proof — cut yeast by a third and proof only until slightly puffy, not doubled. If it is pale and soft, your oven or stone was not hot enough or not preheated long enough; give the steel a full hour at maximum temperature. If the center is soggy, you overloaded wet toppings — pre-cook vegetables, drain fresh mozzarella, and sauce lightly (about ⅓ cup for a 12-inch pizza). If the crust bubbles up in big domes, dock it with a fork before topping (essential for cracker styles) or make sure you are stretching evenly without thick patches.
Thick crust problems. If your thick crust is dense and gummy, it was under-proofed — the most common thick-crust failure. The dough must look visibly puffy and airy before it goes in the oven; when in doubt, give it another 30–45 minutes. If the bottom is pale while the top browns, your pan needs more oil and possibly a lower oven rack position for more bottom heat. If the interior is doughy while the exterior is done, the oven was too hot — drop 25°F and extend the bake, tenting with foil if the top browns early. If the crust tastes bland despite good texture, the fermentation was too short; move to an overnight cold ferment for flavor development.
Crossover mistakes. The single most common error across both styles is mismatching dough and bake method: thick dough on a blazing steel (burnt bottom, raw middle) or thin dough in a deep pan (steamed, pale, floppy). Match the method to the formula every time. The second crossover mistake is impatience with proofing — both styles suffer, but thick crust suffers more visibly. When a recipe gives a proof time range, use the visual cues (doubled, puffy, poke test) rather than the clock, because your kitchen temperature is almost certainly different from the recipe developer’s.
Frequently Asked Questions
Is thin crust healthier than thick crust?
A thin-crust slice generally contains less dough and therefore fewer calories from the crust itself, but total nutrition depends far more on toppings, cheese quantity, and portion size than on crust thickness. Two slices of thin crust with extra cheese can easily match one slice of thick crust. Eat the style you enjoy and pay attention to portions.
Which crust style is easiest for beginners?
Thick pan crusts (Sicilian/grandma style) are the most forgiving: the pan does the shaping, the longer proof is flexible, and minor imperfections disappear into the rustic result. Thin crust demands hotter equipment and more precise stretching. If you are just starting, bake a pan pizza first, then work toward thin crust once you own a stone or steel.
Can I use the same dough recipe for thin and thick crust?
You can, with adjustments — see the conversion guidance above. But dedicated recipes perform better because every variable (hydration, yeast, oil, proof, bake) is tuned as a system. A purpose-built thin recipe will always beat a converted thick recipe at thinness, and vice versa.
Why is my homemade thick crust dense instead of airy?
Almost always under-proofing, sometimes under-hydration. Thick dough needs high hydration (65%+) and a full, patient proof until visibly puffy and airy — often 2–3 hours at room temperature or overnight in the fridge. Dense thick crust is also a sign of too-cool oven spring; make sure the oven is fully preheated and consider a baking steel under the pan for extra bottom heat.
What is the difference between thin crust and flatbread?
Thin-crust pizza is still leavened dough — yeast-fermented, with a rim and some chew. Flatbread is often unleavened or minimally leavened, rolled uniformly thin with no distinct rim. A cracker-thin pizza sits between them but keeps the pizza identity through its sauce, cheese, and bake.
Do I need special equipment for either style?
Thin crust really benefits from a pizza stone or steel ($30–$60, lasts years) and an oven that reaches 500°F+. Thick crust needs an oven-safe pan — a heavy rimmed sheet pan works for Sicilian style; dedicated deep-dish or Detroit pans help for those styles but are not mandatory to start. A kitchen scale is the single most useful tool for both, since the formulas depend on accurate ratios.